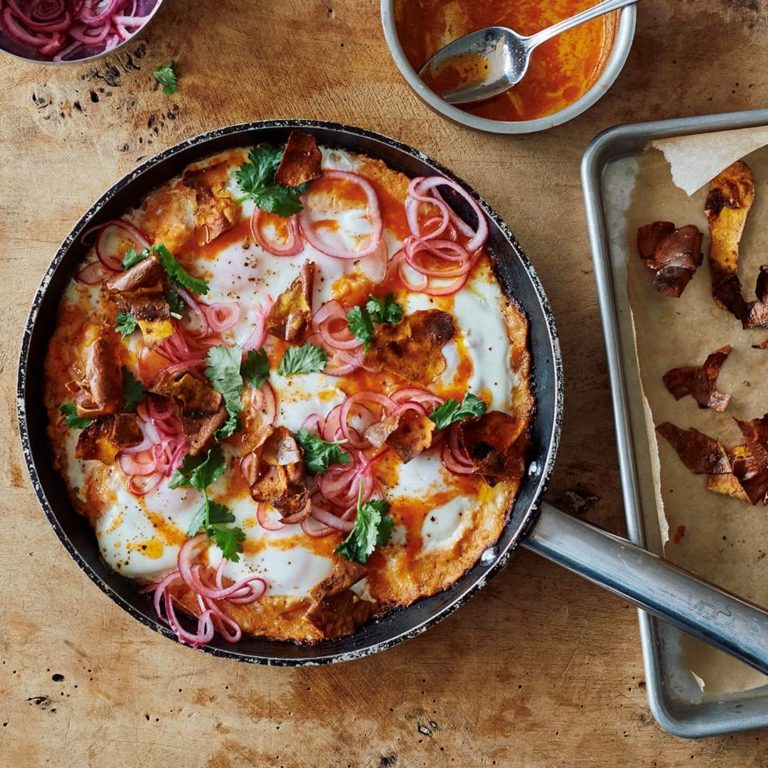
A wintry weekend isn’t complete without a hearty, warming roast dinner. In this list, we’ve rounded up the best of the best recipes, spanning beef, chicken, lamb and pork (with a couple of less traditional options thrown in to help you keep things fresh). Looking for meat-free alternatives? Head to our collections of vegetarian and vegan roasts.
Roast beef
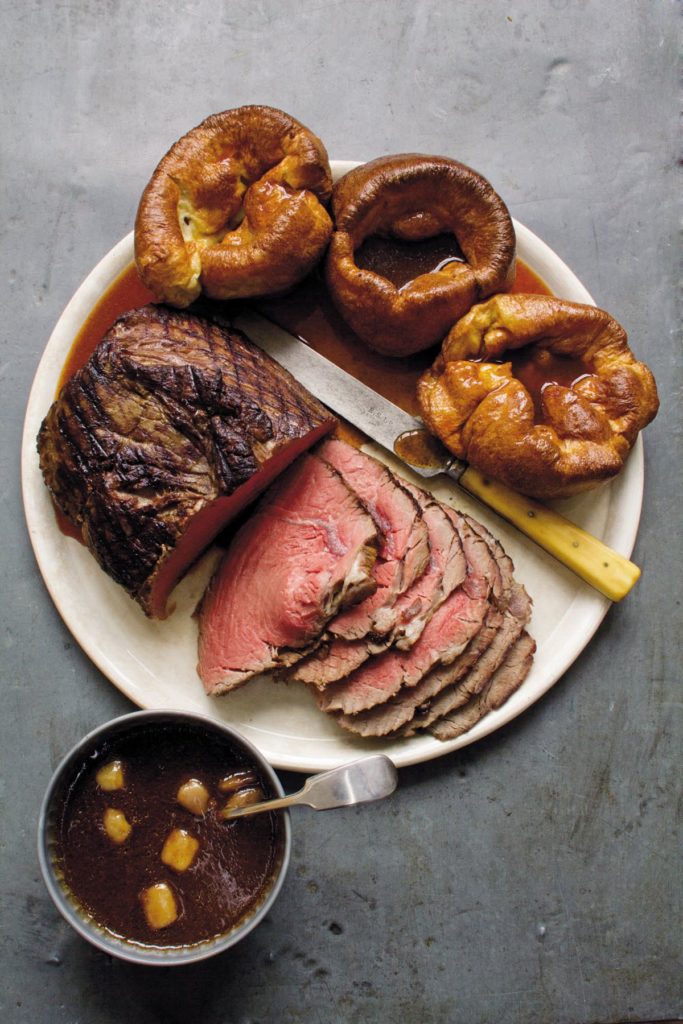
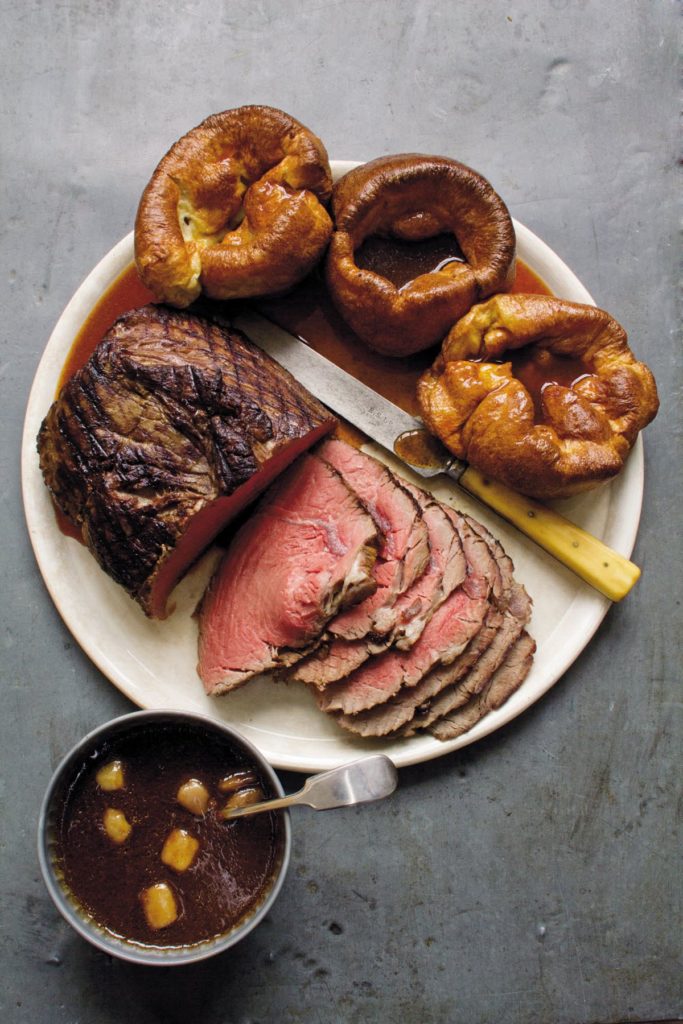
Ultra-Slow-Roast Rump
You can’t beat roast beef and Yorkshire puddings with plenty of richly flavoured gravy. In this recipe, the team from Hawksmoor share their secrets on how to cook the very best roast beef at home.
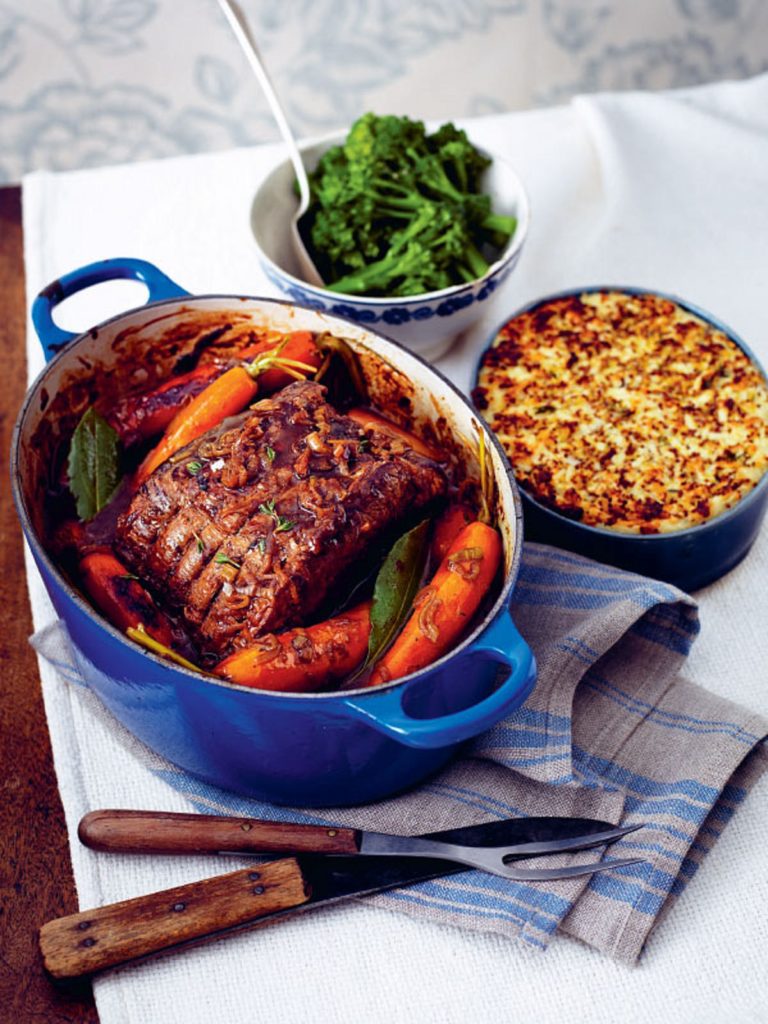
Pot-roast Beef with French Onion Gravy
For a lighter alternative to a classic roast, this dish makes use of lean cuts of meat that turn tender after cooking slowly in a moreish onion gravy.
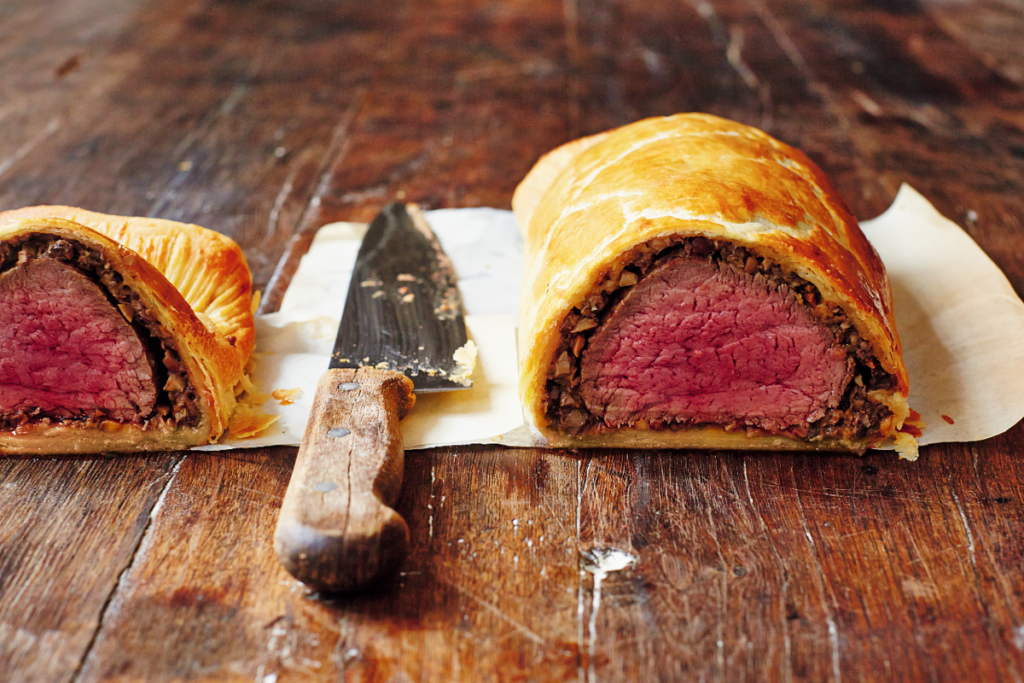
Beef Wellington
Always a showstopper, Jamie’s classic beef Wellington is a luxurious roast dinner centrepiece for any special occasion. Chicken livers are added to the mushroom pâté for an added punch of flavour and the Wellington is served with a rich gravy spiked with Madeira.
Roast chicken
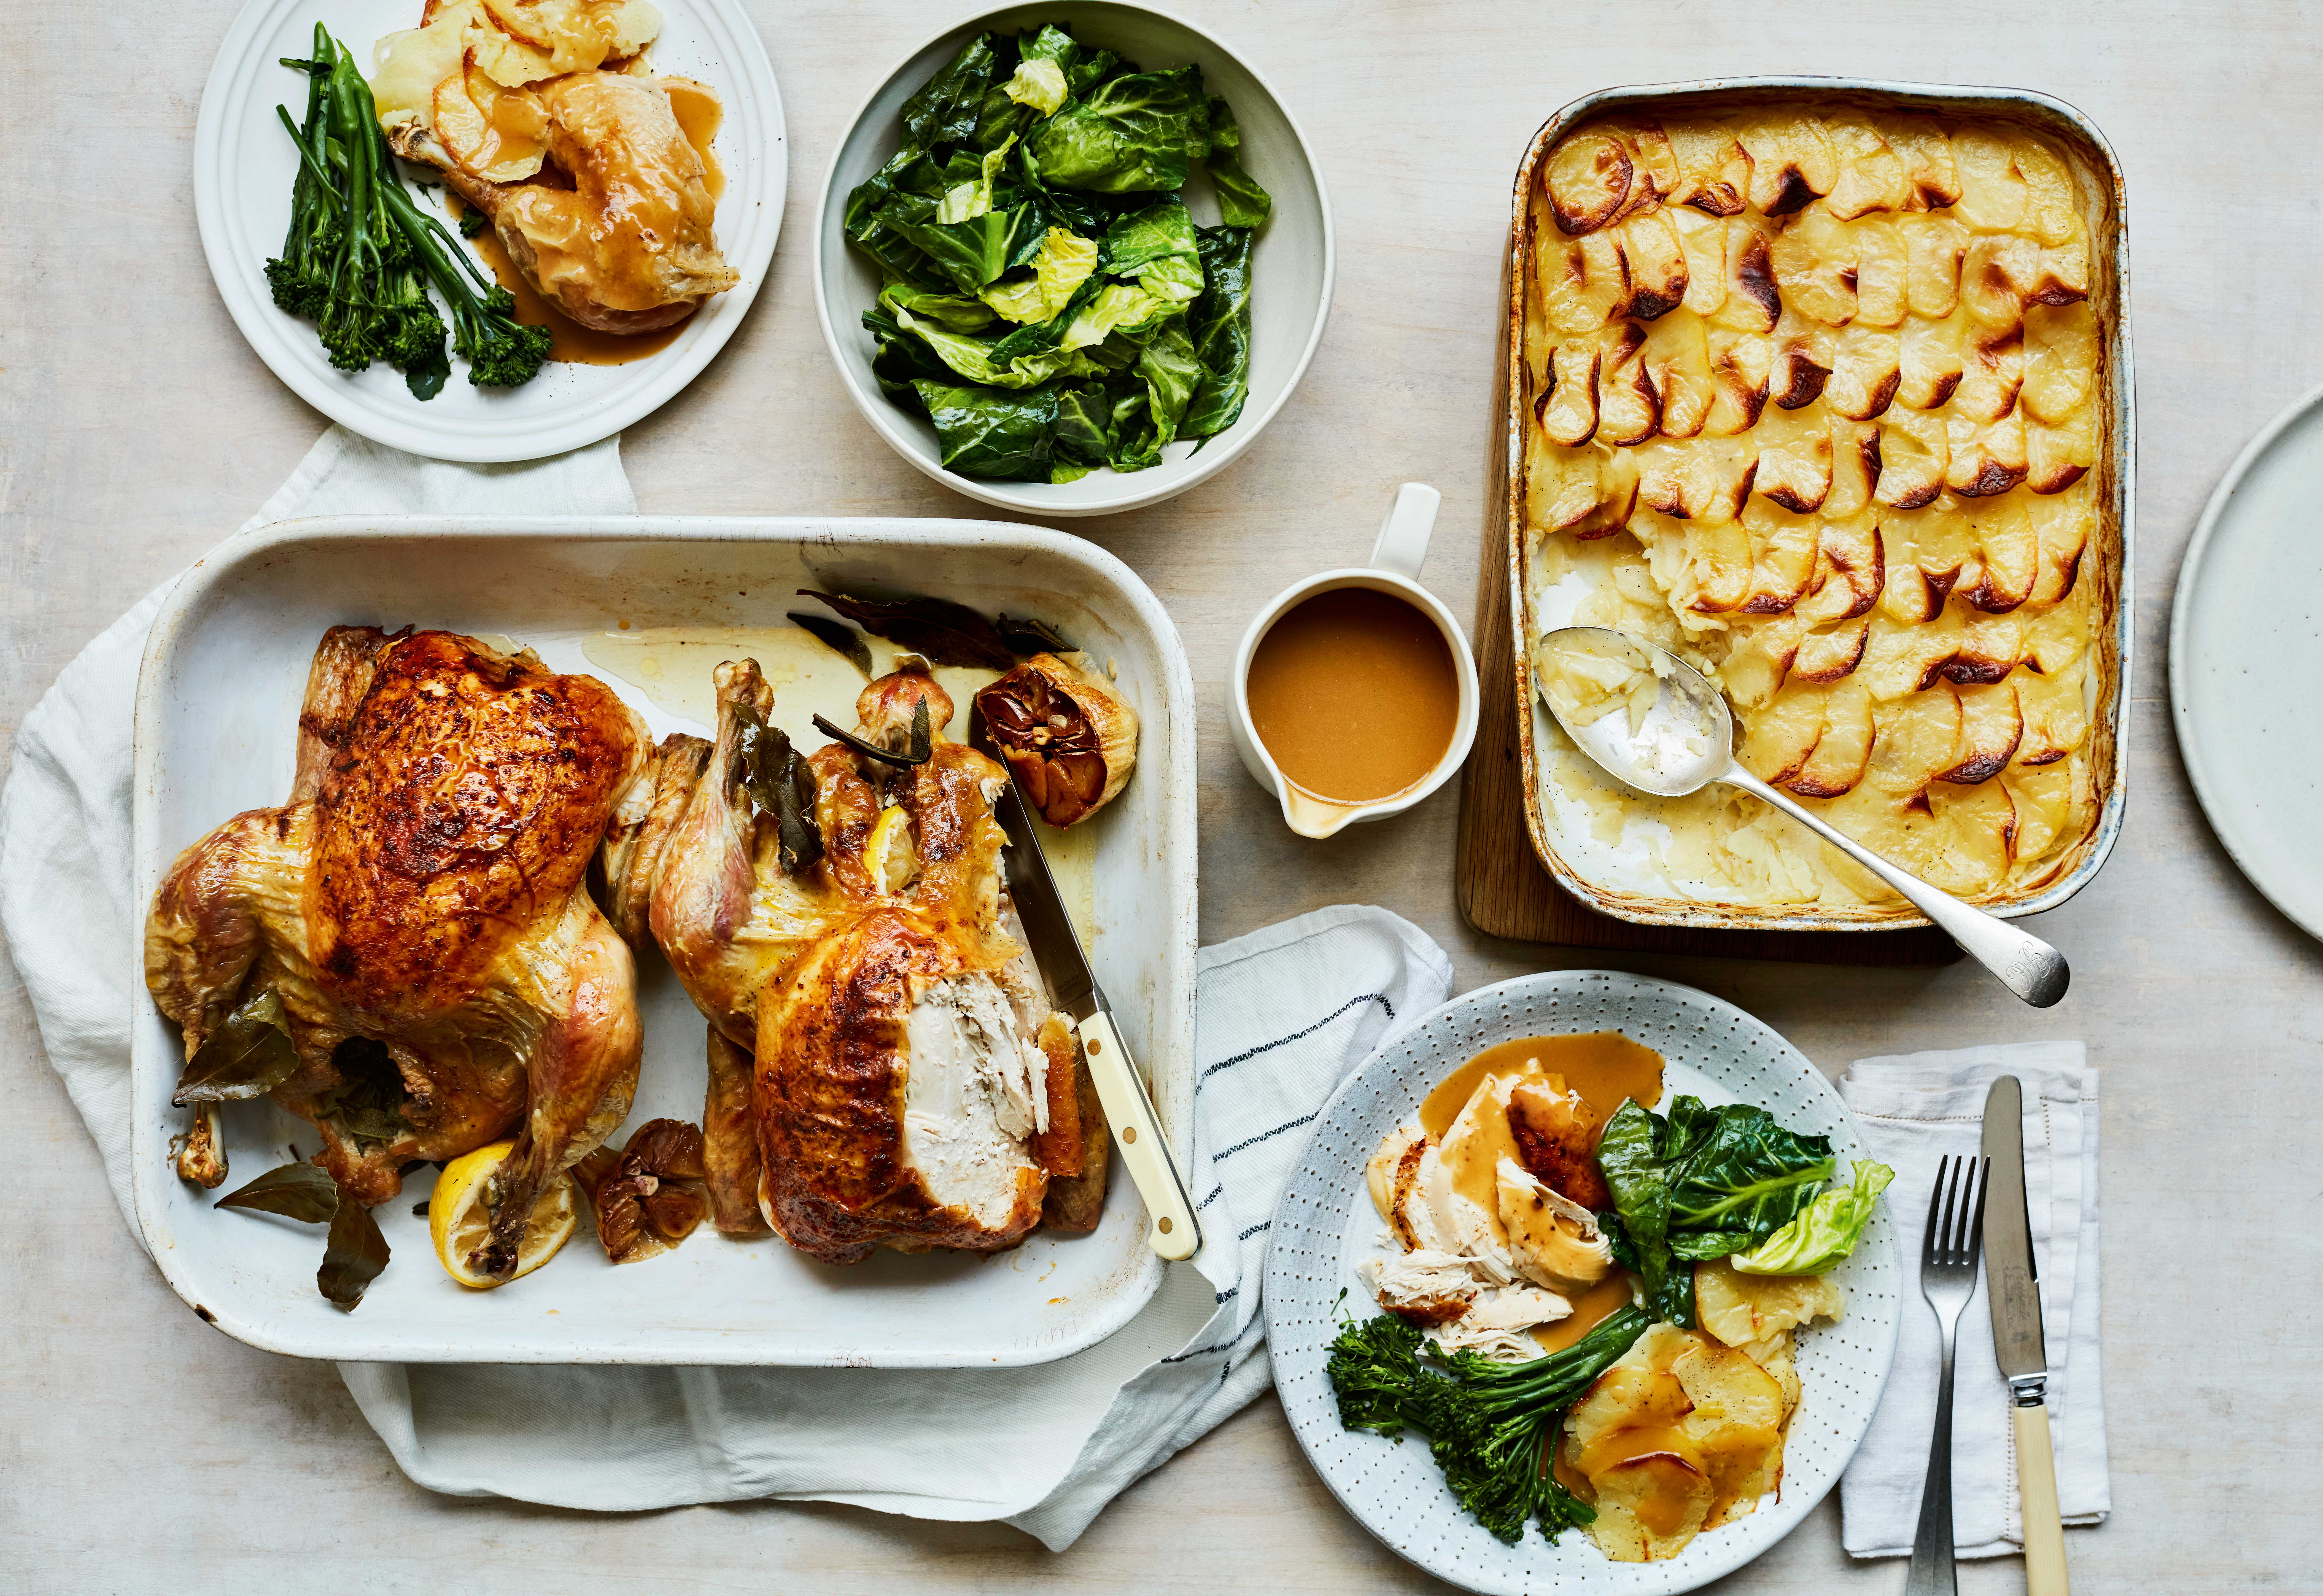
Mary Berry’s Two Roast Chickens With Scalloped Potatoes
Mary Berry’s simple sharing roast chicken recipe with accompanying potato gratin is perfect for big family Sunday lunches.
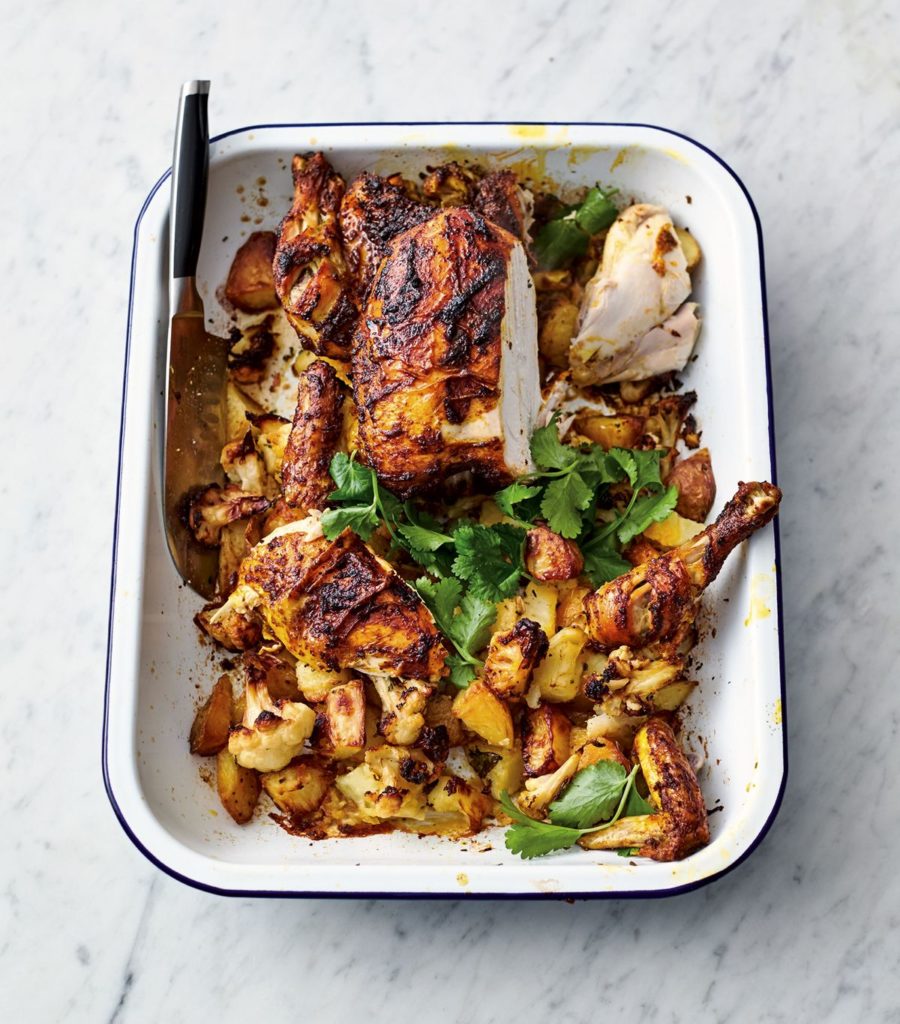
Roast Tikka Chicken
Using just five ingredients, this Indian-inspired tikka roast chicken is perfect for a fuss-free family weekend meal.
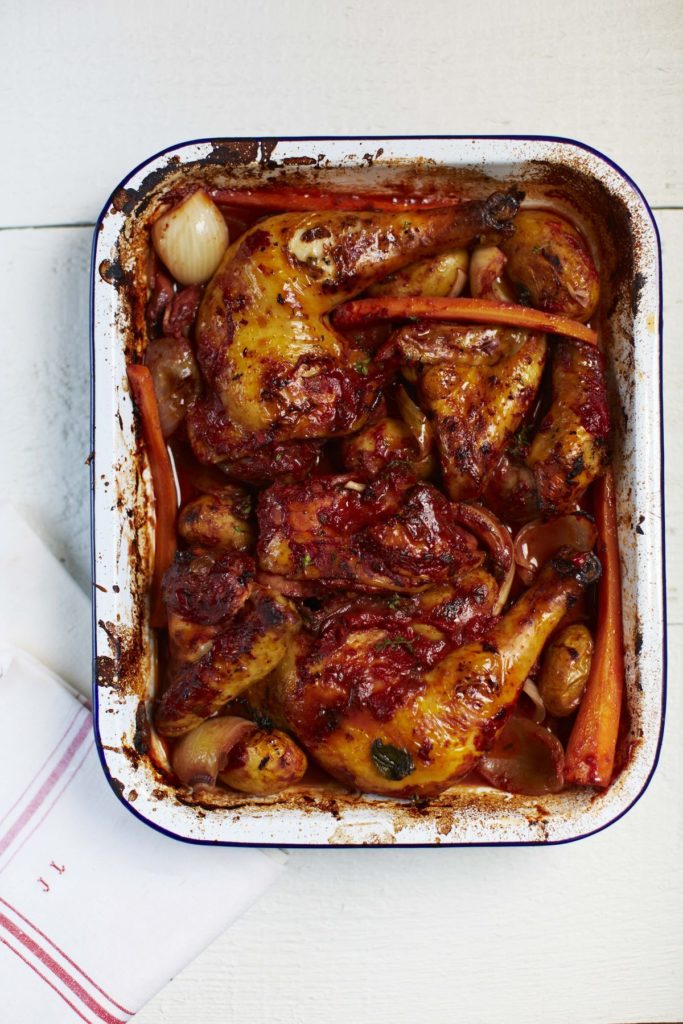
Poulet rôti au vin rouge (Roast Red Wine Chicken)
The star of this easy one-tin roast is the rich and wholesome red wine marinade which imparts a warm flavour to the chicken. No need to worry about sides either, as the carrots and potatoes cook right alongside the juicy chicken.
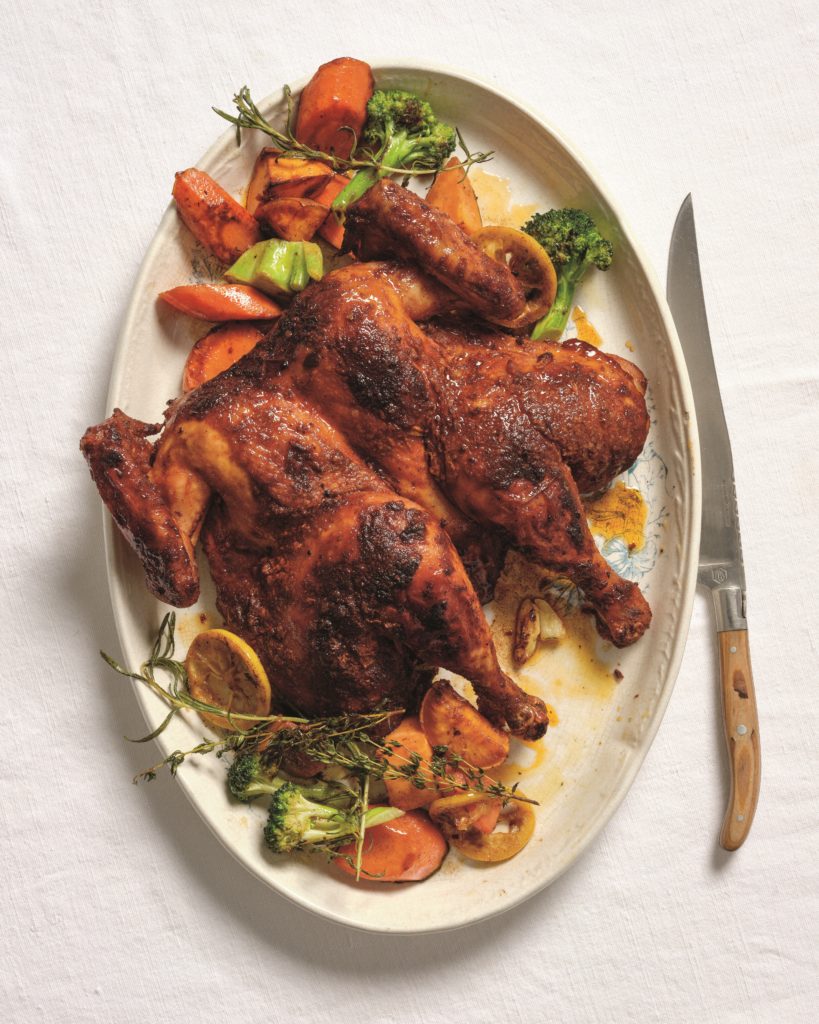
Frankie and Olive’s Roast Chicken
This super simple roast chicken dish from Drew Barrymore produces ultra crispy skin, succulent juicy chicken, and a resounding yes from the whole family.
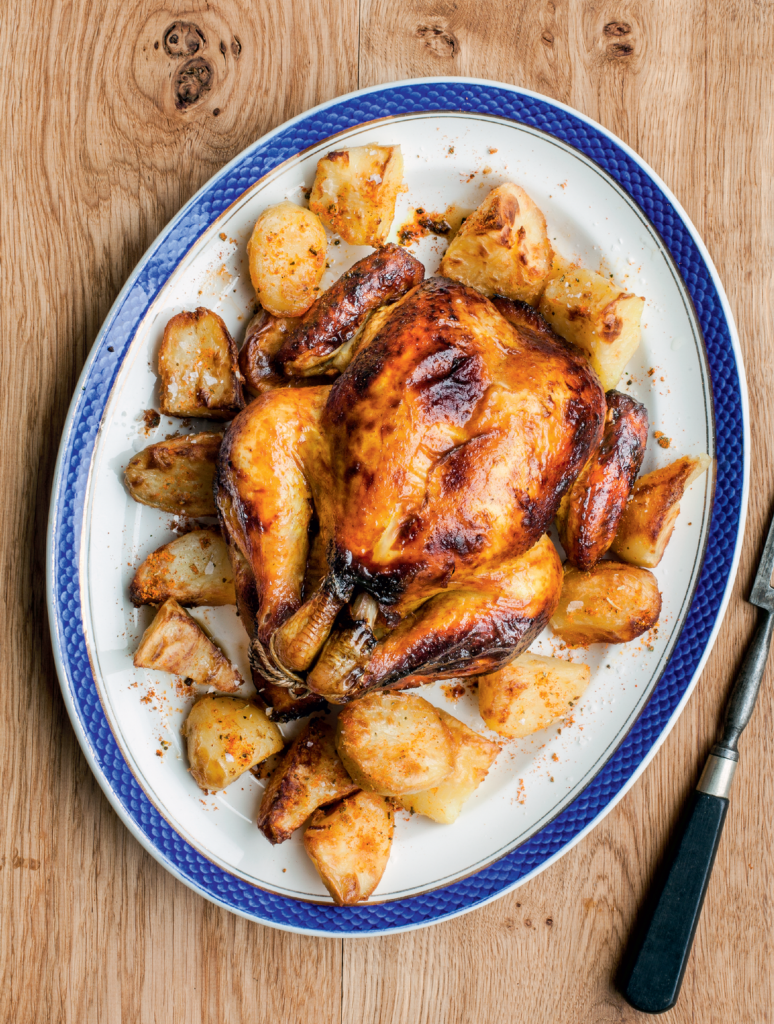
Cyrus’s Honey-Roasted Chicken with Outstanding Roasties
Liven up this weekend’s roast chicken with this inventive recipe from The Incredible Spice Men, complete with a tenderising marinade. Served with roast potatoes, this recipe is a great way to spice up an old favourite.
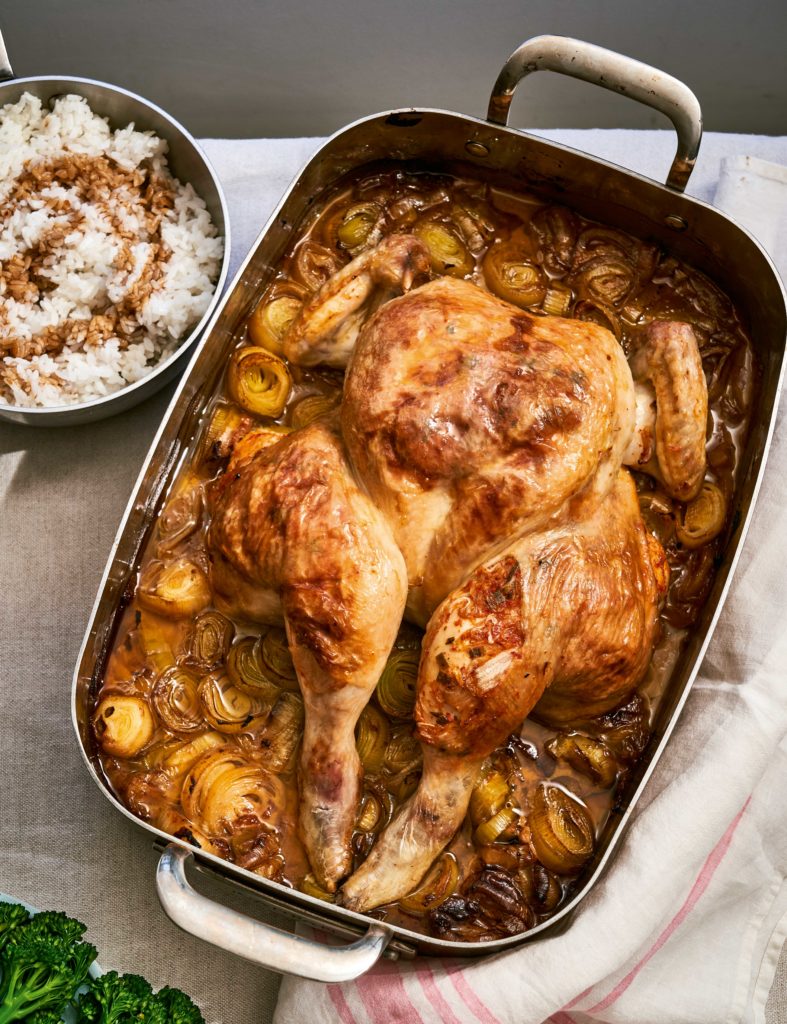
Nadiya Hussain’s Kimchi Chicken with Buttery Miso Leeks
For a fresh take on a roast chicken, try Nadiya’s cripsy kimchi chicken, best served with glutinous, sticky rice.
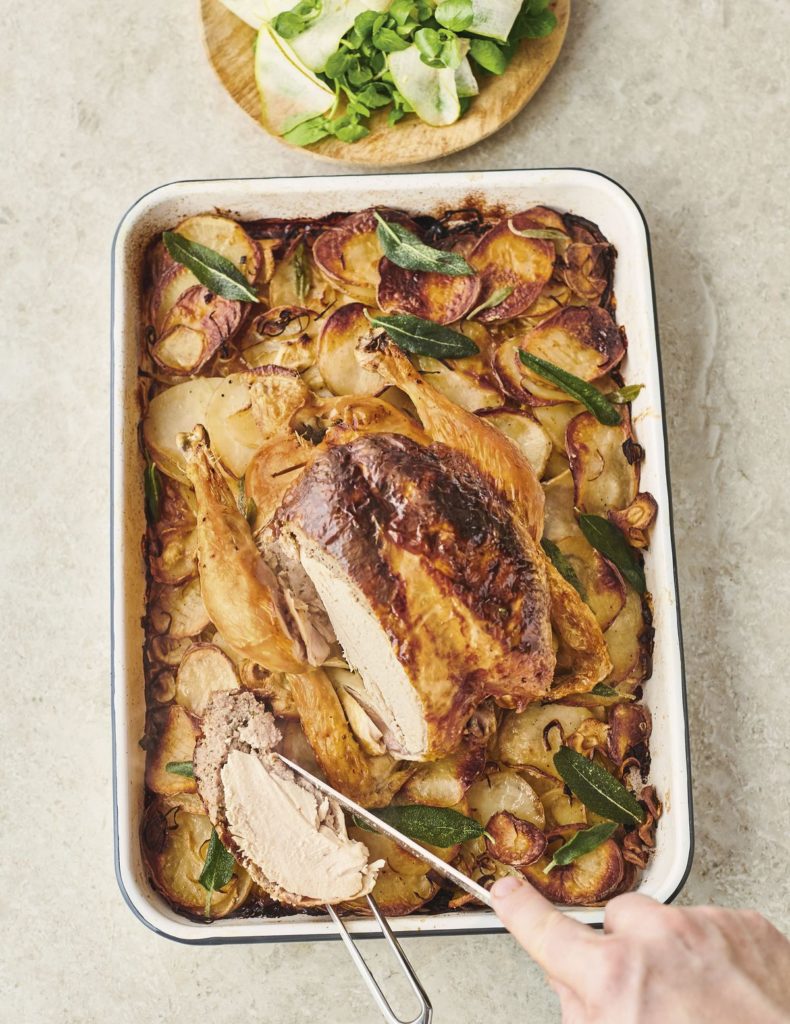
Jamie Oliver’s Cumberland Roast Chicken with Roast Potato, Parsnip, Leek and Sage Traybake, Pear and Watercress
Add another layer to your roast chicken, literally, with this Cumberland sausage stuffed chicken from Jamie Oliver. Served on a roast potato, leek, and parsnip bake, topped with crispy sage, this easy dish is sure to be a crowdpleaser.
Roast lamb
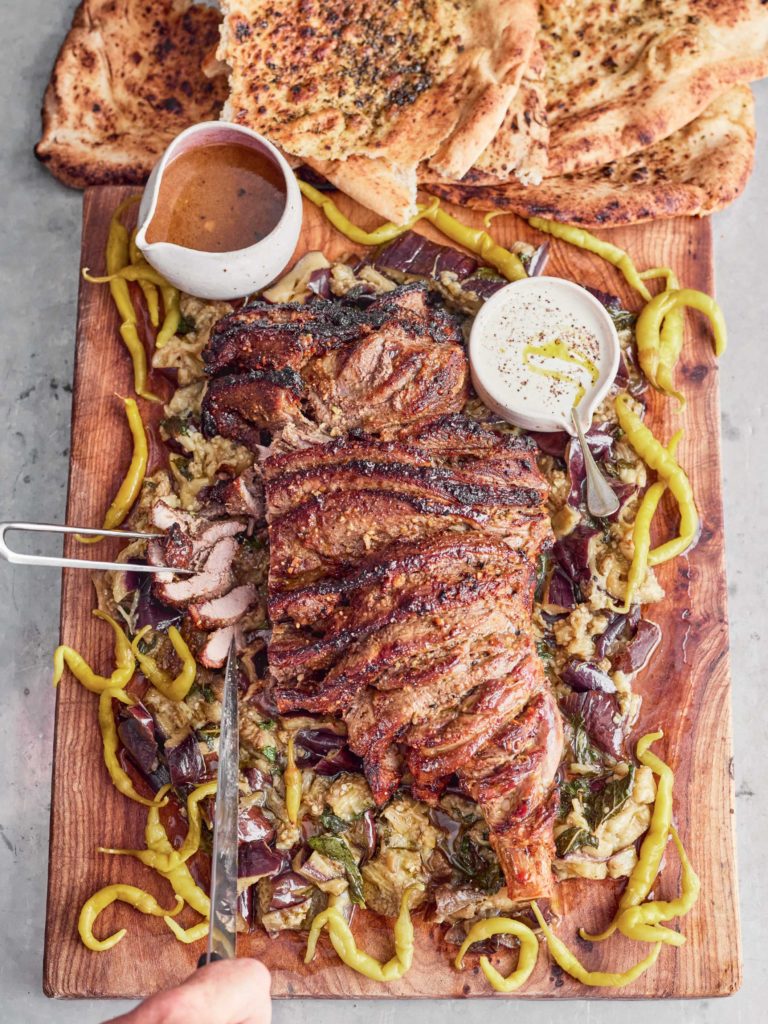
Jamie Oliver’s Gnarly Dukkah Roast Lamb
This dukkah roast lamb is perfect for serving up to a hungry crowd, yet deceptively quick and easy to pull together in just one pan.
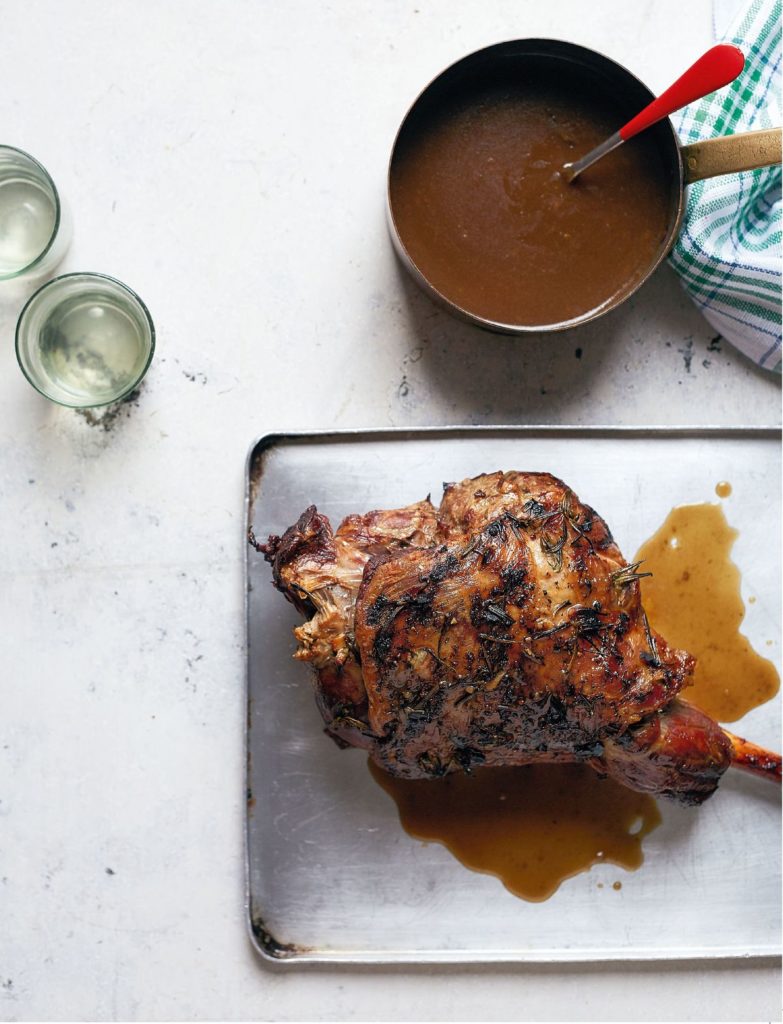
Roast Leg of Lamb with Madeira Gravy
Infused with garlic, rosemary and lemon, this tender roast leg of lamb is perfectly complemented with a gravy made from the roasting pan juice, a little added rosemary, and a splash of Madeira.
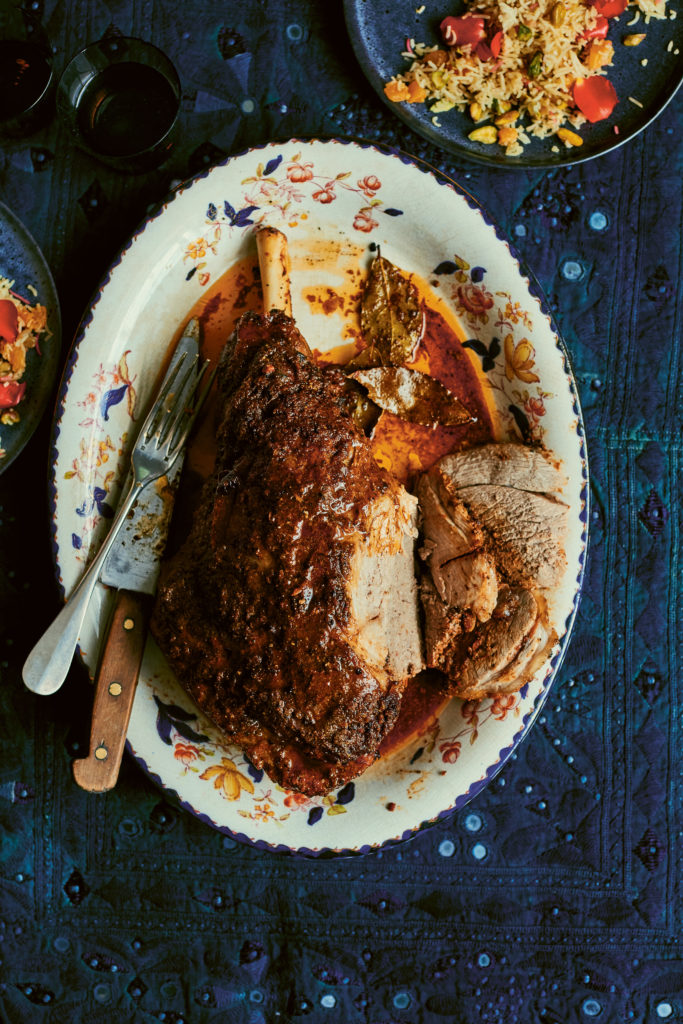
Asma Khan’s Sikandari Raan: Spiced Leg of Lamb
This lamb roast from Asthma Khan is worth the wait for the rich flavours of cumin, fenugreek, and cloves in the masala that complement the succulent slow cooked meat.
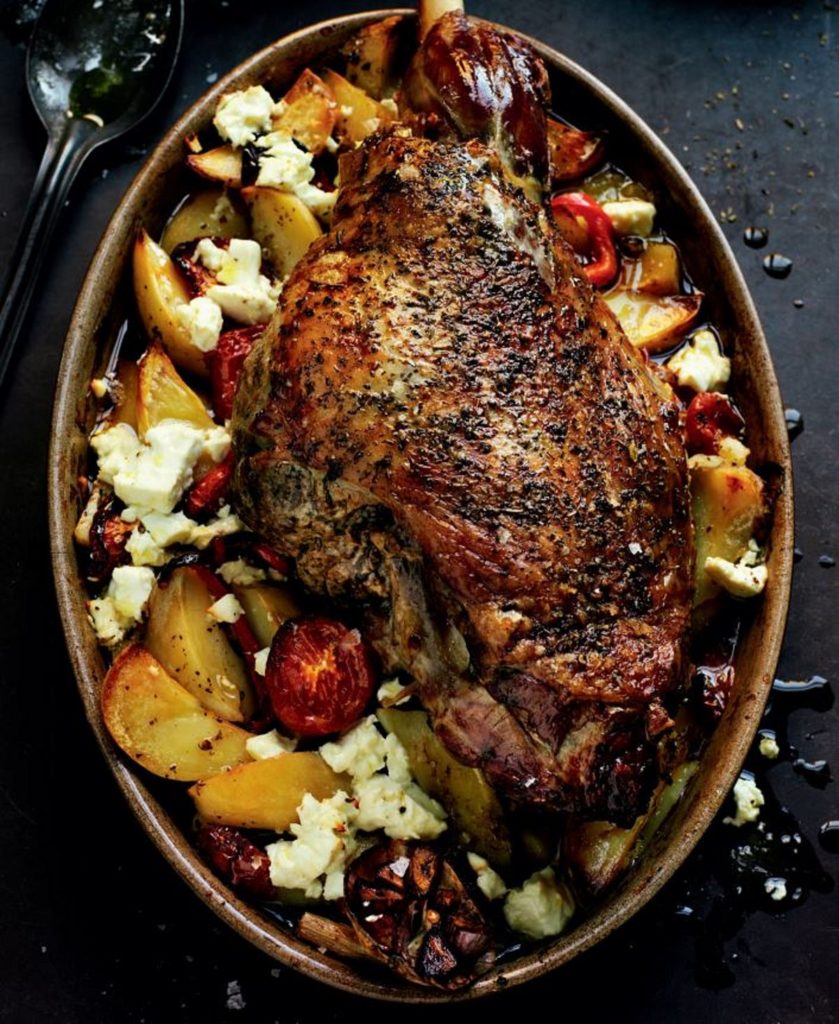
Lamb Kleftiko
Rick Stein’s all-in-one lamb kleftiko takes moments to assemble and then can be left to roast away while you enjoy your weekend. If you’re lucky enough to have leftovers, they’re fantastic in a wrap for lunch the following day.
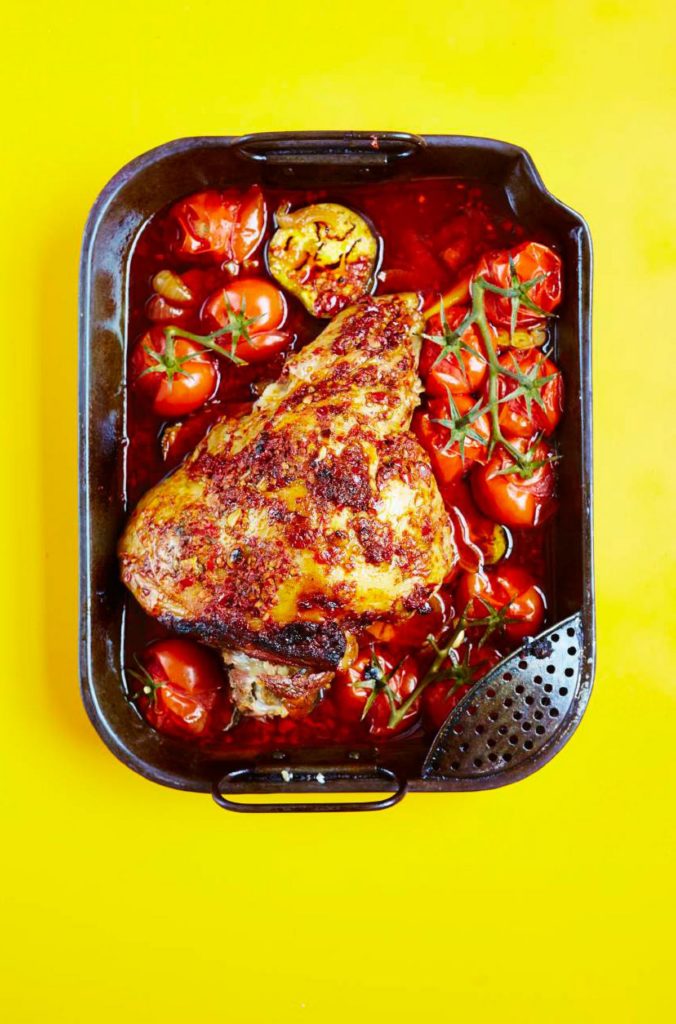
Slow-cooked Leg of Lamb with Harissa, Roasted Aubergines and Tomatoes
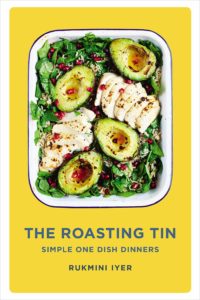
This slow-roasted lamb is the perfect carrier for the strong flavours of the simple harissa marinade. A fantastic crowd-pleasing dish, this one-tin wonder from Rukmini is cooked with aubergines and vine tomatoes to serve alongside.
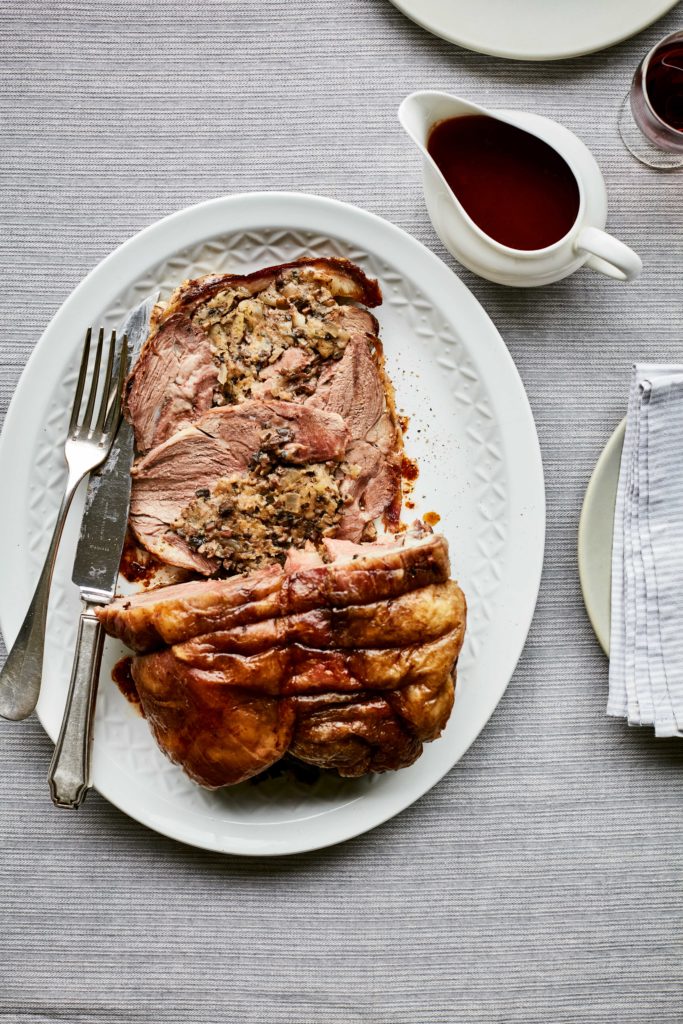
Mary Berry’s Cushion Lamb Stuffed with Mushroom and Mint
Stuffed with chestnut mushrooms, plenty of garlic, and a generous amount of fresh mint, this rolled lamb is a stunning main course for a crowd. Serve with a lavish pour of red wine gravy to finish.
Roast pork
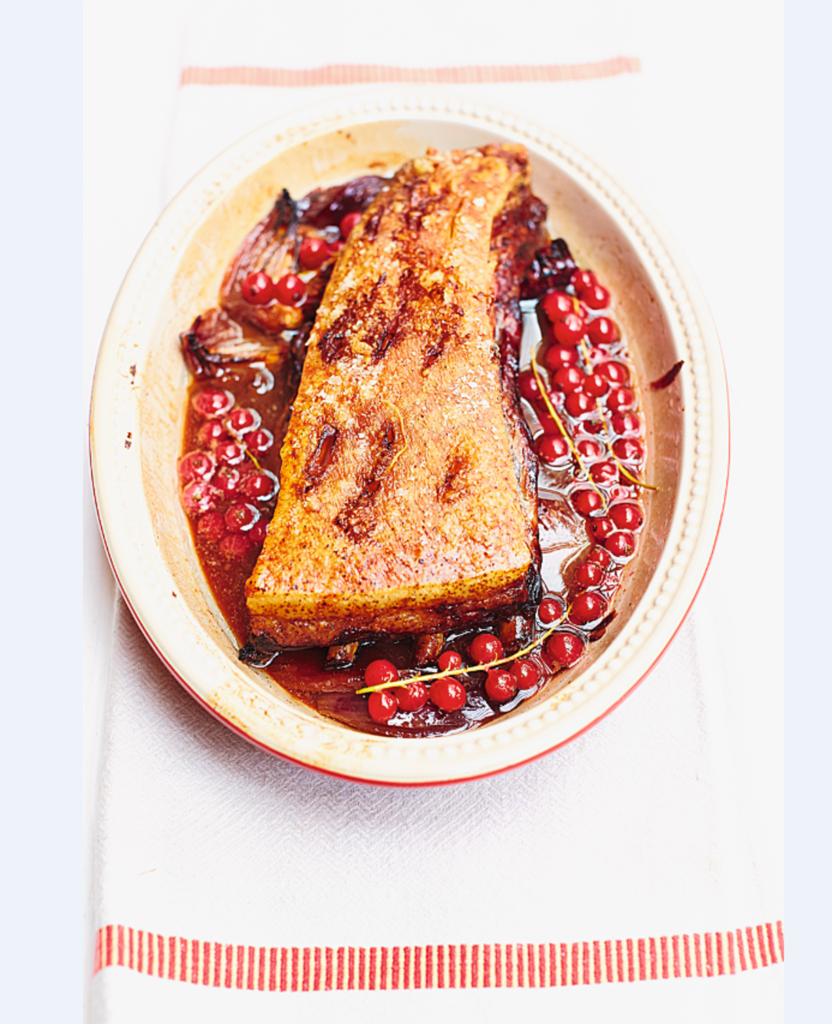
Slow-Roasted Pork Belly with Sloe Gin
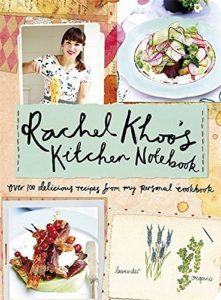
Upgrade your pork roast with this beautiful recipe from Rachel Khoo. It’s great way to enjoy sloe gin and a cocktail for the cook is very much advocated, of course.
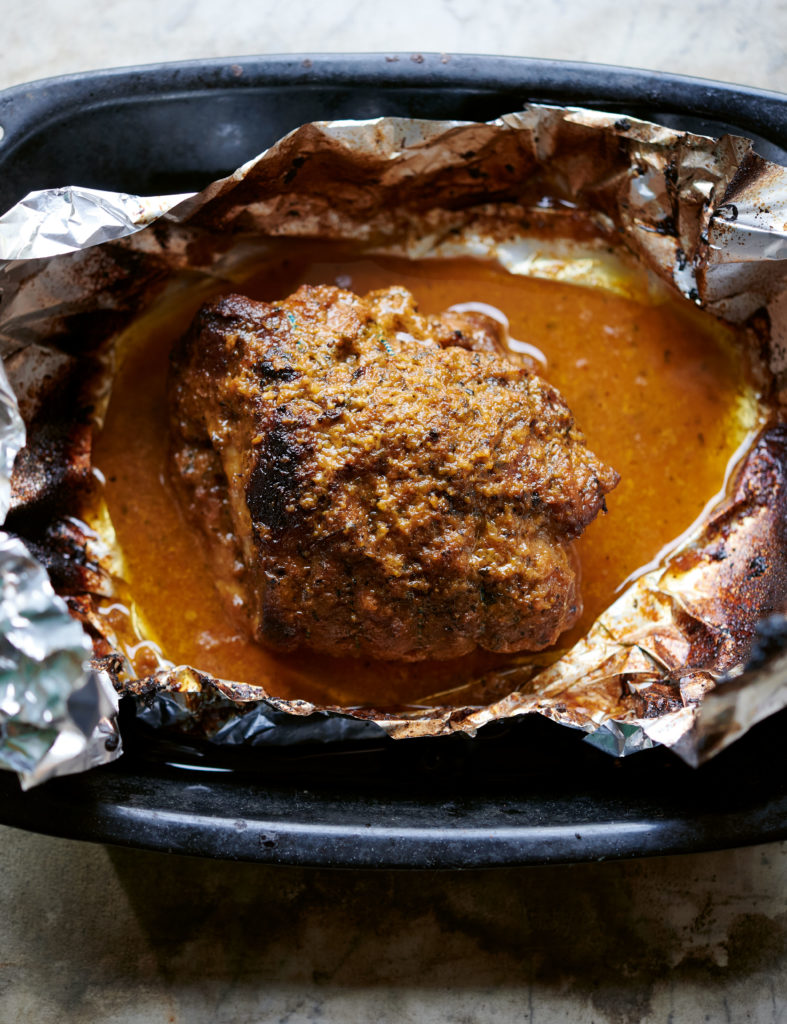
Roast Shoulder of Pork Marinated with Orange and Cumin
This tender slow-roasted pork shoulder from Sam and Sam Clark is coated in a spiced citrus marinade with plenty of ground cumin and paprika for a unique, but easy, centrepiece of a dish.
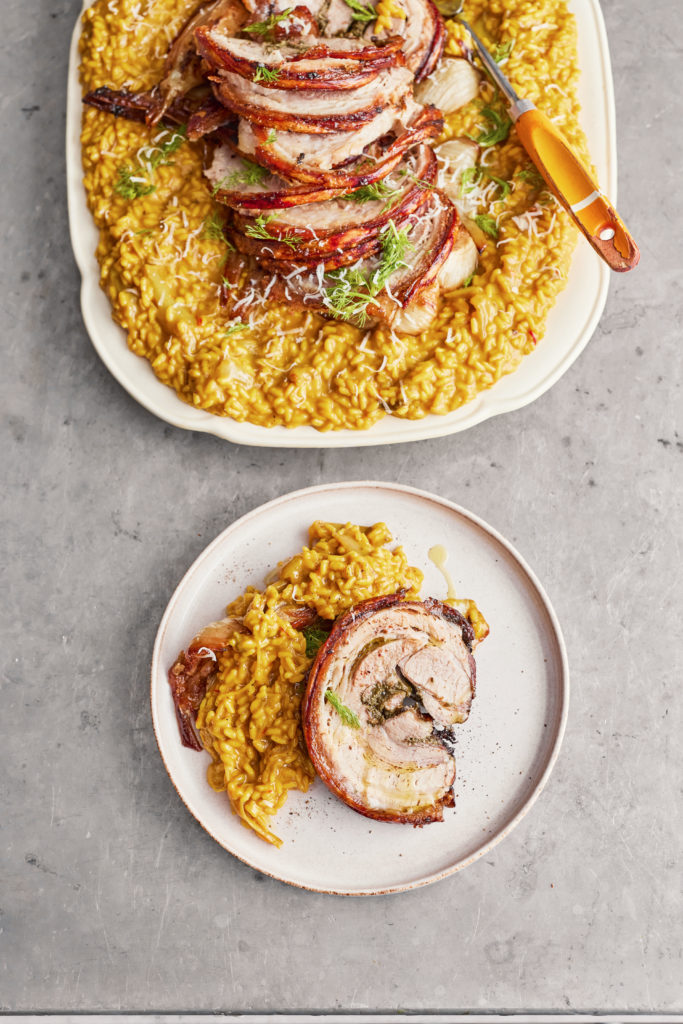
Jamie Oliver’s Rolled Pork Belly
This simple roast pork belly is smothered in a fresh sage marinade and paired with roasted fennel and a super simple saffron and Parmesan risotto, perfect for a hearty weekend dinner.
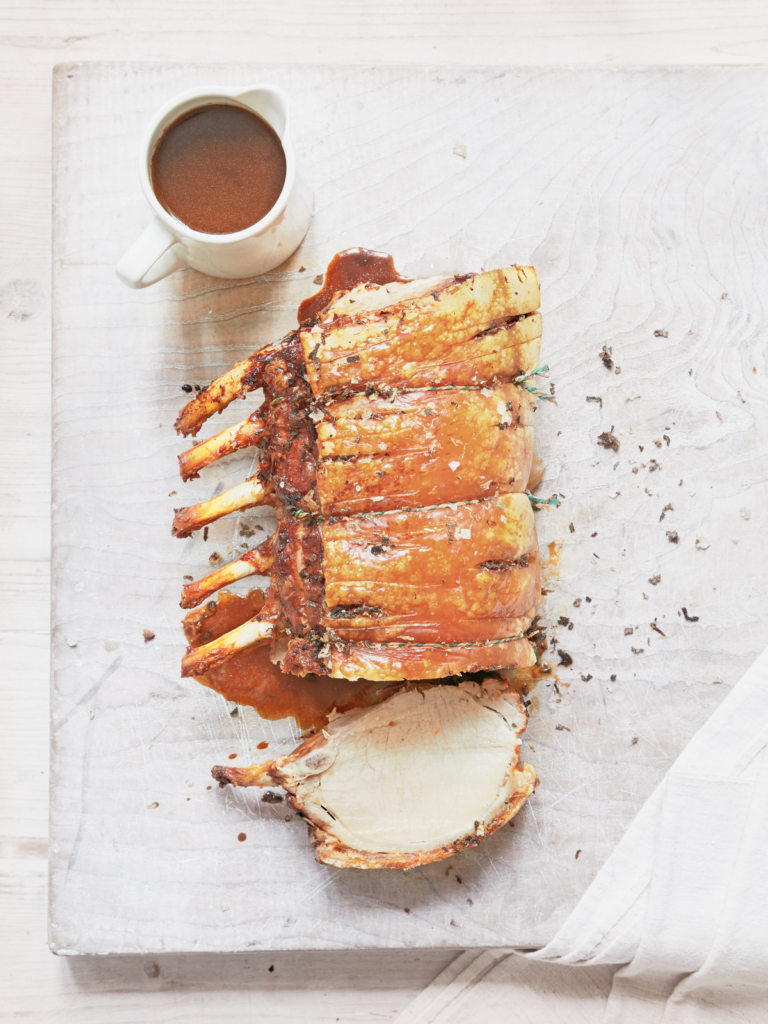
Roast Rack of Pork with Sage and Lemon Rub
A failsafe family favourite, this classic roast from Mary Berry is tender and topped with ultra crunchy crackling. A zesty lemon and sage rub add a burst of flavour to this rich dish.
Roast Fish
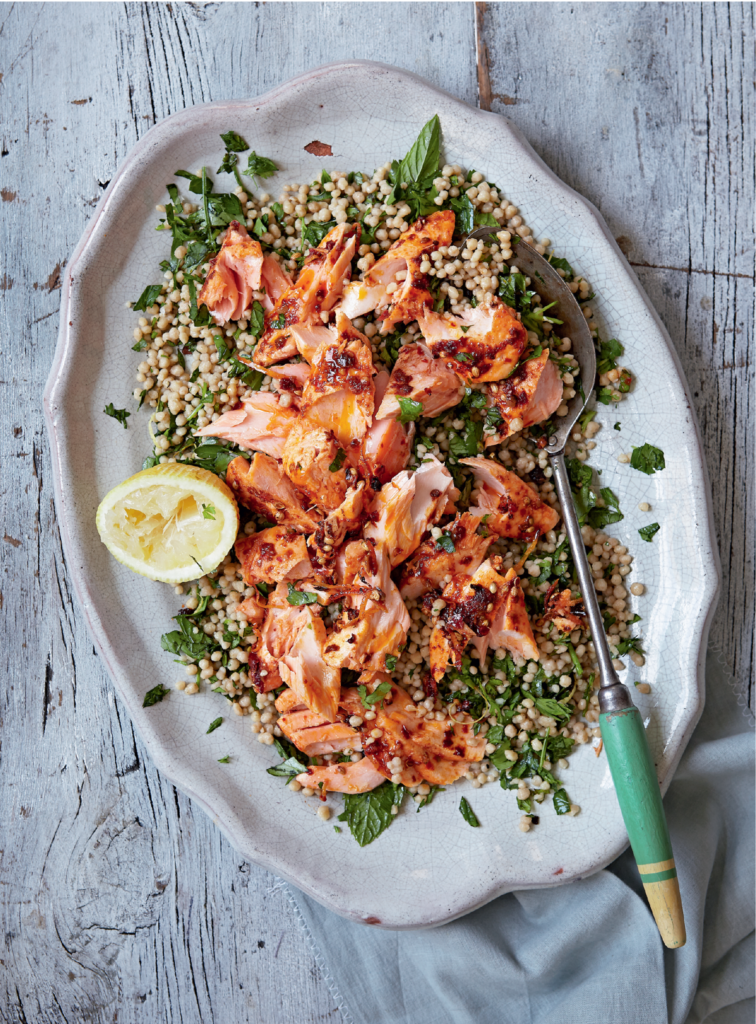
Roast Harissa Salmon With Lemony Giant Couscous
Give your roast a more relaxed feel by serving up this harissa salmon accompanied by a refreshing lemony couscous on one large serving platter. This roast can be on the table in under and hour, making it an incredibly low-maintenance Sunday feast.
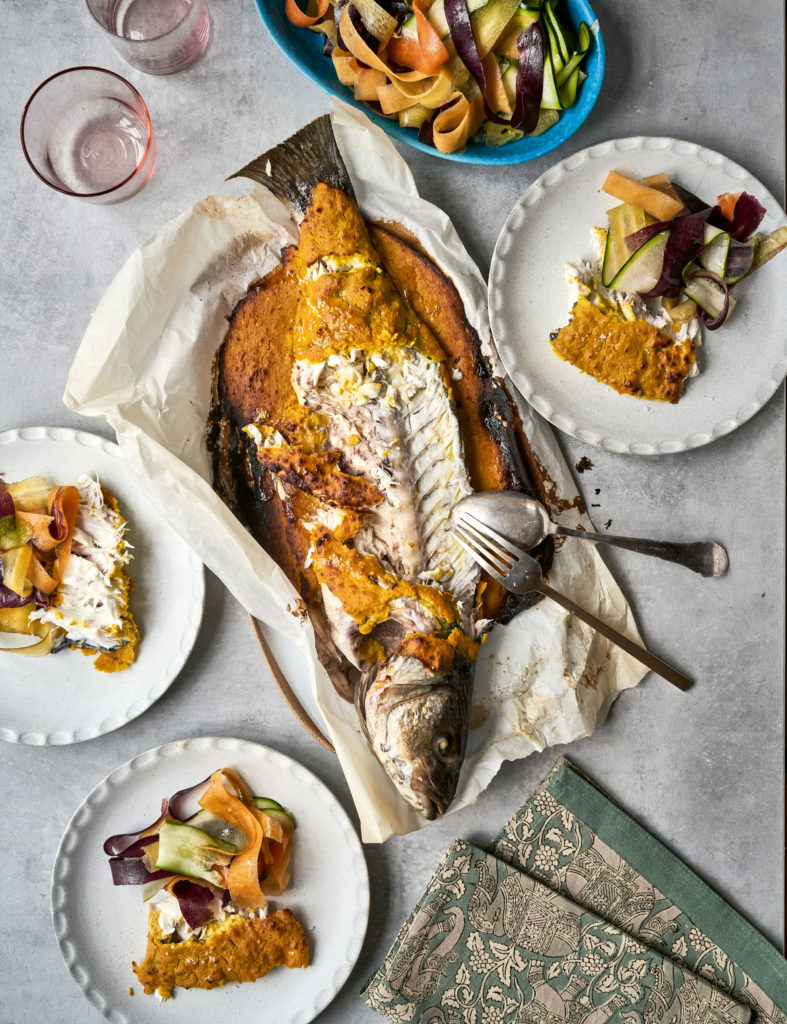
Nadiya Hussain’s Whole Citrus Sea Bass
If serving up a whole fish as a main course doesn’t say showstopper we don’t know what will. The citrusy coating includes oranges, lemons, and grapefruit for the ultimate zesty companion to the fish.
Roast Duck
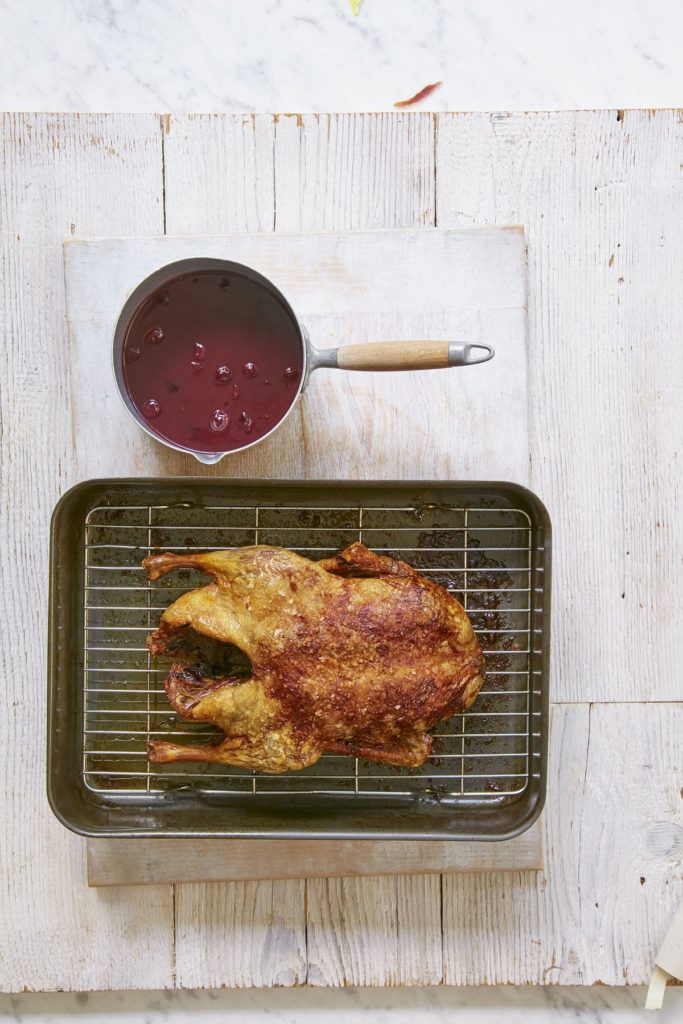
Slow-Roast Duck with Port & Cherry Sauce
A play on both a classic roast duck and a Chinese-inspired crispy duck, this unique roast is a fantastic way to change up your standard roast dinner. Served with a sweet and glossy port and cherry sauce, there won’t be any leftovers here.
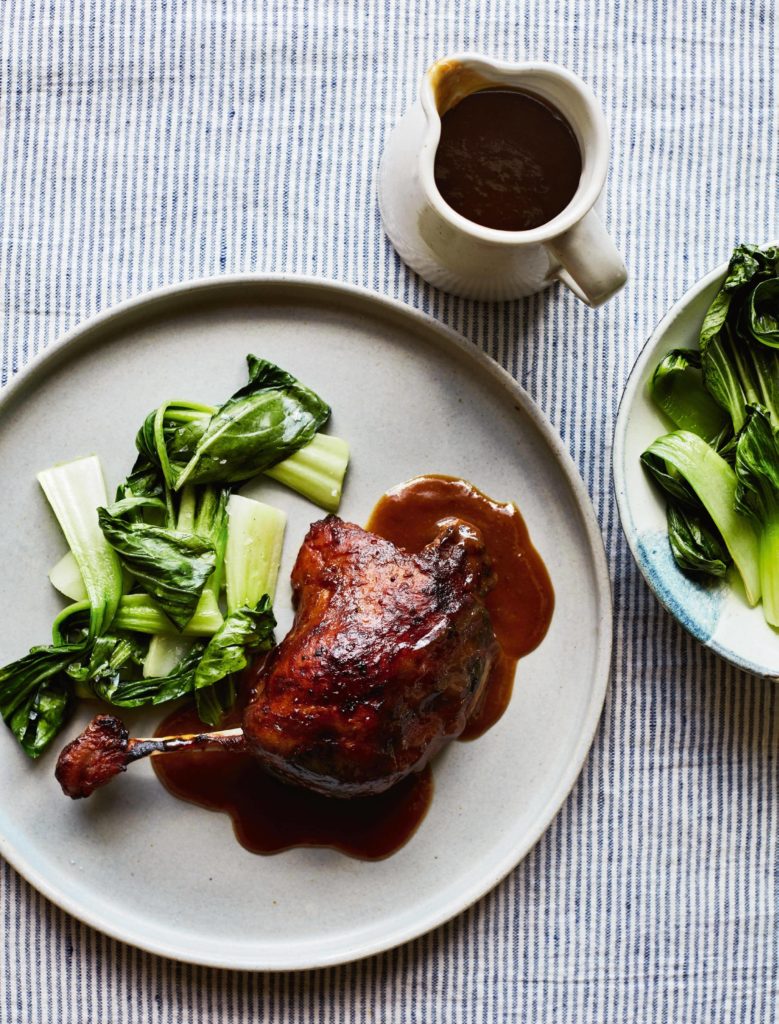
Mary Berry’s Roasted Duck Legs Japanese Style
Inspired by Japanese flavours of miso, soy, ginger and rice vinegar, this roast duck recipe from Mary Berry is a unique way to change up your classic roast dinner.
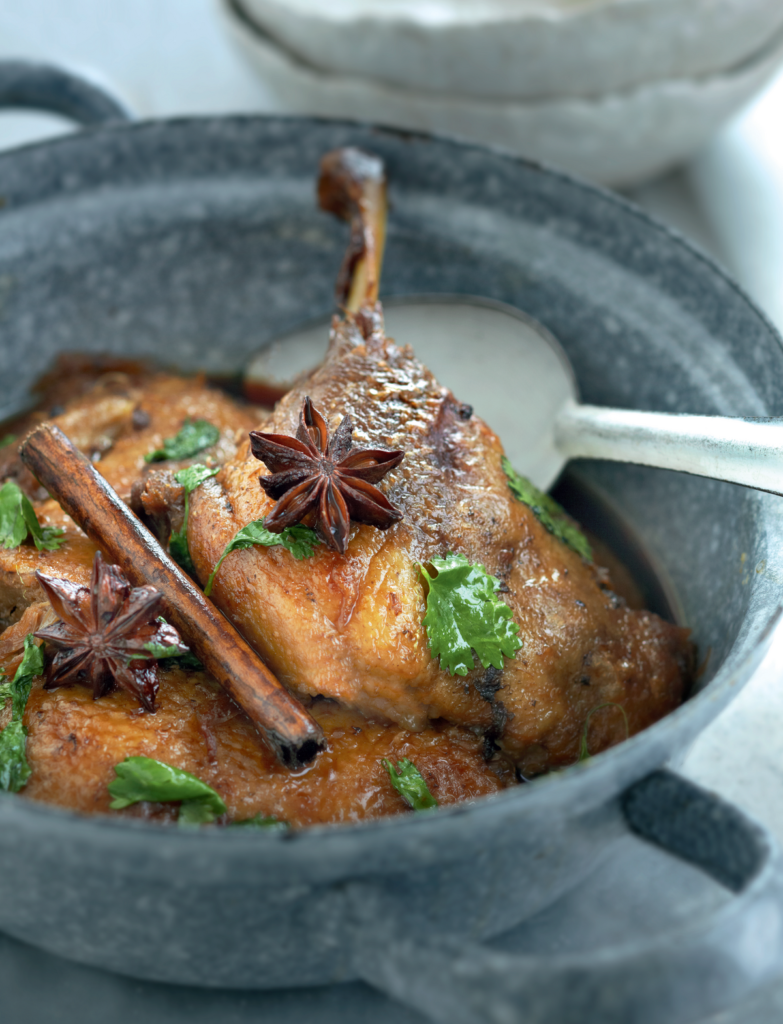
Braised Duck
This mouthwatering braised duck is infused with incredible flavour and is best served warm with fresh coriander and a sharp garlic and vinegar dipping sauce.
