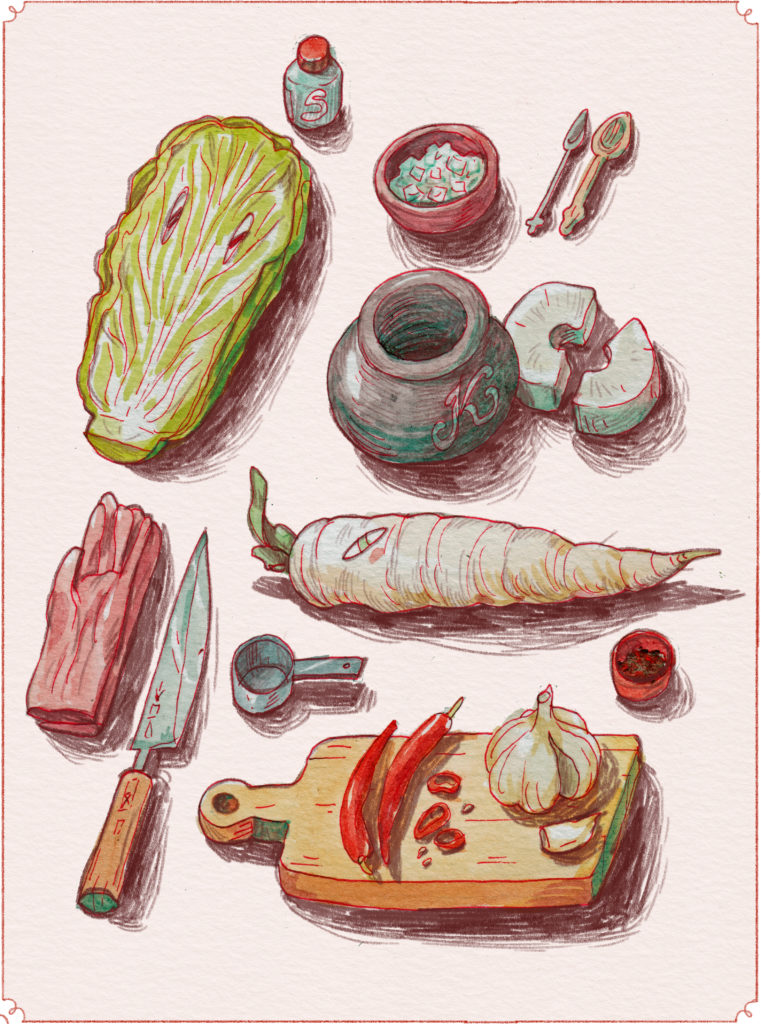
Chinese Leaf Kimchi (Baechu Kimchi)
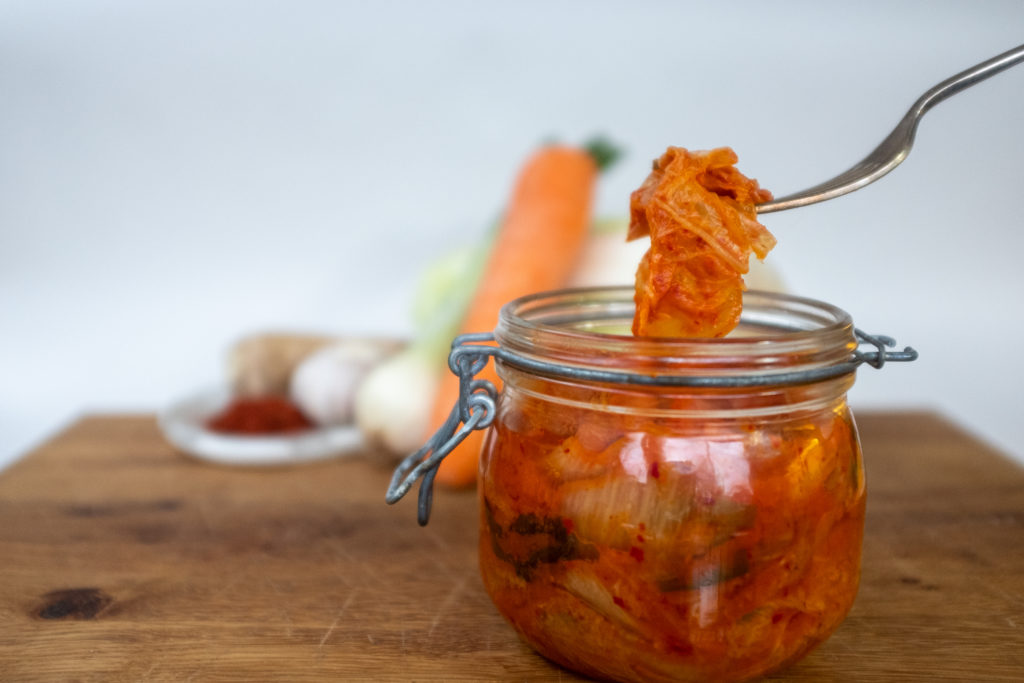
This Chinese Leaf cabbage kimchi recipe results in a sharp, spicy and crunchy kimchi, perfect for adding a pop of flavour to your favourite dishes.
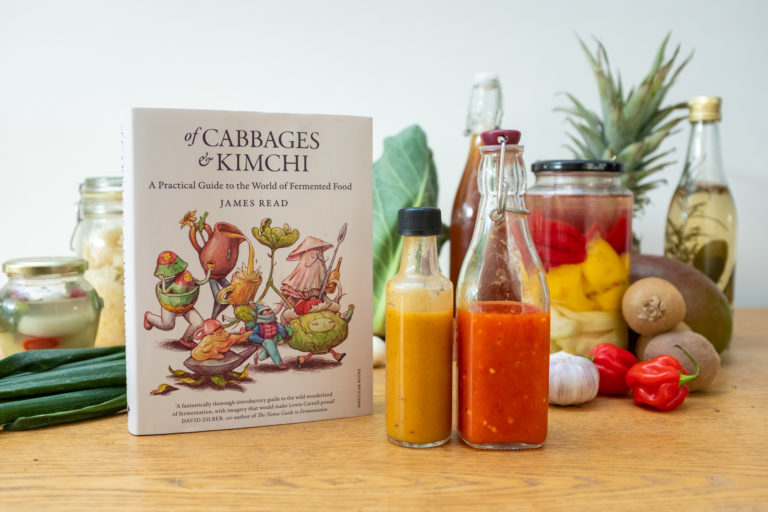
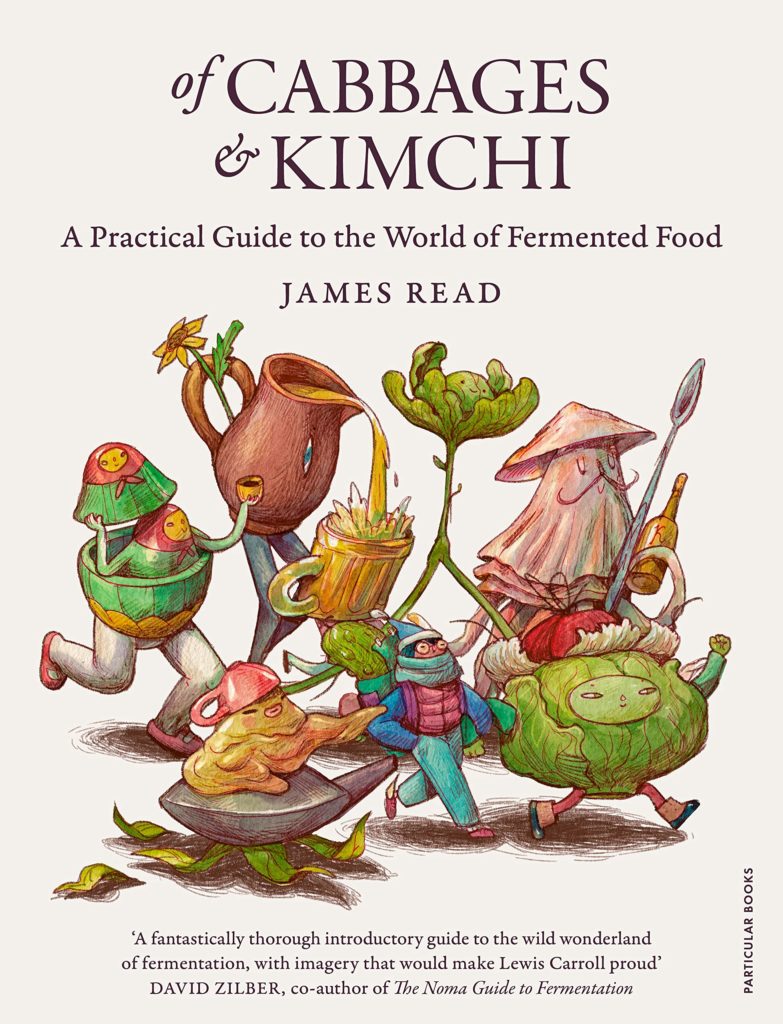
From the book
Buy From
Introduction
Chinese leaf heads vary enormously – they can weigh up to 2kg, or as little as 500g (but puzzlingly they’re priced by piece not weight). They can be dense and compact or light and leafy, and anything from ivory-coloured to pine-green. For kimchi, I’d usually opt for the dense, heavyweight, paler variety – but you’ll find these much more easily between the months of October and March. I’ve yet to meet a specimen that can’t be fermented successfully, though, so go with what you can get.
Ingredients
| For day one: | |
|---|---|
| 1 bunch (150g) | spring onions |
| 250g | carrots, peeled |
| 2 heads of (2kg) | Chinese leaf |
| 120g | coarse sea salt |
| For day two: | |
| 5cm | ginger, peeled and roughly chopped |
| 10 cloves of | garlic, peeled |
| 95g | doenjang or aka miso (or 40g preserved shrimp/saeujeot) |
| 10g | caster sugar |
| 60g | gochugaru chilli flakes |
Essential kit
You will need: a food processor, a large bowl, rubber gloves, and a large (1.5l) jar with a weight to fit.
Method
Time / 3–7 days (depending on ambient temperature)
Yield / 2kg kimchi
Chop the spring onions into 5cm lengths and separate whites from greens. Put the greens in a large bowl, and the whites aside in the fridge for making sauce the next day.
Chop the carrots into 5cm batons about the thickness of a pencil and add to the onion greens.
Remove any damaged outer leaves plus the bases from the cabbage and discard (retaining a large outer leaf as a weight, if desired).
Chop the cabbage into 5cm-wide strips and combine with the carrots and spring onion greens.
Combine the salt with the chopped veg, mix thoroughly and leave covered overnight. The veg will shrink and wilt substantially as water is drawn out of it.
The next day, thoroughly rinse the salted veg twice.
Combine the ginger, garlic, reserved spring onion whites, miso, sugar and gochugaru in a food processor, and pulse until you have a paste a little looser than peanut butter. You may need to add a little water.
Combine the chilli paste with the rinsed veg (rubber gloves are advised), getting it between every leaf.
Once thoroughly mixed, put the kimchi in your jar, and cover with weights – as the cabbage releases brine this will keep everything submerged. Make sure there’s a little headspace at the top of your container (5–10cm). Seal, and leave in a cool place if you can – around 10–15°C is ideal – and out of direct sunlight.
Check your kimchi daily for signs of fermentation (bubbling and a change in smell – you might notice a ‘pear drop’ aroma) and continue to open the jar twice a day to let gas escape once it has begun fermenting. Watch out, if it’s particularly fizzy it might try to escape the jar – wrapping a piece of kitchen roll over the lid as you open it will save your clothes and worktop from kimchi spatter.
Three to seven days after fermentation has begun, your kimchi should be ready – it’ll be quicker if you’ve put it somewhere warmer. Try it, and if it tastes good, refrigerate. If it still tastes a bit raw, leave it for another day. Once in the fridge, it will keep for well over a month, but loosen the lid every few days to prevent gas build-up.
Reviews
1 Ratings
Have you tried this recipe? Let us know how it went by leaving a comment below.
Thank you for your rating. Our team will get back to any queries as soon as possible.
Please note: Moderation is enabled and may delay your comment being posted. There is no need to resubmit your comment. By posting a comment you are agreeing to the website Terms of Use.
