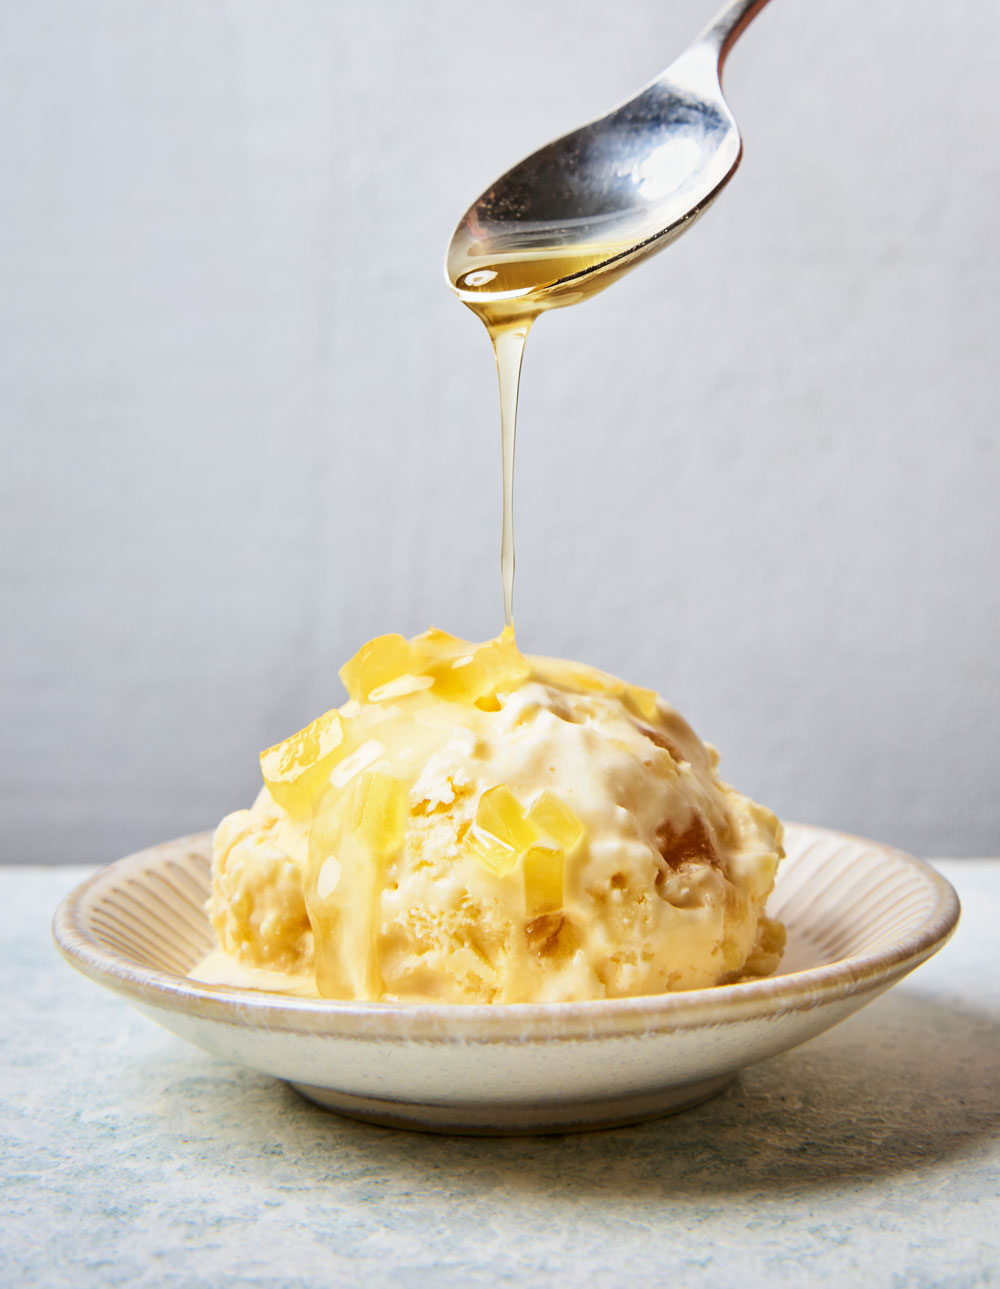
Apricot Noyau Ice Cream

This creative recipe from La Grotta Ices uses apricot kernels to impart a delicious almond flavour to the ice cream.
From the book
Buy From
Introduction
A few years ago, late at night in bed and high on Italian eBay, I bought several thousand pounds worth of 1960s Italian ice cream machinery from a used catering equipment salesman in northern Italy. I hired a van and undertook an insane 24-hour drive to Turin and back to bring the 2-ton machines back to the UK. Once home, they sat, unfixable, in storage for approximately six years, quietly leaking thick black oil and defunct coolant over my garage floor until I sold them for scrap metal last summer. The upside to this story was that en route home we stopped at a market in Lyon where I took advantage of every bit of negative space in the van and bought a stall’s entire stock of very ripe apricots to bring back with me. It made enough ice cream for that whole summer, it was extraordinarily good – the delicious but slightly poisonous marzipan flavour of the ‘noyau’ or kernels acting as a bitter reminder against late night eBay purchases.
Ingredients
| About 375g | fresh apricots |
| 150g | sugar |
| 170ml | whole milk |
| 170ml | double cream |
| 3 | egg yolks |
| 1 tsp | honey (optional) |
Essential kit
You will need: an ice cream machine.
Method
1. To prepare the ice cream: slice the apricots in half and remove the stones; keep these to one side. Cook the apricot halves very lightly just until the fruit collapses. If using a microwave, place the fruit in a heatproof bowl with a tablespoon of water. Cover the bowl with cling film and cook on high for 2 – 3 minutes until tender. Otherwise simmer the apricot halves gently in a non-reactive pan, just until they are cooked through and piping hot (do not boil ). Cool in a sink of iced water then cover and chill in the fridge.
2. Place a clean tea towel on a hard surface, then line the apricot stones up along the middle of the towel. Fold the tea towel in half over the apricot stones to cover them and then firmly crack each stone with a rolling pin (the tea towel prevents bits of the shell from flying all over the kitchen). Try to hit hard enough to crack the shell, but not so energetically that you completely obliterate it – you want to be able to rescue the kernels from inside the shell afterwards.
3. Pick the tiny kernel from each shell then grind them in a pestle and mortar with 20 g of the sugar.
4. Heat the milk, cream and the ground kernel mix in a pan, stirring often with a whisk or silicone spatula to prevent it catching. As soon as the milk is hot and steaming, whisk the yolks with the remaining sugar and honey (if using) until combined.
5. Pour the hot liquid over the yolk mix in a thin stream, whisking constantly as you do so, then return all the mix to the pan. Cook gently over a low heat, stirring all the time, until the mix reaches 82°C. As soon as your digital thermometer says 82°C, remove the pan from the heat and set it in a sink full of iced water to cool – you can speed up the process by stirring it every so often. Once entirely cold, pour the custard into a clean container, cover and chill in the fridge.
6. To make the ice cream: the following day, use a spatula to scrape the chilled apricots into the custard then blend together with a stick blender until very smooth – blitz for at least 2 minutes, or until there are only small flecks of apricot skin visible in the mix. Using a small ladle, push the apricot custard through a fine-mesh sieve or chinois into a clean container, squeezing hard to extract as much smooth custard mix as possible. Discard the bits of skin and kernel.
7. Pour the custard into an ice cream machine and churn according to the machine’s instructions, usually about 20 – 25 minutes, or until frozen and the texture of whipped cream.
8. Transfer the ice cream to a suitable lidded container. Top with a piece of waxed paper to limit exposure to air, cover and freeze until ready to serve.
Reviews
Have you tried this recipe? Let us know how it went by leaving a comment below.
Our team will respond to any queries as soon as we can - this may take longer over weekends. You do not need to resubmit your comment.
Please note: Moderation is enabled and may delay your comment being posted. There is no need to resubmit your comment. By posting a comment you are agreeing to the website Terms of Use.
