Strawberry Shortcake Cheesecake
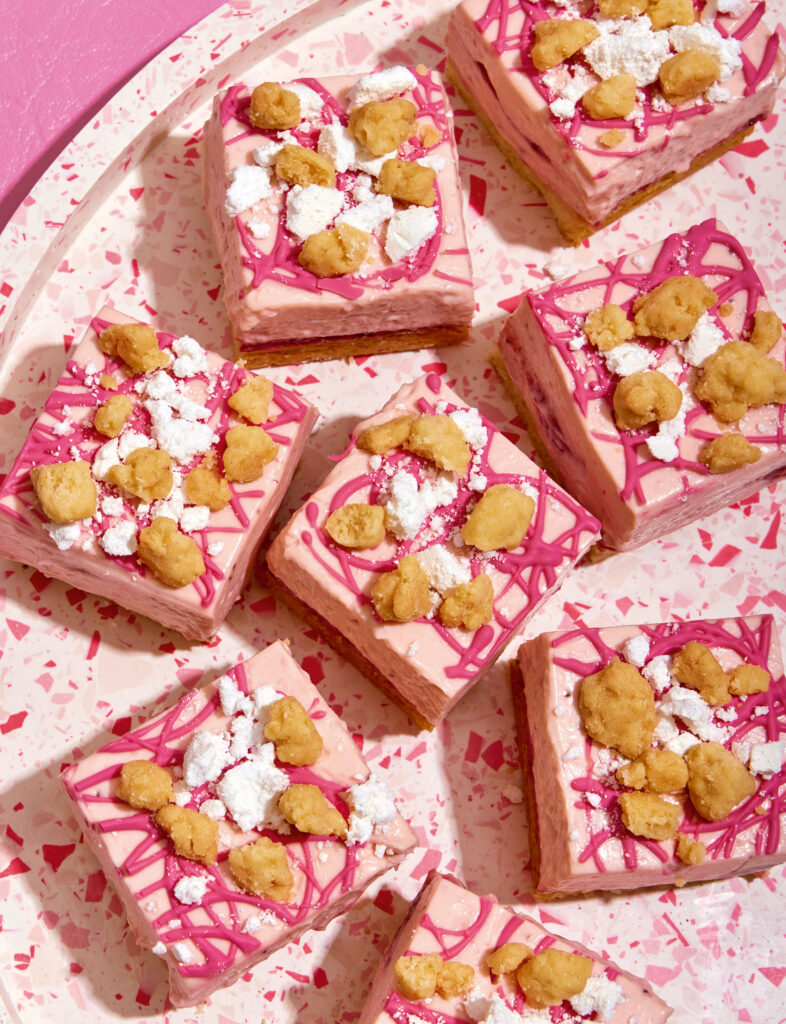
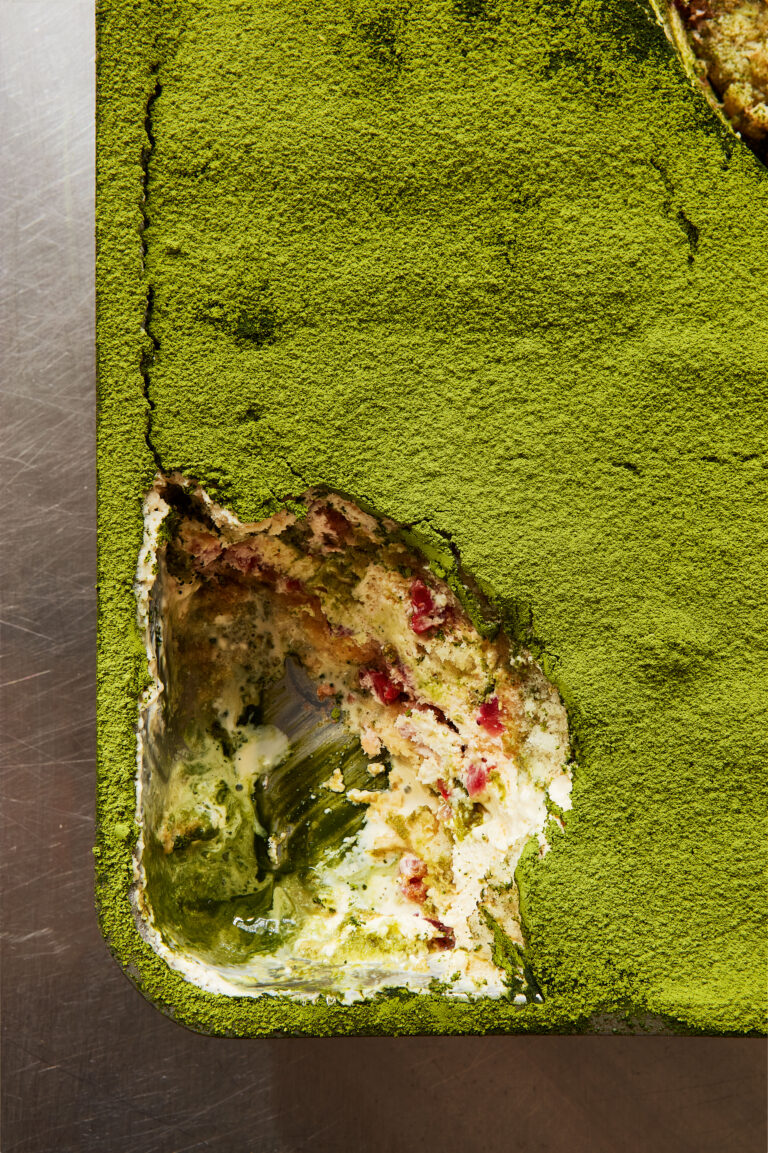
Bright pink and sugary sweet, this strawberry shortcake cheesecake from Crumbs and Doilies is the perfect Barbie bake.
From the book
Buy From
Introduction
A while ago, Sam asked the team to make him a cake with strawberry shortcake vibes. We came through with the Strawberry Shortcake Cupcakes (page 110 of Crumbs and Doilies) and he loved them! So when we began brainstorming ideas for the book, we knew we had to take the flavour to the next level. With the help of my new favourite ingredient, roasted strawberries, this cheesecake delivers a punchy strawberry hit, and at the same time is creamy, crunchy and, of course, delicious.
Ingredients
| For the plain pie crumb: | |
|---|---|
| 110g | plain flour |
| 20g | caster sugar |
| a pinch of | sea salt |
| 60g | unsalted butter, melted |
| 1 tsp | cold water |
| For the French meringues: | |
| 70g | egg whites (if you get any yolk in it, chuck it and start again, as this will kill your meringue!) |
| ⅛ tsp | cream of tartar |
| 180g | caster sugar |
| a pinch of | sea salt |
| ⅛ tsp | vanilla extract (optional) |
| For the roasted strawberries: | |
| 500g | strawberries, washed, hulled and halved |
| 30g | caster sugar |
| For the shortbread base: | |
| 150g | unsalted butter, softened |
| 85g | caster sugar |
| ¾ tsp | sea salt |
| 225g | plain flour |
| For the strawberry cheesecake: | |
| 600g | cream cheese |
| 100g | icing sugar, sifted |
| 3-4 tbsp | syrup from the roasted strawberries |
| 180g | double cream |
| From the pink chocolate drizzle: | |
| 30g | white chocolate chips |
| pink oil based food colouring |
Essential kit
You will need: a large piping bag, a food processor, a whisk or electric hand mixer, a 20cm/8in square baking tin
Method
Make the Plain Pie Crumb:
Preheat your oven to 190°C (170°C fan) and line a baking tray with greaseproof paper.
Mix all of the ingredients for your chosen pie crumb together in a bowl using a wooden spoon. When it is starting to clump together into big lumps of dough, assess whether it looks too wet or too dry. Too wet and you should add 10g extra flour; too dry, add a little more water.
Now get your hands in there. The trick to getting lovely nuggets is to start by sprinkling the mixture gently through your fingers to break up the lumps. It’s difficult to explain this next technique but my best effort is to tell you to claw the mixture by making a ‘comb’ with each set of fingers, scooping down the slides of the bowl and under the nuggets then allowing them to fall through your fingers. I do this quite a few times, breaking up any large nuggets individually so that you end up with some good, smooth, round nuggets of various sizes, from pea-sized to sprinkle-sized, a little bit like soil!
Scatter the nuggets evenly across the baking tray, then bake for 10–12 minutes until golden and no longer doughy. You might want to give them a shuffle around halfway to break them up and make sure they cook evenly.
Leave to cool completely before putting your pie crumb into an airtight container, ready to use on your bakes. It will keep for a couple of weeks at room temperature.
Make the French meringue:
Preheat your oven to 120°C (100°C fan) and line one or two baking sheets with greaseproof paper. Firstly, make sure all of your equipment is clean and free from grease by rubbing it all with a little vinegar or lemon juice. Grease is the killer of fluffy, voluminous meringues.
Place the egg whites in the bowl of a stand mixer fitted with the balloon whisk attachment or a mixing bowl. Get it mixing on a low–medium speed. Once big bubbles start to form, you can add the cream of tartar and turn the mixer up to a medium– high speed.
Within a couple of minutes, the bubbles should be a lot smaller and tighter and if you were to pull the whisk out, the peaks would be soft and a bit floppy. Keep the mixer going on the same speed and begin to add the sugar a tablespoon at a time.
When all of the sugar has been added, keep whisking until you can no longer feel grains of sugar when you rub some of the mixture between your thumb and forefinger. This can take 10–15 minutes, sometimes more if you’re making a big batch. Towards the end, add the salt and vanilla and whisk to combine.
When you have a white, glossy, grain-free meringue mixture, dab a few spots of it under each corner of the greaseproof paper to stop it flapping about in the oven and ruining the shape of your meringues.
Scoop up apple-sized blobs with a big spoon and use another spoon to scrape the blob onto the baking sheet. You can do this really messily or fairly neatly, it’s up to you. Bake for 2 hours, then turn the oven off and allow the meringues to cool slowly in the oven for 30 minutes. You can check that they are fully cooked by peeling one off the greaseproof paper – if it comes away cleanly, the meringues are ready.
Break into pieces.
For the roasted Strawberries:
Preheat your oven to 170°C (150°C fan).
In a bowl, toss the strawberries together with the sugar until they are coated and beginning to get all juicy. Spread them out all over a baking tray so that they are all separate, then bake for 30 minutes.
Remove from the oven and strain the strawberries through a sieve set over a bowl to separate the fruit from the super-charged syrup. Allow to cool completely.
For the shortbread base:
Grease and line a 20cm/8in square baking tin with greaseproof paper.
In the bowl of a stand mixer, or a medium mixing bowl, beat together the butter, sugar and salt, just to combine. Add the flour and mix through slowly until the mixture resembles breadcrumbs.
Tip the mixture out onto the work surface and bring it together with your hands, squeezing the crumbs together until you have a clumpy, crumb-like dough (but don’t overwork it, otherwise you will lose that ‘shortness’).
Tip the crumbly nuggets into the tin and press down so that so that you have an even layer of dough covering the bottom. Bake for 30 minutes until it‘s a lovely golden colour,
For the Strawberry Cheesecake:
Put half of the roasted strawberries into a blender or food processor and blitz until smooth. Spread the mixture over the shortbread base in an even layer.
In a medium bowl, whip together the cream cheese, icing sugar and strawberry syrup with a whisk or an electric hand mixer until well combined and smooth.
In a separate bowl, whip the cream with a whisk or electric hand mixer until it’s at the ‘floppy’ stage, then add it to the cream cheese mixture and whip everything together until the mixture is fluffy, smooth and a little stiffer and spreadable.
Chop the remaining roasted strawberries into small pieces, then add them to the cheesecake mixture and stir through until they are well distributed.
To avoid displacing the strawberry purée layer, it’s best to put the cheesecake mixture into a large piping bag with a big hole in the end, to pipe it on top of the base. Use an offset palette knife or the back of a spoon to spread the mixture out so that it covers the base in a nice even layer. Pop it into the fridge for 20 minutes.
To Finish:
Melt the white chocolate in either a bain-marie or gently in the microwave, then add a tiny amount of food colouring (if using) and mix thoroughly. Transfer to a small piping bag.
Remove the cheesecake from the fridge and wiggle the pink chocolate over the top in zigzags or spirals, or however you fancy. Decorate with nuggets of pie crumb and broken-up meringues. Return it to the fridge for 3–4 hours or ideally overnight to set completely, before carefully removing it from the tin and slicing with a warmed knife to get those clean edges!
TEAM TIP
Use a piece of greaseproof paper to squash down the shortbread dough in the tin to achieve a nice level top.
Reviews
1 Ratings
Have you tried this recipe? Let us know how it went by leaving a comment below.
Our team will respond to any queries as soon as we can - this may take longer over weekends. You do not need to resubmit your comment.
Please note: Moderation is enabled and may delay your comment being posted. There is no need to resubmit your comment. By posting a comment you are agreeing to the website Terms of Use.
