Mary Berry’s Red Velvet Sandwich Cake
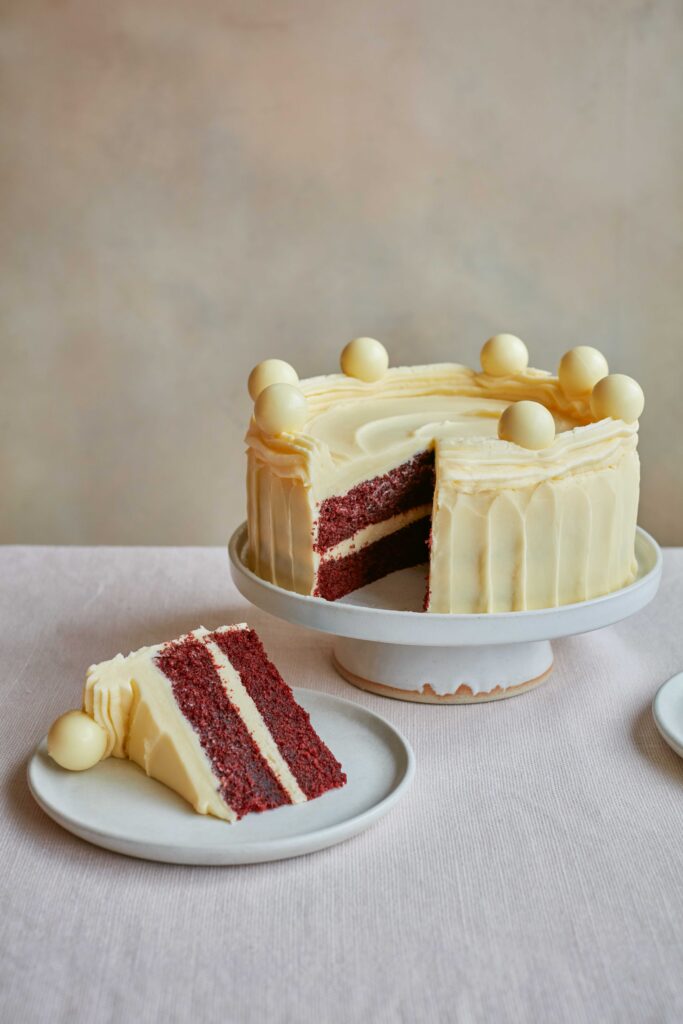
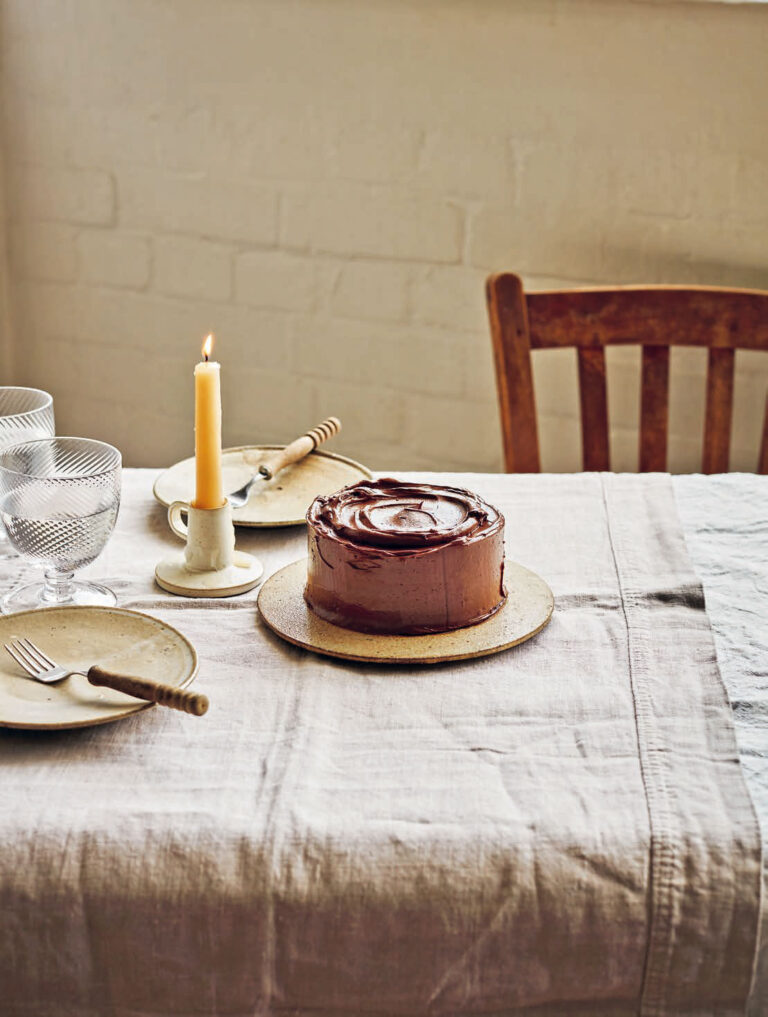
An elegant bake, this red velvet cake from Mary Makes It Easy, is finished with a mascarpone buttercream.
Introduction
An impressive but easy cake. Use a professional food colouring paste, if you can; a natural liquid colouring won’t work and may turn the sponge green. For a particularly elegant finish, you could make extra icing and crumb coat the sponge before applying the top layer of icing.
Ingredients
| butter, for greasing | |
| 250g (9oz) | plain flour |
| 1 tbsp | cocoa powder |
| 2 tsp | baking powder |
| 1 tsp | bicarbonate of soda |
| 250g (9oz) | light muscovado sugar |
| 200ml (⅓ pint) | buttermilk |
| 150ml (¼ pint) | sunflower oil |
| 2 tsp | vanilla extract |
| 1 tbsp | red food colouring gel or about ¼ tsp food colouring paste |
| 2 large | eggs |
| 8 | white chocolate truffle balls, to decorate |
| For the buttercream icing: | |
|---|---|
| 250g (9oz) | butter, softened |
| 2 tsp | vanilla extra extract |
| 300g (10½oz) | icing sugar |
| 250g (9oz) | full-fat mascarpone cheese |
Essential kit
You will need: 2 x 20cm (8in) sponge sandwich tins, fluted piping nozzle, piping bag and an electric whisk.
Method
Preheat the oven to 180°C/160°C Fan/Gas 4. Grease and line the bases of 2 x 20cm (8in) sponge sandwich tins with non-stick baking paper.
Measure the flour, cocoa powder, baking powder, bicarbonate of soda and sugar into a bowl and mix well.
Mix the buttermilk, oil, vanilla, food colouring and 100ml (3½fl oz) water in a jug. Add the eggs and whisk until smooth. Pour the wet ingredients into the dry ingredients and whisk until combined. The mixture should be bright red; it will get a little darker as it cooks. If it’s not as vivid as you’d like, add a touch more colouring.
Divide the mixture evenly between the two prepared tins and level the surfaces. Bake in the preheated oven for about 25–30 minutes, or until well risen and shrinking away from the sides of the tins. Cool in the tins for 10 minutes, then turn out, peel off the paper and leave to cool completely on a wire rack.
To make the buttercream icing, place the soft butter and vanilla extract in a large bowl and sift in half the icing sugar. Mix with an electric whisk until smooth. Sift in the remaining icing sugar and mix again. Add the mascarpone to the bowl and gently stir with a spatula until smooth (don’t beat with a whisk as it may split). Put a fluted nozzle in a piping bag and spoon about 150g (5oz) of the buttercream into the bag.
To assemble the cake, sit one of the sponges on a cake plate and spread a third of the buttercream over the cake, then sit the other cake on top. Ice the cake by first spreading a thin layer of icing – a crumb coat – over the whole cake before chilling for 30 minutes. Then pile the remaining icing from the bowl on top and spread over the top and around the edges to completely cover the cake. Make sure that the icing is smooth around the edges before starting to create lines up the sides. Using a small palette knife, make wide lines up the sides and swirl the top. Pipe a rope design around the edge of the top of the cake and decorate with the 8 chocolate truffles to finish.
Mary’s Tips: The sponges can be made up to 3 days ahead and will stay moist if wrapped in cling film or eco wrap. Freezes well un-iced.
Reviews
4 Ratings
Have you tried this recipe? Let us know how it went by leaving a comment below.
Thank you for your rating. Our team will get back to any queries as soon as possible.
Please note: Moderation is enabled and may delay your comment being posted. There is no need to resubmit your comment. By posting a comment you are agreeing to the website Terms of Use.


