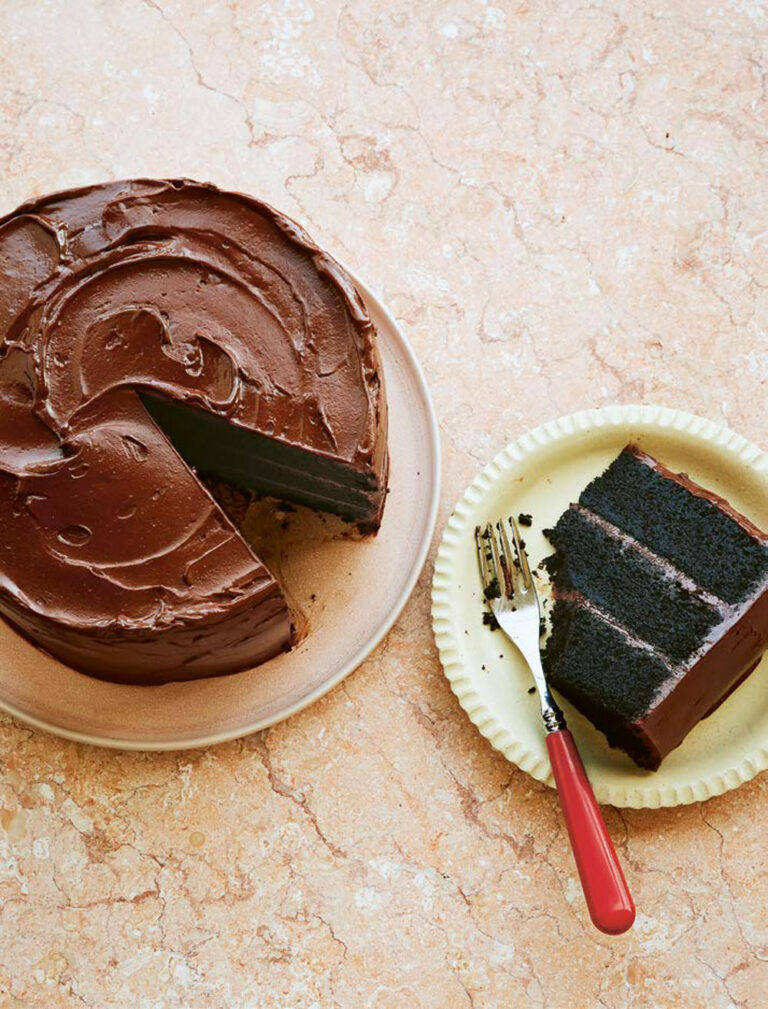
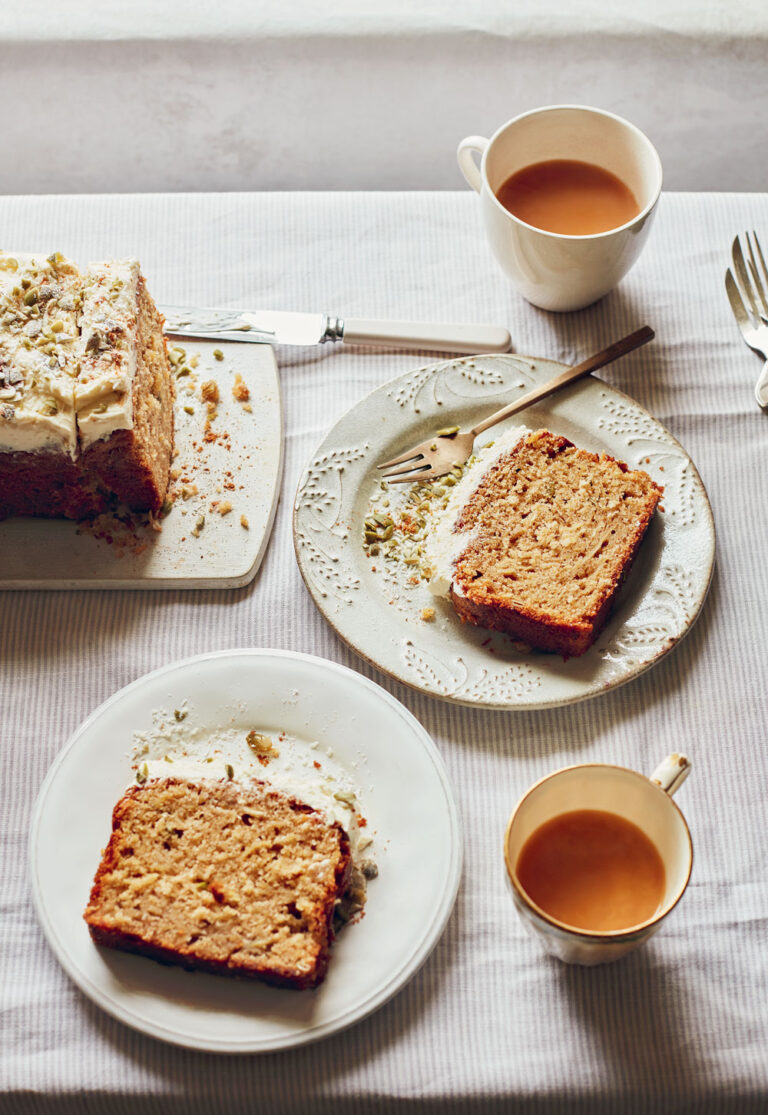
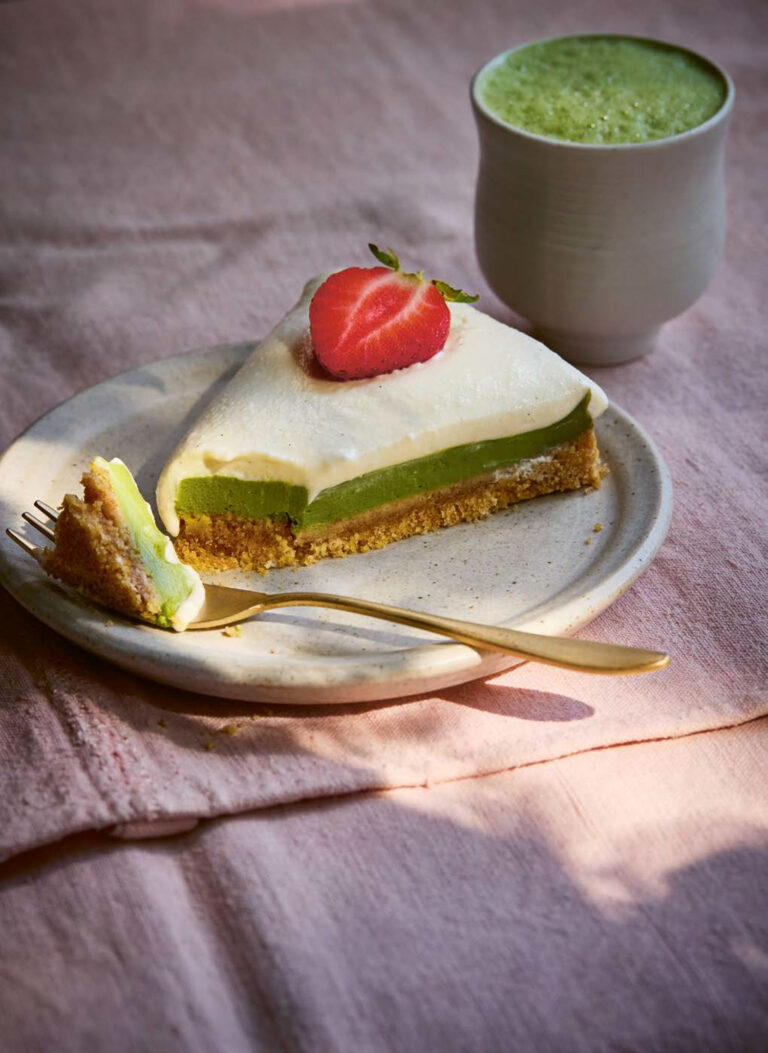
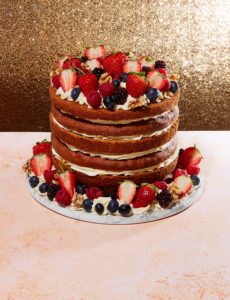
The Finch Bakery Carrot Cake
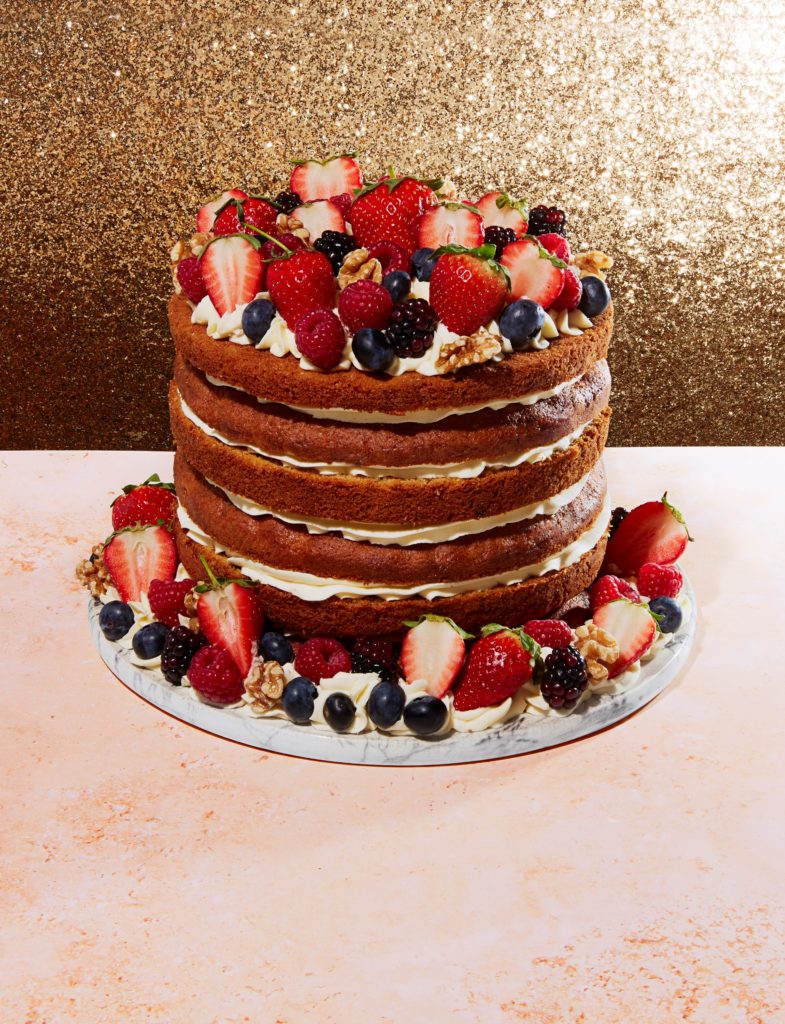
With six lightly spiced layers sandwiched with a luscious cream cheese frosting, this carrot cake recipe from The Finch Bakery is a true showstopper.
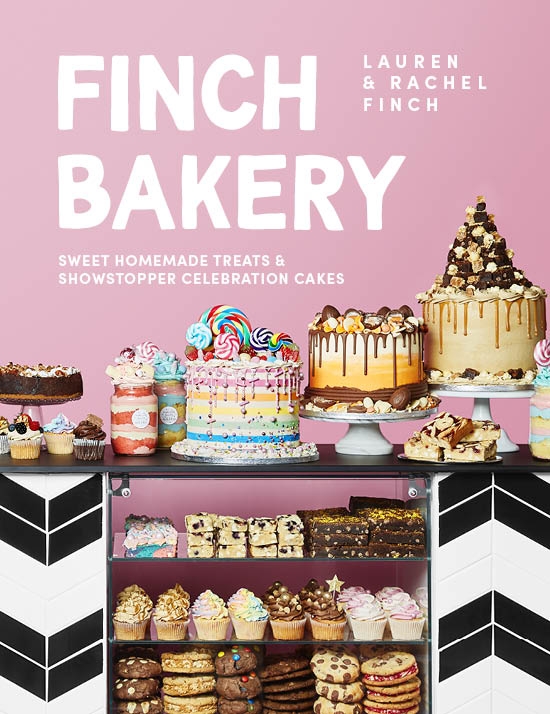
From the book

Finch Bakery
Browse 75 recipes for showstopping bakes and sumptuous desserts

Follow tips and tricks for more intricate bakes, like tempering chocolate and 'ombre' icing

From familiar favourites to impressive celebration cakes, there are bakes to suit every taste
Introduction
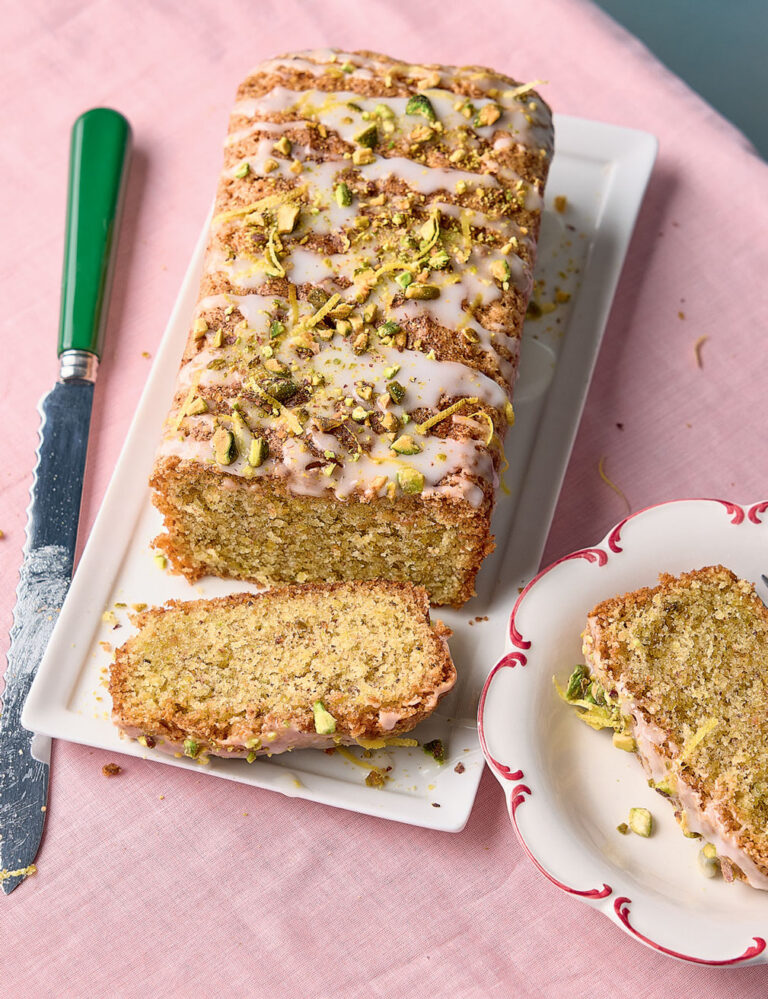
Spices, chopped nuts, cream cheese buttercream and, of course, carrots all play a part in this delicious classic. With just enough fruit and vegetables to suggest it may not actually be a cake, this moist and fruity sponge will encourage you to eat your five a day!
Ingredients
| 480g (3 2⁄3 cups) | self-raising flour |
| 3 1⁄2 tsp | baking powder |
| 1 1⁄2 tsp | ground mixed spice |
| 1 1⁄2 tsp | ground ginger |
| 1⁄4 tsp | salt |
| 360g (1 3⁄4 cups) | light muscovado sugar |
| 7 | eggs |
| 400ml (1 2⁄3 cups) | vegetable oil |
| 120g (3⁄4 cup) | sultanas (optional) |
| 120g (1 cup) | chopped walnuts (optional) |
| 320g (3 cups) | grated carrot |
| For the cream cheese buttercream | |
|---|---|
| 400g (3 sticks plus 3 tbsp) | unsalted butter |
| 1kg (7 cups) | icing sugar |
| 300g (10oz) | full-fat cream cheese |
| lemon juice, to taste | |
| Decoration | |
| cream cheese buttercream | |
| fresh fruit | |
| walnuts (optional) | |
| icing sugar, for dusting |
Essential kit
You will need: a mixer or hand-held electric whisk, 3 x 20cm (8in) cake tins, lined, 28cm (11in) cake drum, turntable and dowels and a piping bag and nozzle of choice
Method
Preheat the oven to 180°C (160°C fan/350°F/Gas 4).
Sift the flour, baking powder, mixed spice and ginger into the mixer bowl and mix well. Add the salt and muscovado sugar.
Set the mixer to low (or use a hand-held electric whisk) and add the eggs, one by one, followed by the vegetable oil. Slowly combine.
Using a spatula, gently fold in the sultanas and walnuts, if using, and the carrot.
Divide the batter equally between the lined tins. Bake in the preheated oven for 30–35 minutes, or until the sponge bounces back when pressed. You can also check by inserting a sharp knife into the centre. If it comes out clean, the cake is ready.
Allow to cool in the tins for 5–10 minutes, then carefully turn out onto wire racks and leave to cool completely.
Filling and stacking
Make a batch of CREAM CHEESE BUTTERCREAM using the quantities listed above. Add the butter to the bowl of a mixer and whip on a high speed for 5 minutes – this may take a little longer if using a hand-held electric whisk. Scrape down the sides of the bowl with a spatula and whip for another 30 seconds. This will turn the butter more white than yellow.
Sift the icing sugar into the bowl and combine on a medium setting, remembering to stop and scrape around the sides to mix in everything fully. Beat in the cream cheese and lemon juice, if using.
Refer to the information on levelling and torting cakes below to cut the three cakes in half to create six layers. Stack the cake following the naked cakes technique using the cream cheese buttercream. This cake has no further fillings.
Dowel the cake using the method below.
Chill the cake in the fridge for 30 minutes until the buttercream has solidified and the cake is sturdy.
Decoration
Pipe some cream cheese buttercream on top of the cake and around the bottom, before decorating with fresh fruit and walnuts, if using. We have used strawberries, raspberries, blueberries, blackberries and walnuts.
Sift a small amount of icing sugar over the cake before serving. This cake is best enjoyed fresh.
TOP TIPS
★ Add a teaspoon of ground cinnamon to the cake batter to give this carrot cake a wintery kick.
★ As the naked cake is not covered with buttercream, we suggest baking and decorating it a maximum of 24 hours before it is due to be cut to prevent the sponge from drying out.
Assembling cakes
Levelling & torting
Level a cake by cutting the unwanted dome off the top to make it completely flat. Use the cut-offs to make cake jars and cake pops – you can even freeze them for future use.
Torting is when you slice a cake into two or more even layers. This is useful for making two- or four-layer sponges when you are limited on oven space or equipment and the sponges cannot be baked in separate tins. You can level and torte a cake using a knife to slice through the sponge, although it can be tricky to achieve precise results this way alone. To guide your knife as you slice through the middle, try the “toothpick” method: At 10 or 12 points around the perimeter of the cake, measure halfway up the sponge with a ruler and push in a toothpick (or cocktail stick) about two-thirds of the way in. Remember to remove all the sticks after you’re done!
The most precise method is using a cake leveller. More expensive brands, such as Agbay, are sturdy, accurate and use a blade to slice through sponge easily – a must-have for serious bakers, but certainly not essential for home bakers.
Once stacked, you can check your cake using a spirit level – having perfectly level sponges will help create a stable base for any added tiers and decoration.
Stacking a cake
Smear a small amount of buttercream or ganache onto a cake board and stick the first layer of cake down.
Use a piping bag with a star nozzle to pipe a circle of buttercream 1cm (½in) from the edge of the sponge. Continue to pipe smaller rings inside the circle until completely filled. Do not smooth the rings with a palette knife, as you want the pattern to be visible.
Stack the next layer on top and repeat the process. When stacking each layer, push down gently if the buttercream rings are not visible until they are slightly exposed.
For the top layer of your cake, always turn the final sponge layer over so that the level bottom of the sponge becomes the top of the cake. Place the cake in the fridge for 15–20 minutes to set the buttercream before decorating.
Dowelling
While putting support in a tiered cake is imperative, dowelling a one-tier cake is not always necessary. However, if you are baking in warmer weather or plan to place heavy decoration on top of the cake, it will add internal support to prevent the cake from collapsing. We use jumbo plastic bubble straws for dowelling due to their ease of cutting, affordability and strength, but wooden and plastic dowels are also available, if you prefer.
A good rule to remember is to use 1 dowel per 5cm (2in) of cake, so 4 dowels for a 20cm (8in) cake, for example. If the cake is tall, we’d suggest adding a few more. Dowel your cake once it is firm and set – dowelling a soft cake may result in the layers sliding or the filling spilling out.
Trim your dowels to the height of the cake and push them down vertically into the centre of the sponge, distributing them evenly in a circular pattern around the perimeter of the cake – but not too close to the edge. The dowels should lay flush to the top of the cake.
If you’re not adding heavy decoration to the top, carry on decorating as desired. However, if your cake requires support for heavy decoration, secure a thin cake board on top with some buttercream or ganache and pipe over it to cover the cake board before adding decoration. Always remember to let the recipient of the cake know if it contains dowels!
Reviews
Have you tried this recipe? Let us know how it went by leaving a comment below.
Our team will respond to any queries as soon as we can - this may take longer over weekends. You do not need to resubmit your comment.
Please note: Moderation is enabled and may delay your comment being posted. There is no need to resubmit your comment. By posting a comment you are agreeing to the website Terms of Use.