Mr McGregor’s Garden Cake

This gorgeous Beatrix Potter-inspired Carrot and Parsnip Cake with Cream Cheese Frosting is the perfect treat for any occasion.
Introduction
This gorgeous Beatrix Potter-inspired Carrot and Parsnip Cake with Cream Cheese Frosting is the perfect treat for any occasion.
Find out more about Georgina Hayden’s cookbook, Stirring Slowly, by clicking here.
Ingredients
| 450g | self raising flour |
| 2 tsp | baking powder |
| 2 tsp | ground cinnamon |
| 1 tsp | mixed spice |
| 1 | orange |
| 300g | carrots, peeled and coarsely grated |
| 200g | parsnips, peeled and coarsely grated |
| 300ml | sunflower or light olive oil, plus extra for greasing |
| 5 | large eggs, free range or organic |
| 450g | light brown sugar |
| 100g | raisins |
| 250g | unsalted butter, room temperature |
| 600g | icing sugar |
| 300g | full fat cream cheese |
Essential kit
You will need 2 x springform 8″/20cm round cake tins.
Method
Preheat your oven to 180/ gas mark 4.
Grease 2 x springform 8″/20cm round cake tins and line the base with greaseproof paper.
In a large bowl sift the flour, baking powder, cinnamon and mixed spice. Finely grate in the orange zest and stir through the grated carrots and parsnips. In a separate bowl whisk together the oil, eggs and sugar until mixed well. Pour the egg mixture into the dry ingredients and mix everything together with a large metal spoon. Stir in the raisins. Divide the cake mix between the 2 greased and lined cake tins and pop into the middle of the oven for around 50 minutes until golden and cooked through (test with a skewer to make sure it is cooked).
Leave the cakes to cool in their tins for 5 minutes and then transfer on to a cooling rack. As soon as the cakes are completely cool, use a bread knife to slice the peaked tops off of each sponge, so they are all even. Then slice each cake in two horizontally; you should now have 4 sponges.
To make the cream cheese frosting, cut the butter into chunks and place in the bowl of a freestanding mixer (alternatively you can use a large mixing bowl and an electric hand whisk). Beat with the paddle attachment for a few minutes until very pale and creamy. Sift the icing sugar in, in 2 stages, beating well in between, until completely smooth.
Drain any excess liquid off the cream cheese, in a sieve is best. Then when the butter and icing sugar is smooth, add a large spoonful off the cream cheese to the bowl and beat it in, scraping the mixture down the sides of the bowl as you go. Add half the remaining cream cheese, beat it for 30 seconds, then add the remaining cheese. Beat rigorously for a couple of minutes, don’t worry if it looks runny to start, it’ll come together and become light. Be careful not to beat it too much though, as it will end up runny again. As soon as you have smooth, whipped frosting, stopped mixing and pop it into the fridge for 30 minutes to firm up.
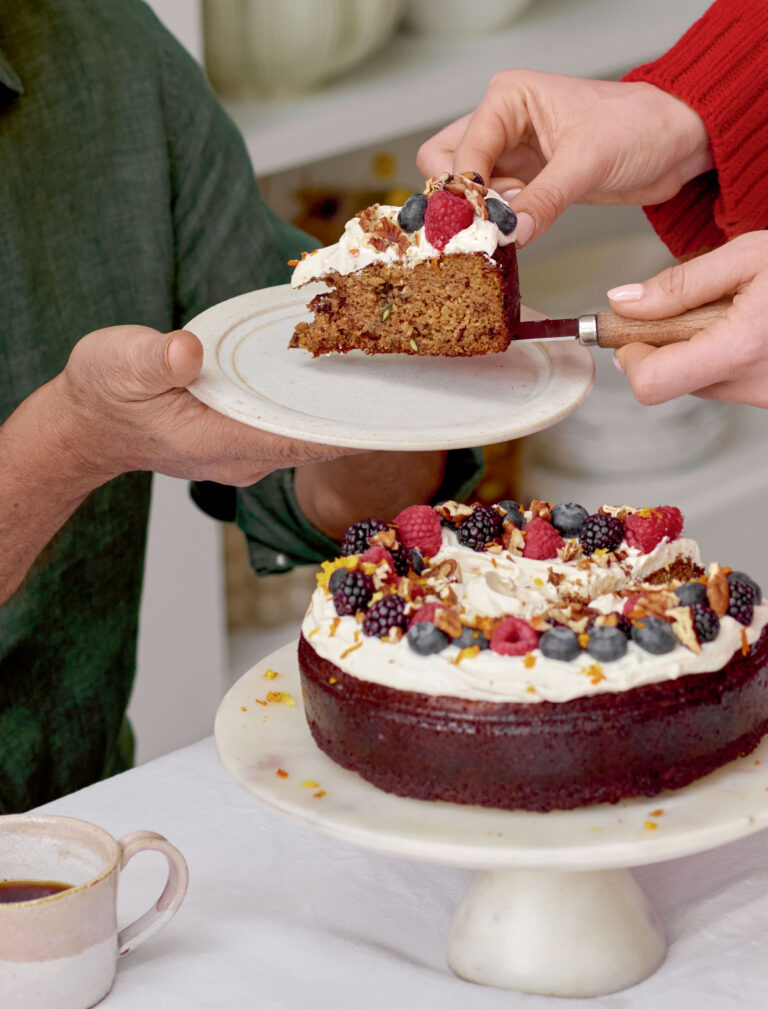
Assemble your cake by putting a spoonful of the frosting on your cake stand or board, to ‘stick’ the base sponge. Spoon a couple of large spoonfuls of icing into the middle of the cake and evenly spread it to the edges, leaving a bit of a border, as it’ll ooze a little when you place the next sponge on top. Keep going until all the sponges have been layered up and finish by decorating with the remaining icing. I like to have a scant layer around the outside, so that you see all the layers through, but apply it as thickly as you like (make extra if you want to finish it with a piped pattern). Decorate with nuts, sprinkles, edible glitter, whatever you like.
Reviews
Have you tried this recipe? Let us know how it went by leaving a comment below.
Thank you for your rating. Our team will get back to any queries as soon as possible.
Please note: Moderation is enabled and may delay your comment being posted. There is no need to resubmit your comment. By posting a comment you are agreeing to the website Terms of Use.
