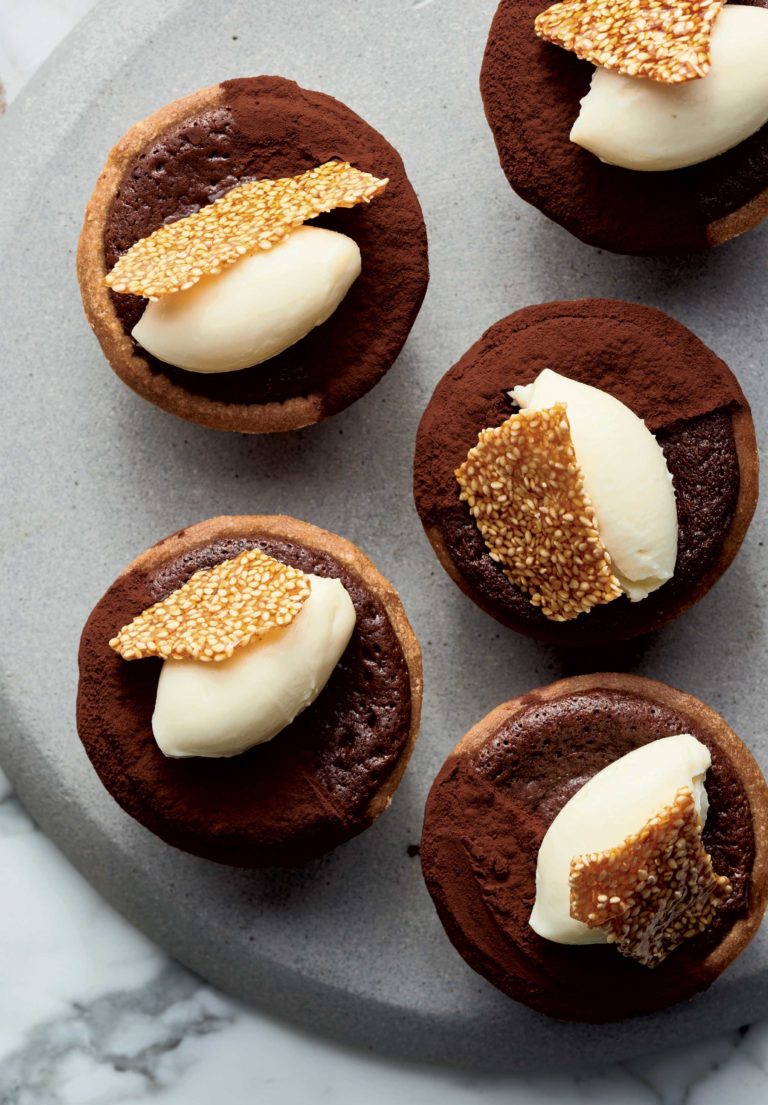
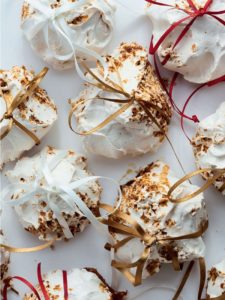
Mont Blanc Tarts
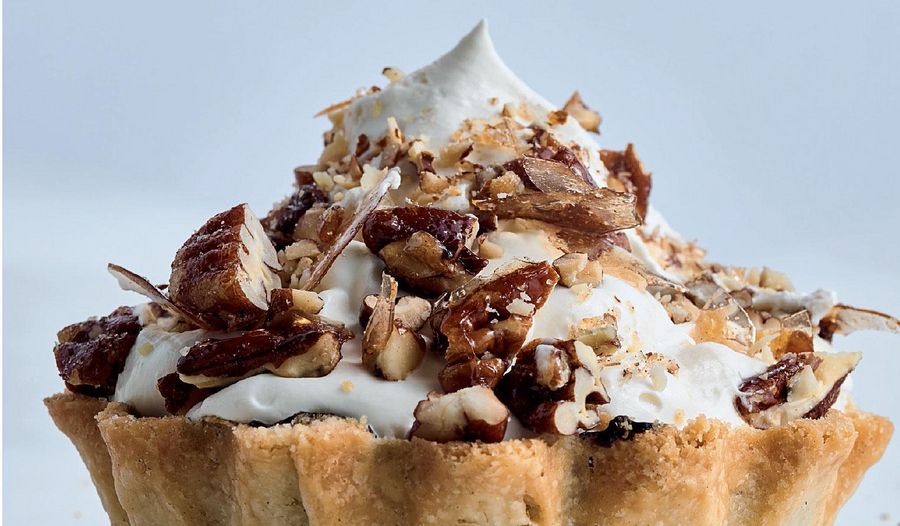
Combining perfect flaky pastry, whipped cream, meringue and candied pecans, what’s not to love about a dessert of Ottolenghi and Helen Goh’s Mont Blanc Tarts?
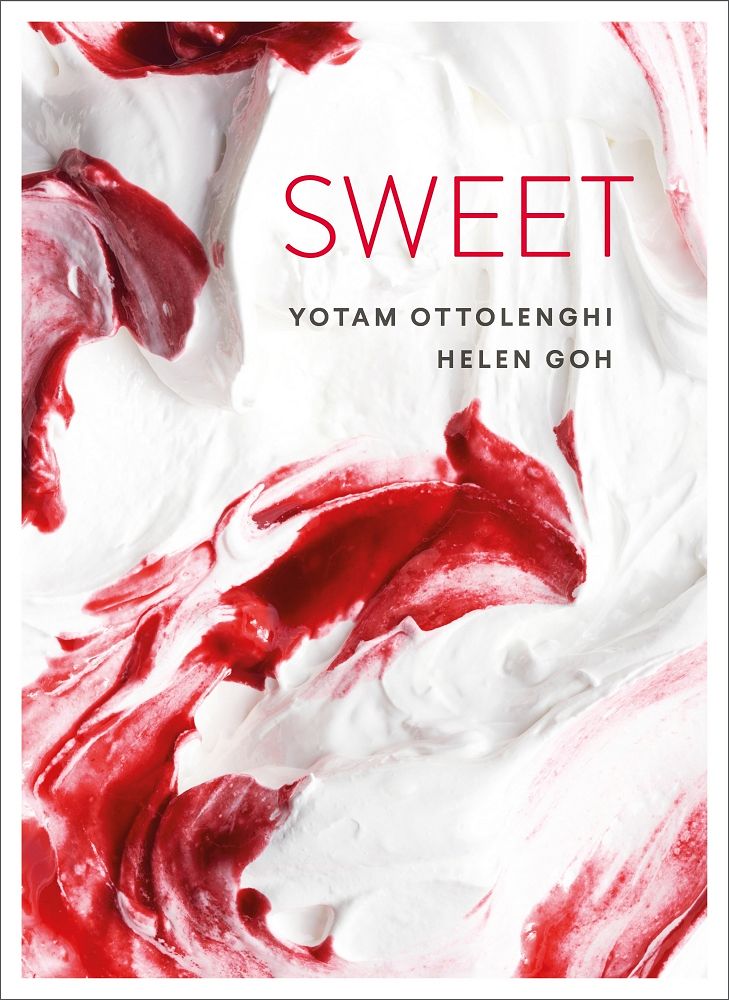
From the book

Sweet
Ottolenghi's cakes, bakes and desserts
Inspiring ideas for edible gifts
Dinner party and occasion showstoppers
Buy From
Introduction
Named after the snowy mountain they resemble, Mont Blanc tarts – with their white meringue, whipped cream and tan-coloured chestnut purée – can often taste more fabulous than they look, with all that beige and white. We wanted to see if we could improve their visual appeal – bring in some more contrast by playing around with the colours, for example – but after various experiments (dark chocolate pastry, a lighter-coloured purée) we were beginning to think that the tried-and-tested route up this particular mountain was the only winning one.
It was a moment of pure synchronicity, then, that at one of our weekly pastry meetings there were various things lying around which came together in a flash: some empty tart shells, candied pecans, an open can of chestnut spread. At the same time, Helen and Yotam both grabbed an empty shell, filled it with the chestnut spread, spooned over smooth whipped cream and added the element that had been missing – the candied pecans – which brought the crunch and the look needed. There’s a metaphor in there, we’re sure, about climbing mountains, and not giving up, and things tasting all the sweeter when you’ve had to work just that little bit harder to earn them.
Ingredients
| For the flaky pastry: | |
| 200g | plain flour |
| 120g | unsalted butter, fridge-cold, cut into 1cm dice |
| 30g | caster sugar |
| ¼ tsp | salt |
| ½ tsp | white wine vinegar |
| 3 tbsp | ice-cold water |
| For the candied pecans: | |
| 1 tbsp | maple syrup |
| 1 tbsp | liquid glucose |
| 1 tbsp | caster sugar |
| 120g | pecan halves |
| ⅛ tsp | flaky sea salt |
| For the filling: | |
| 60g | dark cooking chocolate (70% cocoa solids) |
| 320g | sweetened chestnut spread (we use Clement Faugier; whichever brand you use, just make sure that it is not the unsweetened variety) |
| For the vanilla whipped cream: | |
| 300ml | double cream |
| 1 tbsp | icing sugar |
| 1 tsp | vanilla extract |
| ½ tsp | brandy |
Essential kit
You will need: a food processor, eight mini-fluted tins, about 8–9cm wide and 2–3cm deep or one large fluted tart tin, around 25cm wide and 3cm deep, baking beans, an electric whisk,
Method
1. For the pastry, place the flour, butter, sugar and salt in the bowl of a food processor. Blitz a few times, until it is the consistency of fine breadcrumbs, then add the vinegar and water. Continue to work for a few seconds, then transfer to your work surface. Shape into a ball and flatten into a disc, wrap in cling film and set aside in the fridge for at least 1 hour (or up to 3 days).
2. Preheat the oven to 200°C/180°C Fan/Gas Mark 6.
3. To line the tart cases, allow the dough to rest at room temperature for 30 minutes (if it has been in the fridge for more than a few hours) and place on a lightly floured work surface. Roll out the dough to about 3mm thick and cut out eight circles, 14cm wide. Re-roll the dough, if necessary, to get eight circles. Transfer one circle at a time to the 8–9cm wide and 2–3cm deep fluted tins and gently press the pastry into the corners of the tart tin: you want it to fit snugly and for there to be a decent amount of pastry hanging over the edge of the tart case, as the pastry can shrink a little when baked. Place in the fridge for 30 minutes to rest.
4. To blind bake the tart cases, line the pastry bases with baking parchment or paper liners and fill with baking beans. Bake for 18 minutes, until the pastry is golden brown at the edges. Remove the beans and paper and cook for another 8 minutes, or until the base is golden brown. Remove from the oven and set aside to cool completely in the tray. Once cool, trim the pastry (so that it can be removed from the tray) and set aside until ready to fill.
5. Increase the oven temperature to 210°C/190°C Fan/Gas Mark 6. Line a baking tray (with a lipped edge) with baking parchment and set aside.
6. To make the candied pecans, put the maple syrup, glucose and sugar into a small saucepan and place over a low heat. Stir gently until the sugar has melted, then add the pecans and salt. Stir so that the nuts are coated in syrup, then tip the nuts on to the lined baking tray. Place in the oven for about 8 minutes, or until the syrup is bubbling around the nuts. Remove the tray from the oven and set aside until completely cooled. When the nuts are cooled, the glaze should be completely crisp; if not, return them to the oven for a few more minutes. Once cooled, break or roughly chop the nuts into 0.5cm pieces and set aside until ready to use.
7. Make the filling when you are ready to assemble. Place the chocolate in a heatproof bowl over a pan of simmering water, making sure that the base of the bowl is not touching the water. Stir occasionally until melted, then use a pastry brush to line the inside of each case with the chocolate. Set aside for about 30 minutes, to set, then fill with enough chestnut spread so that it rises about halfway up the sides of the tart cases.
8. For the vanilla whipped cream, pour the cream into the bowl of an electric mixer with the whisk attachment in place. Add the icing sugar, vanilla extract and brandy and whisk on a high speed for 1 minute, or until medium-soft peaks form.
9. Divide the whipped cream between the tarts, so that it is slightly domed on top of the chestnut spread. Sprinkle the candied pecans generously on top – you might have a tablespoon or two left over, but these can be saved to munch on, to sprinkle over your next bowl of breakfast granola or porridge, or to use in the Knickerbocker Glory (see page 293) – and serve.
Tip:
The pastry can be made up to 3 days ahead and kept in the fridge (wrapped in cling film) until ready to roll. It can also be frozen for up to 2 months. The candied pecans can be made up to 5 days in advance and kept in an airtight container.
Once assembled, the tarts are best eaten on the day they are baked.
Reviews
Have you tried this recipe? Let us know how it went by leaving a comment below.
Our team will respond to any queries as soon as we can - this may take longer over weekends. You do not need to resubmit your comment.
Please note: Moderation is enabled and may delay your comment being posted. There is no need to resubmit your comment. By posting a comment you are agreeing to the website Terms of Use.