Bread Ahead Handsome White Loaf
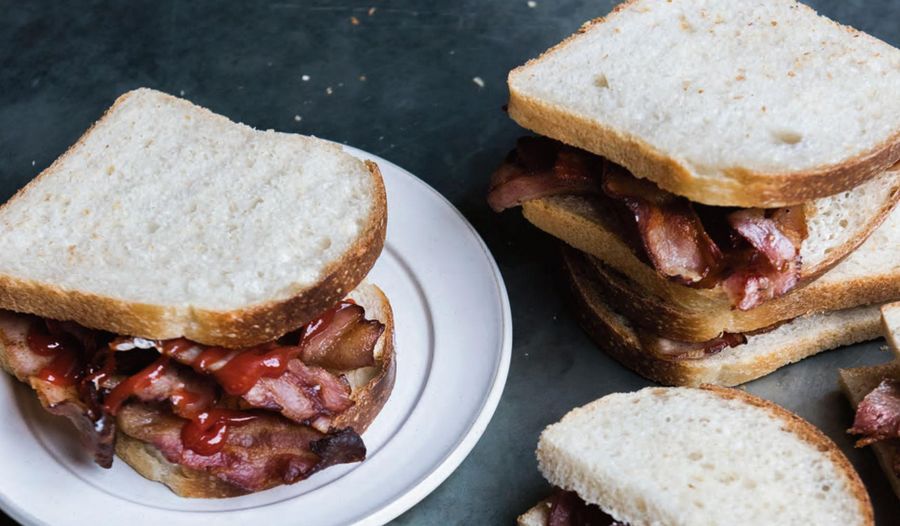
If a simple sliced white is your daily bread of choice, this recipe from Bread Ahead will teach you how to make it yourself with easy-to-follow instructions.
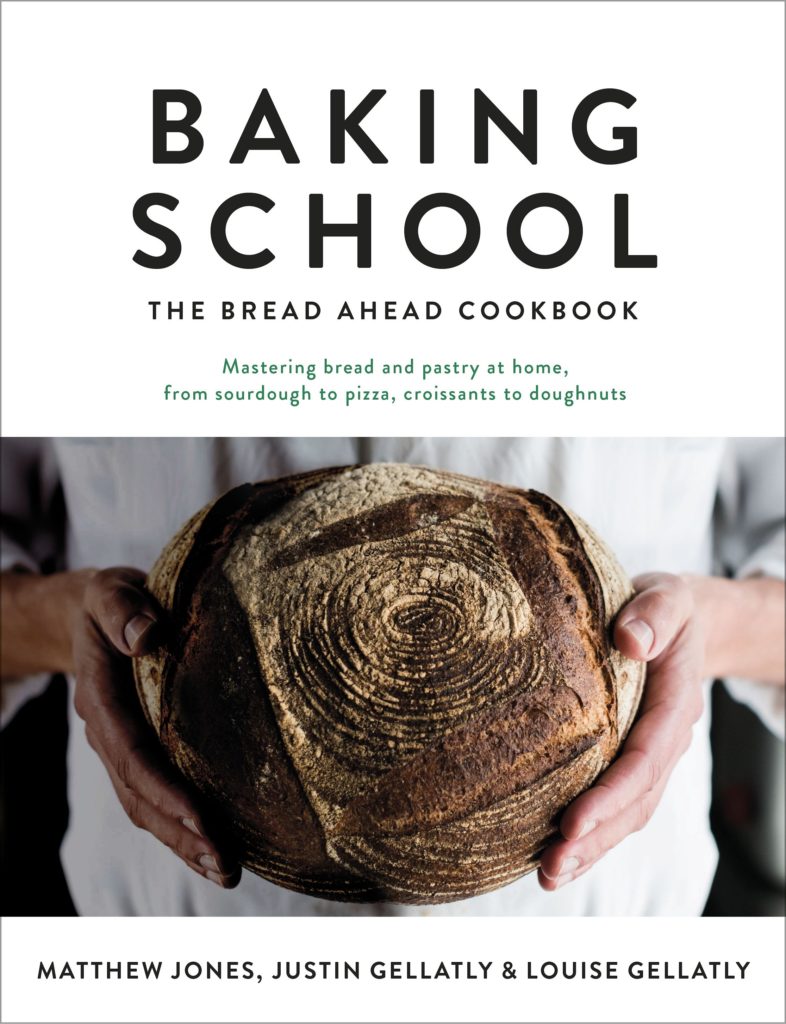
From the book
Buy From
Introduction
This is Mrs G’s favourite loaf – with its golden and blistered crust, it’s perfect for all sandwiches and particularly ideal for a bacon sandwich. This blows away any of the pappy white bread that you find in supermarkets.
Ingredients
| 470g | strong white bread flour, plus extra for dusting |
| 10g | salt |
| 340g | water |
| 1g | fresh yeast |
| 180g | stiff starter (see instructions below) |
| oil, for the bowl |
Essential kit
You will need: a water spray and one 28cm x 12cm x 10cm bread tin, or two 20cm x 10cm x 6cm bread tins.
Method
For a guide to making your own starter, please see here.
First weigh the flour and salt and mix them just enough for them to get to know each other. Put the water and yeast into a separate bowl and combine with one hand until the yeast is dissolved. Now add the starter to the water. You will need to combine this mixture as much as you can – a squeezing action with your hands really helps to break it all up.
Once you have combined it as best you can, add the water mixture to the flour and salt. Work it in (this takes about 1 minute), then scrape out your dough on to a floured work surface. Keep the bowl to one side, as you will need it later.
Now, with your dough on the work surface and you ‘poised like a puma’ (your hand in a claw shape resting above the dough), with the heel of your hand push the dough into the work surface and ‘stretch and tear’. You will need to hold on to the end of the dough to do this, then grab it and fold it back over itself. Repeat for 8 minutes, again making sure you scrape your dough to the centre throughout the ‘stretch and tear’ process to make sure it gets developed evenly. After the first 5 minutes you will begin to feel the dough strengthen as the gluten develops.
Lightly oil the bowl you used earlier and put the dough back in. You now need to give it a fold, using the following technique:
1. First, pick up the top two corners and pull up, stretching the dough upwards, then fold over to the opposite side (the first corners should meet the opposite two corners).
2. Next, pick up the bottom two corners and again pull up, stretching the dough up and over, and fold to the opposite side.
3. Now repeat for the left- and right-hand sides, then flip the whole of your dough over, so that the bottom becomes the top.
After folding, leave it to rest for 1 hour, then give the dough two more folds, resting for an hour each time. Between folds you will need to cover the bowl with cling film, a tea towel or a shower cap. After the final fold, leave it for a further 30 minutes.
Gently scrape out your dough from the bowl and place it on a lightly floured work surface. You can now carry on and make one mighty tin loaf, using a bread tin 28cm x 12cm x 10cm, or divide it in half to make 2 loaves, using two bread tins 20cm x 10cm x 6cm, or turn one of the halves into a lardy cake (see page 78 of Baking Shcool). Shape into a ball or balls and place on a floured surface, then cover with a tea towel and leave to rest for 10 minutes.
Now shape the dough. Take the dough with both hands, one on either side, then gently stretch out the dough to form a rough rectangle. Take the top of the dough, fold it over tightly with your thumbs, then bring in the two sides and fold over with your thumbs again. Repeat until you reach the end of the dough, then with the heel of your hand seal the seam together.
Once shaped, place seam side down in your oiled tin or tins, cover with cling film or a shower cap, and leave to prove until risen up round the top.
You can bake the bread now, but for the best result, lightly cover with a shower cap and place in the fridge for about 10–12 hours, or overnight, and bake the following day.
When you are ready to bake, preheat your oven to 240C/ fan 220C/gas 9. Get your water spray ready.
Take your loaves out of the fridge and uncover, then pop them into the preheated oven. With your water spray on fine mist, spray lightly inside the oven. Bake for about 25 minutes, then turn the tins round and bake for a further 15 minutes if making one large loaf. If making two smaller loaves, bake for 25 minutes, then turn and bake for a further 5 minutes. Now take out of the oven and remove from the tin or tins. The bread should be golden all over, with a golden blistered top. If it is still pale on the sides, put back into the tin or tins and return to the oven for another few minutes.
Leave to cool, then enjoy your beautiful bread!
Reviews
Have you tried this recipe? Let us know how it went by leaving a comment below.
Our team will respond to any queries as soon as we can - this may take longer over weekends. You do not need to resubmit your comment.
Please note: Moderation is enabled and may delay your comment being posted. There is no need to resubmit your comment. By posting a comment you are agreeing to the website Terms of Use.

