

In this article
Introduction
Lighting the barbecue is a simple process. For a gas grill, ignite the burners you need, then simply turn the knob to increase or decrease the temperature.
For pellet grills, select your desired temperature and hit a button – the onboard fans, thermometer and computer all do the rest. Often, a signal sent to your mobile phone lets you know what’s happening!
But for charcoal, it takes a little more involvement. I will break this down to cover two types of charcoal grills and explain why they are different. However, using either method will allow you to start any charcoal grill. Here’s a guide to help you get started.
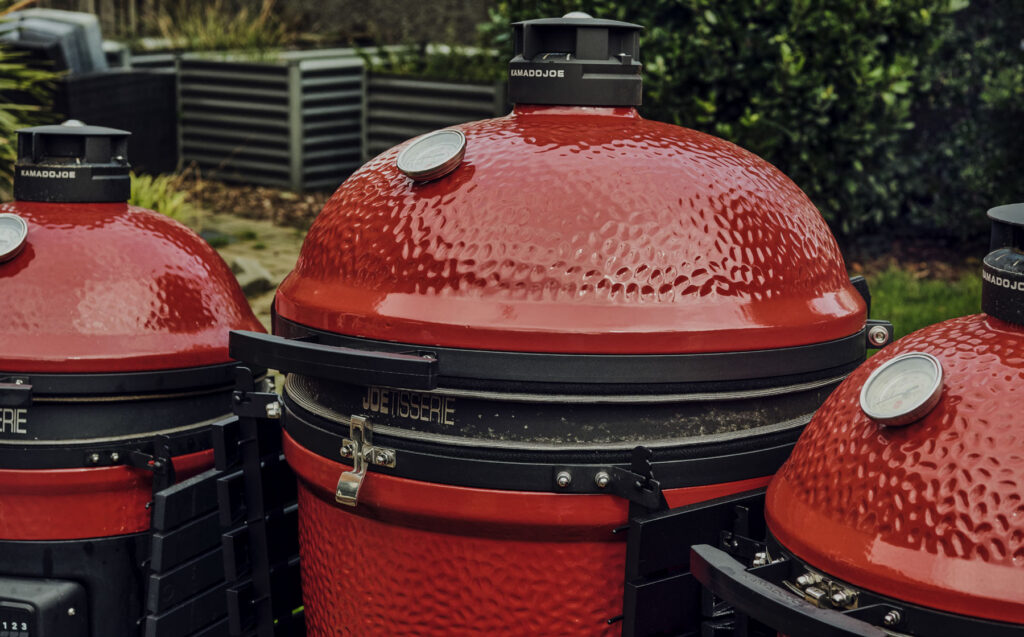
The two most common styles of charcoal grills in the home or backyard are kettle grills and ceramic grills shown below. First up is the trusty kettle grill. This is most often found in the 57” size, but other sizes are available too. My recipes and instructions focus primarily on the 57”, as it is the most common.
Ways to light a kettle grill
Kindling/firelighters
Choosing the proper kindling or fire lighter can expedite the process of heating your grill. I recommend using all-natural ‘tumbleweeds’, which are wax-coated wood shreds that look a little like mini pasta balls, or fire-starter cubes, which can be made entirely of wax or a combination of wax and wood or cardboard pulp. Both options burn cleanly with minimal ash.
Electric, hot air or gas lighters
While these grill lighters can be a bit on the expensive side, they allow you to light your charcoal fairly quickly without a chimney. The downside is that you need to remain nearby to keep the lighter on until the charcoal is fully ignited.
Charcoal chimney
My preferred method for igniting charcoal on a non-kamado-style grill is using a charcoal chimney. This device typically features a metal cylinder with air holes, a side handle and a grate at the bottom to hold the charcoal. Place it on the BBQ and fill to the top with charcoal, then place kindling or a natural firelighter underneath it before lighting it.
This approach usually prepares your charcoal in about 10–15 minutes, roughly the same time it takes to preheat an oven. With natural charcoal, you don’t need to wait until the charcoal has ashed over and gone grey. This is reserved for fuel that has been treated with chemicals. As you see the flames start to come out of the top of the chimney, it is good to go and can be emptied into your barbecue.
The chimney starter can be used to measure the barbecue. Check the instructions on your chimney starter/BBQ as they may differ in size.
How to light a ceramic kamado-style charcoal grill
For ceramic kamado-style grills, I recommend using lumpwood charcoal. The main reason for this is the airflow. These grills are incredibly well insulated; as such, they rely on the constant airflow that comes from the bottom vent on the grill and exits via the top vent. Simply put, briquettes create a lot more ash when cooked, which can settle on the bottom of the grill and thus reduce or block that airflow, ultimately starving the fire of oxygen. Lumpwood charcoal won’t create this issue.
You’re ready to light your grill once you’ve selected your charcoal and gathered your tools. Follow these steps:
1. Prepare your fire starter
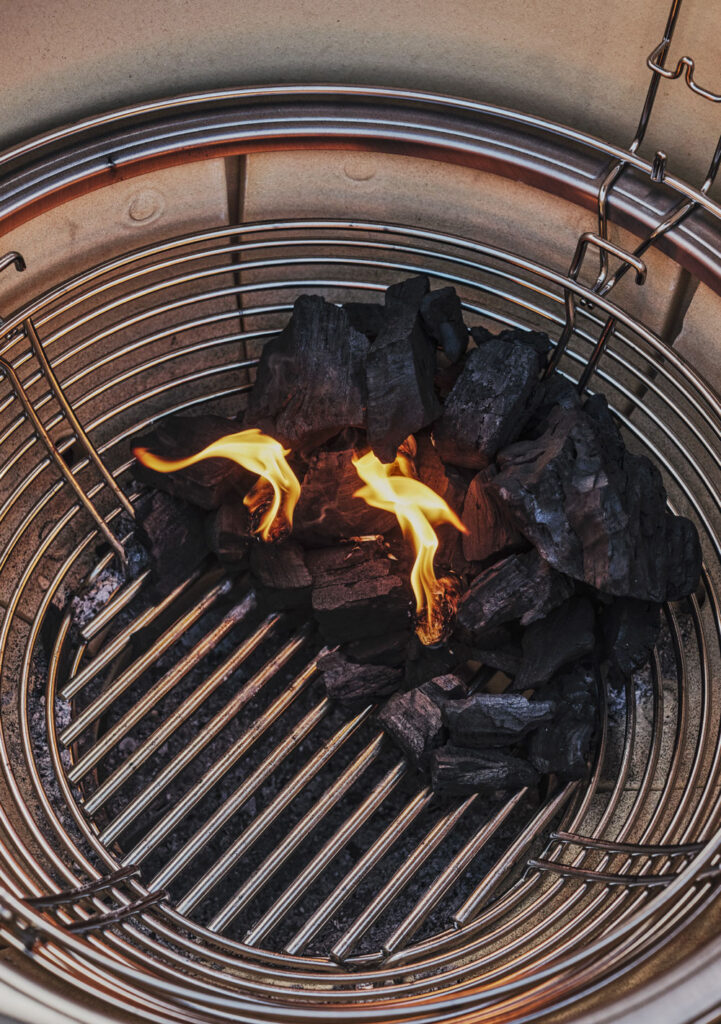
Place your preferred charcoal into the grill and bank it towards the rear. Underneath and at the bottom of the banked charcoal, ignite one or two tumbleweeds or natural fire-starter cubes.
2. Allow the charcoal to ignite
The fire starter will gradually ignite the charcoal at the bottom, and with the fuel being banked and the air source being below and in front of the fuel, it will encourage the fire to move up and evenly ignite the rest from the bottom up. This process typically takes around 15 minutes. You’ll quickly notice the smoke transition from thick white to thin blue, indicating that the charcoal is catching at this stage. When the charcoal has caught and started to establish, close the lid and open the top daisy wheel vent fully. This will accelerate the airflow through the grill, pulling air up from the bottom and assisting in the lighting process.
3. Let the charcoal take
After 10 minutes, open the lid and, using a rake or other instrument, draw and distribute the lit charcoal across your grill. Using a heat-resistant glove, insert the cooking grates and close the lid again. Watch the lid temperature rise; when it is 20–30°C (68–86°F) from the desired temperature you wish to cook on, close the top vent to a quarter open. On the bottom vent, close this to a roughly one-finger-width gap. Your grill will then settle to your desired temperature.
4. Bring it to temperature
Closing the grill lid will allow the lid to come to temperature and preheat. A kamado grill, by its ceramic nature, will also cook with radiant heat from the top down. This step is important when preparing your fire and achieving consistent heat.
5. Control the temperature
To maintain a consistent temperature throughout the cook, adjust the bottom vent to allow more oxygen into the firebox. This is achieved primarily by manipulating the lower vent. Think of this vent as your 10, 20, 30°C (50, 68, 86°F) adjustment and the upper vents as your fine-tuning in 2–5°C (35–41°F). The top vent’s main job is to pull the air from below and allow it to escape, similar to a chimney in your house, which pulls all the smoke up and out. More airflow increases heat, so opening the vents raises the temperature, while closing them lowers it.
6. Extinguish the grill
After cooking, it’s a simple matter of cutting off the airflow to the grill. Close the lid and all vents, allowing the fire to extinguish naturally. It can take several hours for the coals to completely cool, so keep this in mind, and I would suggest not transferring and disposing of the ash until the next day or after 24 hours.
By following these tips, you’ll be well on your way to successfully lighting your charcoal grill and enjoying a delicious barbecue.