Bake with Jack’s Chocolate Brioche
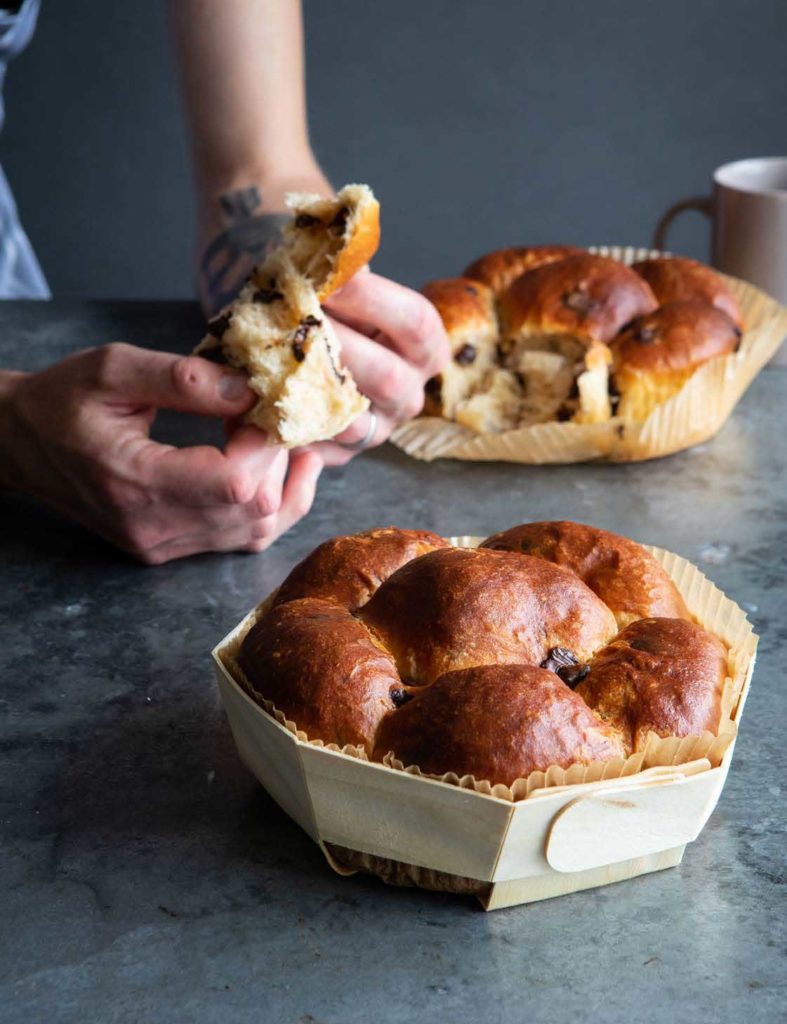
This chocolate brioche recipe is a great option for those wanting to experiment with enriched doughs. It’s well worth the preparatory steps for the end result: a light, aerated, soft brioche studded with dark chocolate chips.
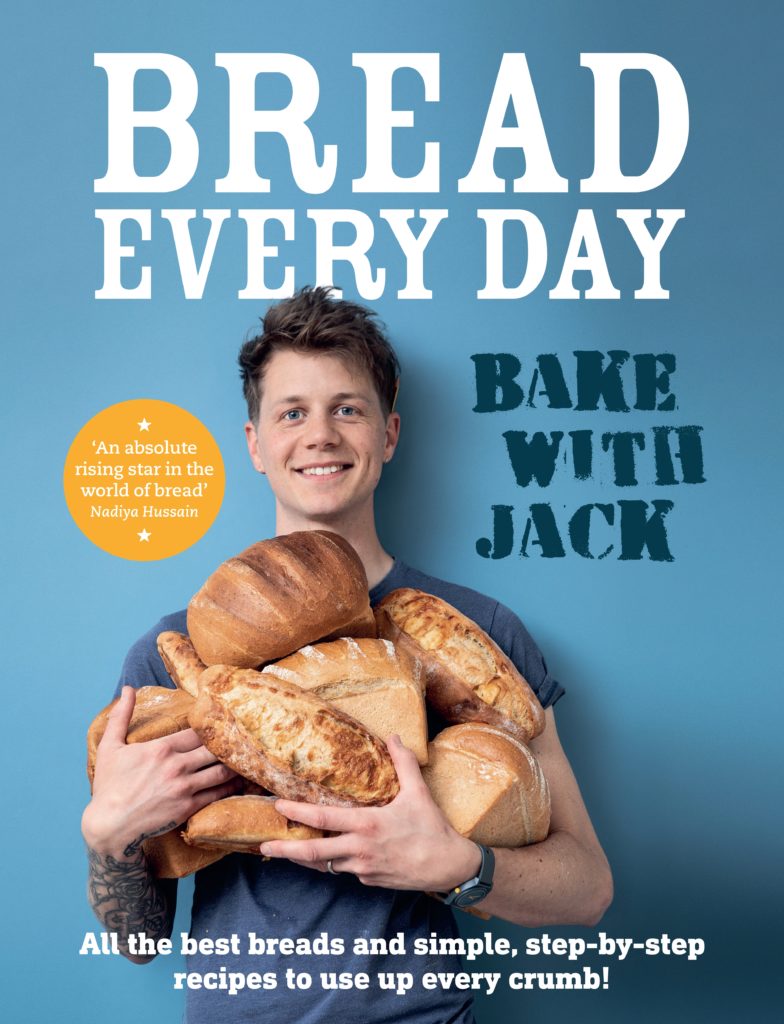
From the book
Buy From
Introduction
Brioche is the ultimate enriched dough. It pushes the quantity of eggs and butter to its limits and the result is a dough that rises FAR beyond what you ever thought was possible and is the softest, lightest bread you can imagine.
Because there is so much butter here, we need to incorporate it into the dough bit by bit so that it’s able to absorb it without becoming a slippery mess. And with all that butter and the eggs, the dough can take AGES to rise. But don’t be tempted to make it too warm to speed it up, otherwise the butter will melt and your dough will get super-greasy. You may think the amount of butter is a little excessive, but the dough puffs up SO BIG that you only need a little bit of dough to make a big loaf. Think about it – a single sandwich tin loaf uses 500g (1lb 2oz) flour, yet for two loaves of brioche we use only 375g (13oz). So, when you’re eating it, it’s really not that much as it’s mostly just air. Compared to a slice of cake, for example, I would say this is the relatively ‘healthy’ option!
Ingredients
| 95g (3¼oz) | warm milk, 25–30°C (77–86°F) |
| 3 | medium eggs (150g/5½oz egg without the shells), plus 1 egg, beaten, for glazing |
| 20g (¾oz) | fresh yeast, crumbled, or 10g (½oz) fast-action dried yeast |
| 375g (13oz) | strong white bread flour, plus extra for dusting |
| 40g (1½oz) | golden caster (superfine) sugar |
| 5g (1 teaspoon) | salt |
| 150g (5½oz) | room-temperature unsalted butter, broken into pieces |
| 150g (5½oz) | dark chocolate chips |
Essential kit
You will need: a dough scraper, 2 x 18cm (7in) round, 5cm (2in) deep Panibois wooden moulds, but similar-sized cake or pie tins will work equally well.
Method
Making the dough: 20–30 minutes
In a large mixing bowl, whisk together the milk, eggs and yeast with a balloon whisk until the yeast has softened.
Add the flour, sugar and salt along with about a quarter (35g/1¼oz) of the butter (to help our dough be a little more manageable and a little less sticky when we knead). Mix with a dough scraper until the mixture starts to come together into a rough dough.
Turn your dough out onto a clean work surface and knead gently without any additional flour for 6 minutes. Things are going to get a little messy here, so relax into it and use your scraper to release the dough from the table and your hands every once in a while and have a little tidy. (You can opt for working the dough in the bowl to feel more comfortable.)
Place the dough in the bowl and put one third of the remaining butter on top. Dimple it in all over with your fingertips, pushing the butter into the dough. The first time you do it, keep folding it over itself, pushing the dough into the middle, rotating the bowl and repeating. At first it will look as if the butter will never be incorporated but keep going and the slippery dough will take on the butter and become silky.
When it does, do exactly the same thing with the other two-thirds of butter. As you add more and more butter, the dough will become looser and silkier. At this point I change tactic, scooping my hand underneath towards my body, stretching the dough UP and FORWARDS before going back in for another scoop.
When the last bit of butter has been fully incorporated, sprinkle over your chocolate chips and work them into the dough in exactly the same way.
Turn the dough out onto the work surface and rest for 3 minutes.
Resting: 1½–2 hours
Shape the dough into a smooth ball with the help of a little dusting of flour and place it back in the bowl. Sprinkle the top with a little flour on the top, cover with an upturned bowl and rest at room temperature for 1½–2 hours.
Dividing and shaping: 5–10 minutes
Dust the work surface lightly with flour and use your dough scraper to turn the dough out upside down onto it, sticky side up.
Use your fingertips to flatten the dough slightly and cut it into 12 equal-sized pieces. If you want them all to be exactly the same size, weigh them out at about 75g (2½oz) each.
Fold and roll each piece into a tight ball – use a light touch here so that the dough doesn’t get too sticky, dust sparingly if you need to and try to be swift, as the longer you handle the dough, the stickier it will become!
In each of your baking moulds or tins, arrange 5 dough balls around the edge and one in the middle.
Resting and glazing: 1–1½ hours
Cover your brioche loosely with cling film dusted with flour and rest for 1–1½ hours or so.
Towards the end of resting, preheat your oven to 180°C fan/400°F/Gas Mark 6 with a shelf in the middle and a deep roasting tray on the oven floor. Half fill a kettle.
Check the brioche after 45 minutes to see how they are getting on. If they are rising nicely, egg wash them at this point before they get too delicate. Using a soft brush, paint the tops with a thin layer of beaten egg. Then let them rest for the remaining time.
Baking: 20–25 minutes
Boil the kettle.
Place your moulds or tins on the oven shelf and carefully pour the hot water into the tray below. Bake your brioche for 20–25 minutes until golden.
Carefully slide a knife underneath one and lift it slightly to peep at the underside. If the base is as golden as the top, they are done, but if not, return them to the oven for 3–5 minutes at a time until they are.
Let them cool completely on a wire rack.
Tip: The soft approach – If you want to improve the flavour and texture of your brioche, making them SUPER-soft, refrigerate your dough overnight. Once you have incorporated the chocolate, return the dough to its bowl, cover with cling film and pop it into the fridge. The following day, remove it from the fridge and rest at room temperature for 30 minutes, then shape, rest and bake as per the method. You’ll find the shaping so much easier, as your dough will be firmer, although it might take a little longer to rise – expect it to take at least 2 hours in total depending on your kitchen temperature on the day.
Tip: Making the best of your brioche – I’m quite an easy-going chap when it comes to rules, but when we make brioche in class, there is one very important rule we must stick to: always, always eat some of your brioche when it’s still warm from the oven, at its freshest best. Then if any should make it past day two, show any leftovers a little love in the oven, preheated to the same temperature as before for 5–8 minutes, depending on size. Or you can reheat a slice or two in the toaster, keeping your eyes peeled as it toasts up quick and being careful of those chocolate pieces, which will turn to magma. Let it cool slightly inside the toaster before removing.
Reviews
1 Ratings
Have you tried this recipe? Let us know how it went by leaving a comment below.
Our team will respond to any queries as soon as we can - this may take longer over weekends. You do not need to resubmit your comment.
Please note: Moderation is enabled and may delay your comment being posted. There is no need to resubmit your comment. By posting a comment you are agreeing to the website Terms of Use.
