Frostie Florentines

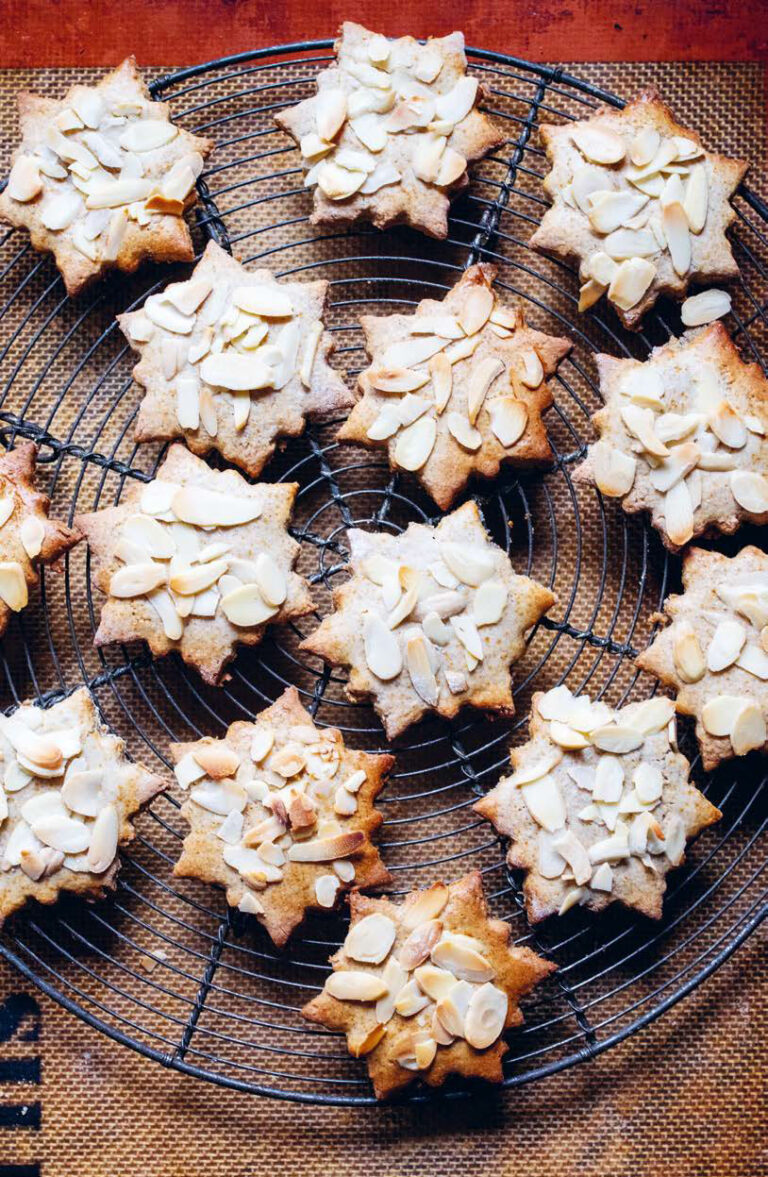
With this innovative recipe from The Cornershop Cookbook, you can create sophisticated Florentines using a packet of Frosties cereal. An easy and cheap edible gift.
From the book
Buy From
Introduction
It took us years to work out that florentines don’t have to be relegated – along with Terry’s Chocolate Oranges and Matchmakers – to the annual realms of Christmas treats. You can knock them up yourself with relative ease: the only annoying thing is having to poke them back into shape.
Ingredients
| For the dry ingredients: | |
| 50g | frosties, broken up (or crunchy nut cornflakes or indeed regular cornflakes) |
| 80g | salted peanuts |
| 1 tbsp | plain flour |
| For the ‘wet’ ingredients: | |
| 50g | butter |
| 50ml | golden syrup |
| 50g | caster sugar good pinch of salt |
| To finish: | |
| 100g | white chocolate, broken into chunks |
Method
Preheat the oven to 160°C/gas 3 and line 2 baking trays with greaseproof paper, ready for action. Mix the dry ingredients together in a bowl.
Add the ‘wet’ ingredients to a medium-sized saucepan and place on a low heat. Cook, stirring, if necessary, for around 5 minutes, until everything is melted and incorporated and the mixture has a thick, almost custard-like appearance. It may be bubbling when it reaches this point – that’s fine. Remove from the heat and quickly mix in the dry ingredients.
Work with the mix right away as it will get harder to use as it cools (it’s a good idea to warm it again when you get to the second batch). Add a heaped teaspoonful of the mixture to a lined baking tray in a blob – spread the blob out as each one will expand in the oven a lot. You should do no more than 4 per sheet (unless you have a weirdly huge baking tray) although you can bake two batches at once. Make sure each blob has an equal-ish amount of nuts and enough syrupy mix to bind it together.
Set a timer and bake for 12 minutes, keeping an eagle eye on them. They will start to spread out quickly – if they are going too wild and spreading into each other, take them out and, using a knife, gently poke them back into an appropriate circular florentine shape (this is easier if you leave them to cool for a moment) before popping back in the oven.
When the 12 minutes are up, remove from the oven, then poke the florentines back into shape (again, leave them to cool for a minute or so first). Clean your poking knife, or use a new one, to make it easier. Once the florentines are firm enough to keep their shape, transfer to a wire rack and leave to cool completely. Repeat until all the mixture is used up.
Whatever type of chocolate you’re using to finish, melt it in a heatproof bowl set over a pan of barely simmering water (making sure the water doesn’t touch the base of the bowl) on a low heat, keeping an eye on it.
Brush the flat undersides of the cooled and hardened florentines with the melted chocolate, then leave to chill in the fridge for about 30 minutes before serving. Store any leftovers (if there are any!) in an airtight container.
Reviews
Have you tried this recipe? Let us know how it went by leaving a comment below.
Our team will respond to any queries as soon as we can - this may take longer over weekends. You do not need to resubmit your comment.
Please note: Moderation is enabled and may delay your comment being posted. There is no need to resubmit your comment. By posting a comment you are agreeing to the website Terms of Use.


