Great British Bake Off finalist James Morton shows us how to knead dough using three different techniques. These recipes and more can be found in his debut cookbook, Brilliant Bread.
Practice the three kneading techniques with James’ essential recipe for Wholemeal Bread.
The trick with kneading? Keep it fun! Try out new things and experiment until you find ways that feel right with specific dough you’re working on; it’s the best route to understanding the dough and its mystical ways. As you work the dough more and more you’ll feel the indescribable changes that occur and know exactly how it’s coming along and when to stop.
There are plenty of different kneading methods, and some people swear by particular ones and refuse to use any others. This narrow-mindedness is the only thing I disagree with, because every kneading method has its own charms. The fact is that as long as you are constantly moving your dough around, folding it over itself and tangling all those elastic gluten strands up, you’ll develop the dough pretty quickly. Whatever you do, always knead on a totally unfloured surface with unfloured hands. Incorporating additional flour will disrupt the texture of your dough, but the sticking of your dough to your surface and subsequent stretching will help develop the gluten quicker.
From the book

Brilliant Bread
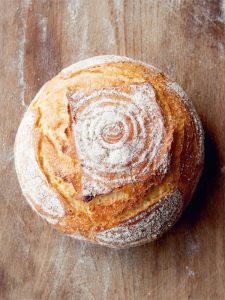
Learn to make perfect bread
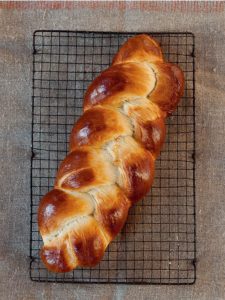
No-nonsense tips and tricks
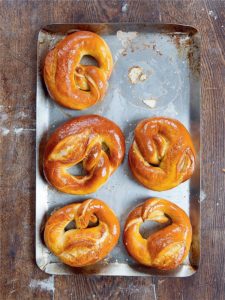
Simple recipes with impressive results
The English knead
You can knead wet doughs using this method, but it’s a hassle. If my dough isn’t sticking to my unfloured work surface when I try the slap and fold, I switch to the traditional English knead. Again, try to twist and roll the dough; whenever you feel some resistance then you know your gluten is coming together.
The slap and fold
This traditional and messy method is the one you should be using most often – it works well at bringing together wet, sticky doughs and it traps the moist air within. It’s really, really helpful to own a dough scraper to keep your dough together. This method can be personalised to your own tastes; I tend to flip my dough over itself after I lift it up, using the leverage of this twist to develop the dough really quickly.
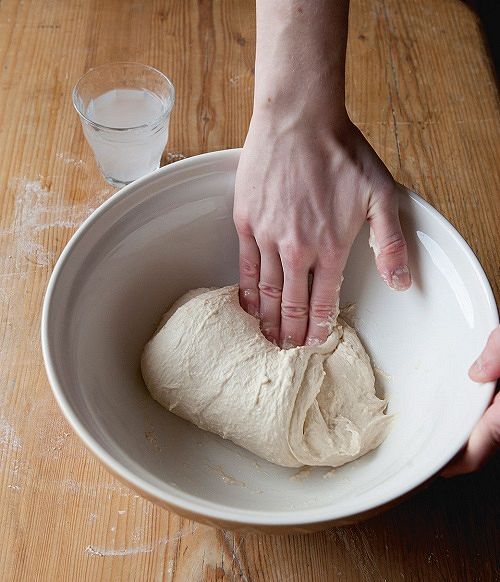
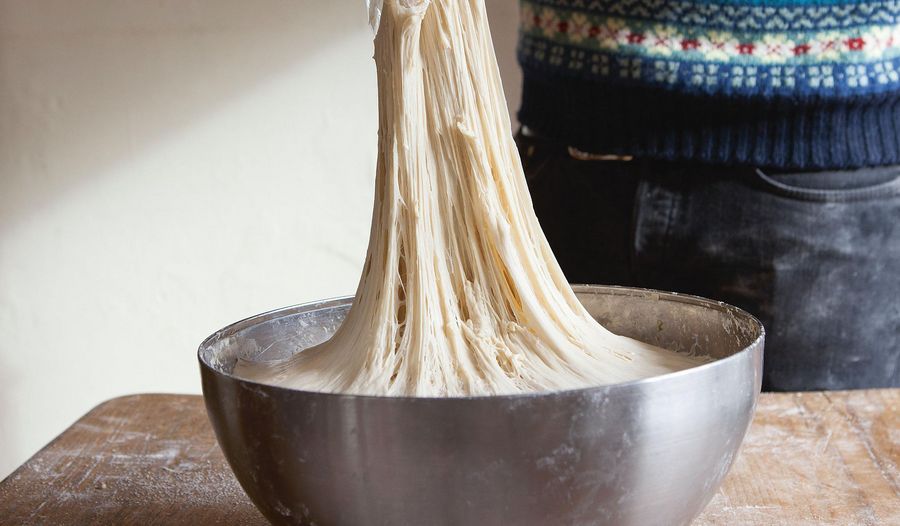
The stretch and fold (see photos below)
This isn’t kneading per se, but it’s developing the gluten. This is best for ciabatta-style doughs that are so wet even the slap and fold is challenging. When making sourdough or no-dough bread, it can be helpful to do a stretch and fold or two in between proves – this will help the final dough hold its shape much better. The only problem with this method is that it requires you to hang around. Get a life and go do something fun whilst your bread rises.
1. Keep a glass of water nearby. Dunk your fingers in it regularly to stop them sticking.
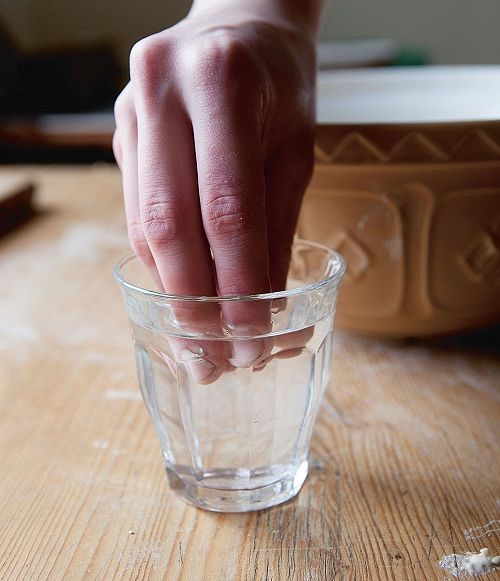
2. Grab the edge of the dough with your wet fingers and stretch it up and out.
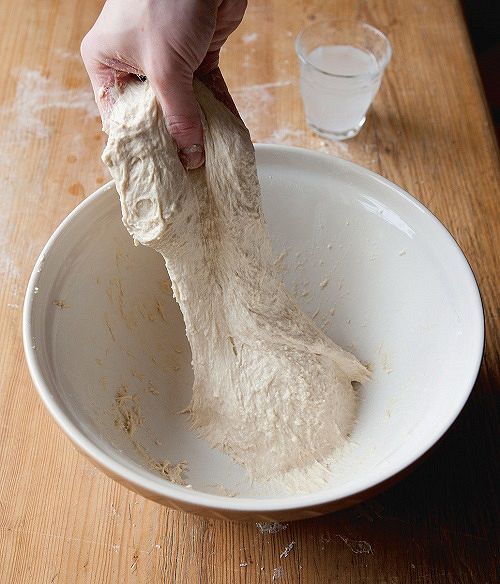
3. Fold the dough over itself and press down.
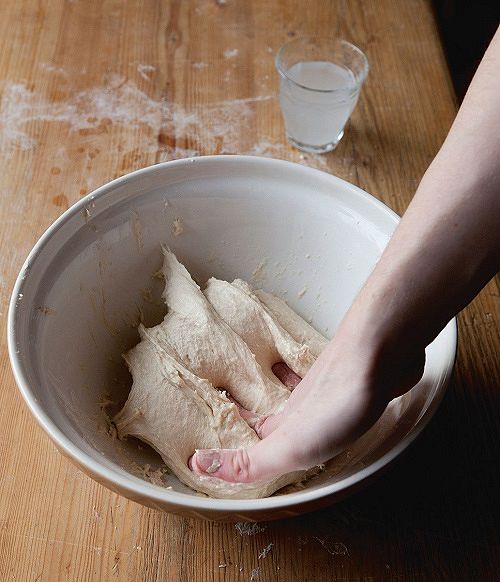
4. Turn the bowl a quarter turn and repeat the stretch and fold.
