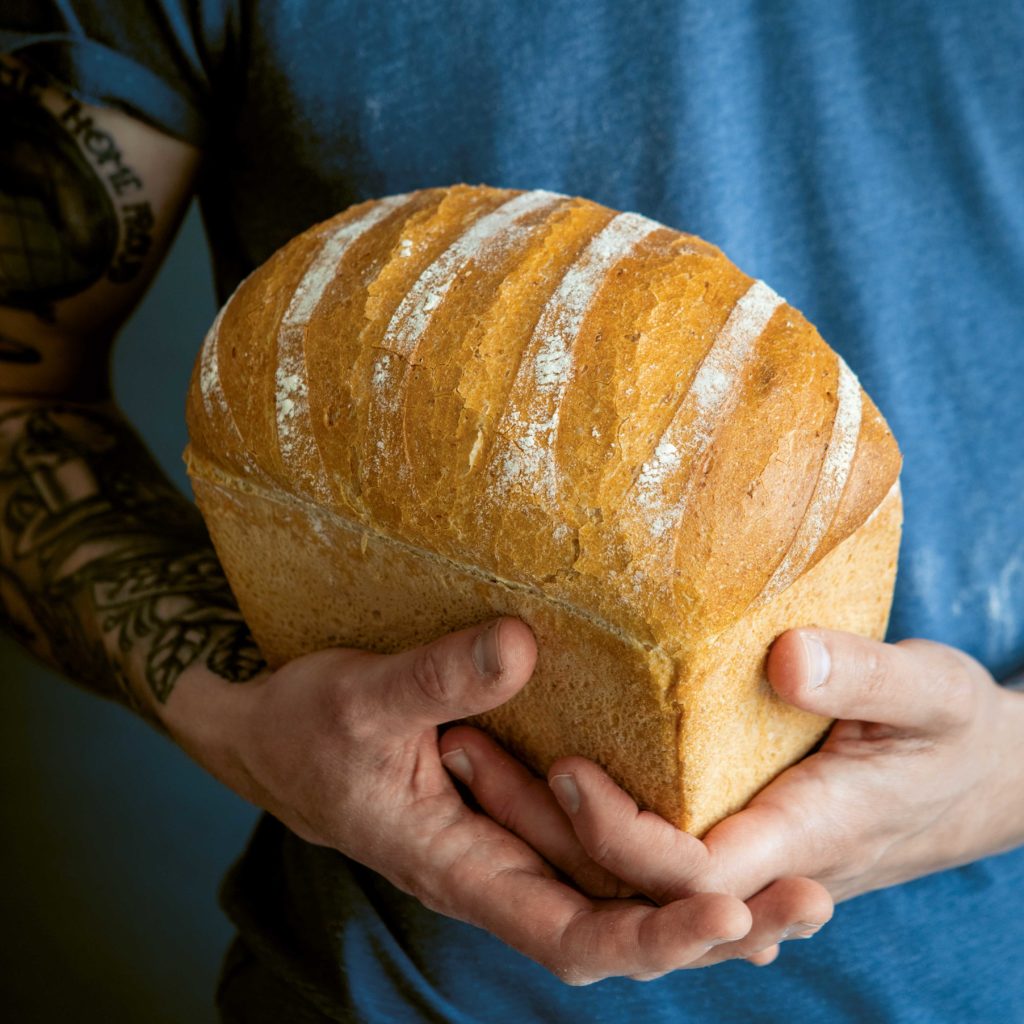
For those embarking on their bread-making journey for the first time, I’ll always recommend starting simply with a yeasted loaf in a tin. Not a bloomer, not a boule, not even rolls. Why? Because if bread making is to become part of your life, then a taste of success is what’s needed to want to continue on. With support from the sides of the tin, a loaf will only ever rise up. It won’t go sideways or flow into a pancake. It will go up, and up only, even if the folding and shaping of your loaf aren’t exactly perfect (that in itself is a craft requiring practice and will come in time). In a tin, your loaf will be a loaf; sliceable, toastable, make-a-sandwichable. You’ve won the game.
If your home is around 20-21°C and your yeast is good then your bread will rise. Simple as that. If it’s cooler it will puff up slower than mine and if it’s warmer it will puff up faster, but it will puff up. We knead dough to develop its strength, which it needs to hold onto the gas that is made by the yeast. Without strength, it will puff a little, get delicate and collapse before reaching the triumphant heights we’re hoping for. The most important thing to remember when you are kneading is to avoid dusting with flour at all costs. We want to transform the dough from a fragile and often sticky mess into a strong and bouncy dough. A little dust here and there may well make the dough easier to manage for a little while, but the dough will soon take on the additional flour and become sticky again only to be dusted once more. Repeat this cycle throughout the kneading process and your dough will become the smooth round ball we are all expecting to see but it’s not because it has been worked enough, it’s because you have added an extra 20, 30, 50 grams of flour to the recipe. The dough has been tightened but not sufficiently worked and it won’t puff up properly. Congratulations, you’ve just baked a brick.
Failure is heartbreaking, I know. Especially after all the effort put in, and even more so without an explanation for what went wrong. Without knowing why. It’s these stories of failure and frustration I hear time and time again and that is quite simply the reason for the existence of Bake with Jack in the first place. I want so much for you to crack this, for now, and for life, because once you understand the principles of bread it’ll open doors to amazing homemade baguettes, focaccias, pitas, pizzas, and all of the other varieties I show you how to make in my brand-new cookbook, Bread Every Day.
I’d like it if you made this, and then with that taste of success, you felt like you’d like to have another go. Bread making is a lifelong journey, and it starts here.
From the book

Bake with Jack: Bread Every Day

Recipes for 30 kinds of bread, including classic sandwich loaves, rolls, rye, and ciabatta,
Plus 50 meal ideas to help you use up every last crumb of delicious homemade bread

Easy instructions for everyone from total beginners to veteran bread makers.
Buy From
Simple Sandwich Loaf
Ingredients (makes two large loaves):
640g (1lb 7oz) room temperature water
24g (1oz) fresh yeast, crumbled, or 14g (½oz) fast-action dried yeast
900g (2lb) strong white bread flour, plus extra for dusting
100g (3½oz) strong wholemeal bread flour
16g (½oz) salt
30g (1oz) olive oil
butter or extra olive oil, for greasing
You will need: 2 x 900g (2lb) loaf tins (see my tip on page 35) – mine measure 10 x 16.5cm (4 x 6.in) base, 13 x 20cm (5 x 8in) top, 9cm (3½in) deep.
Method:
Making the dough: 15–20 minutes
1. In a large mixing bowl, mix together the water and yeast until the yeast has dissolved.
2. Add the flours and salt, then mix with a dough scraper until the mixture starts to come together. Add the olive oil and mix again into a rough dough.
3. Turn your dough out onto a clean work surface and knead without any additional flour for 8 minutes.
Resting: 1–1½ hours
4. Shape the dough into a ball and place it back in the bowl. Sprinkle the top with a little flour, cover with a clean cloth and rest at room temperature for 1–1½ hours.
Dividing and pre-shaping: 5 minutes
5. Dust the top of the dough lightly with flour and use your dough scraper to turn it out upside down onto the work surface, sticky side up.
6. Use your fingertips to flatten the dough gently and cut in half with your dough scraper. Fold and roll each piece of dough into a ball, then cup slightly to tighten (see page 24).
Resting: 15 minutes
7. Line up your dough balls on the work surface. Dust only the tops lightly with flour, cover with the cloth and rest for 15 minutes to relax and spread slightly.
Final shaping: 5–10 minutes
8. Dust the work surface lightly with flour. Working with one at a time, slide your dough scraper underneath a dough ball to release it and flip sticky side up onto the dusted surface.
9. Press with your fingertips and knuckles to flatten and spread the dough into a circle. Slide your fingers, palms up, underneath each side of the circle. Grip the dough and pull to stretch it sideways. At an angle, fold one side two-thirds of the way over the dough and fold the other side in the same way so that it overlaps the first fold and you have a kind of ‘A’ shape. Roll up the dough from the point towards you into a tight sausage and press the seam to stick it together, then turn the dough over, seam side down.
10. Using a serrated knife, make 5 or 6 diagonal cuts across each loaf about 5mm (½in) deep.
11. Grease your loaf tins lightly with butter or oil and drop a loaf into each, seam side down.
Resting: 1–1. hours
12. Cover your loaves with the cloth and rest for 1–1. hours.
13. Towards the end of resting, preheat your oven to 200C fan/425F/Gas Mark 7 with a shelf in the middle and a deep roasting tray on the oven floor. Half fill a kettle.
Baking: 40–50 minutes
14. Boil the kettle.
15. Place your loaf tins on the oven shelf and carefully pour the hot water into the tray below. Bake your loaves for 40 minutes. I bake mine without checking because I know my oven really well, but if this is your first loaf, set a timer for 30 minutes and take a peek. If the loaves are taking on too much colour, turn the oven down to 180C fan/400F/Gas Mark 6 for the final 10 minutes.
16. Pop the loaves out of their tins, and if the undersides feel soft and steamy, sit them right way up directly on the oven shelf and bake for another 5–10 minutes.
17. Let them cool completely on a wire rack.
Jack Sturgess is the author of the essential, accessible guide to bread-baking, Bread Every Day. If you loved this recipe, you’ll find plenty more in Jack’s cookbook, alongside illustrated step-by-step instructions, guides on kit and key techniques, and delicious ways to help you get the most out of your bread, from sandwiches to salads, breakfasts to desserts.
Find this recipe and more in
Bake with Jack: Bread Every Day
Recipes for 30 kinds of bread, including classic sandwich loaves, rolls, rye, and ciabatta,
Plus 50 meal ideas to help you use up every last crumb of delicious homemade bread
Easy instructions for everyone from total beginners to veteran bread makers.