Sweet Pastry
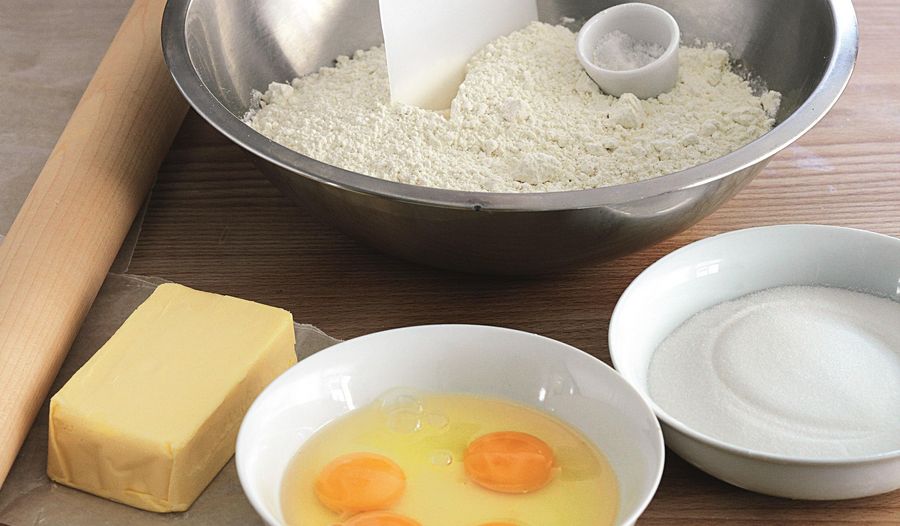
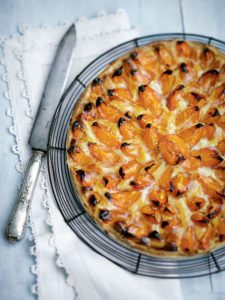
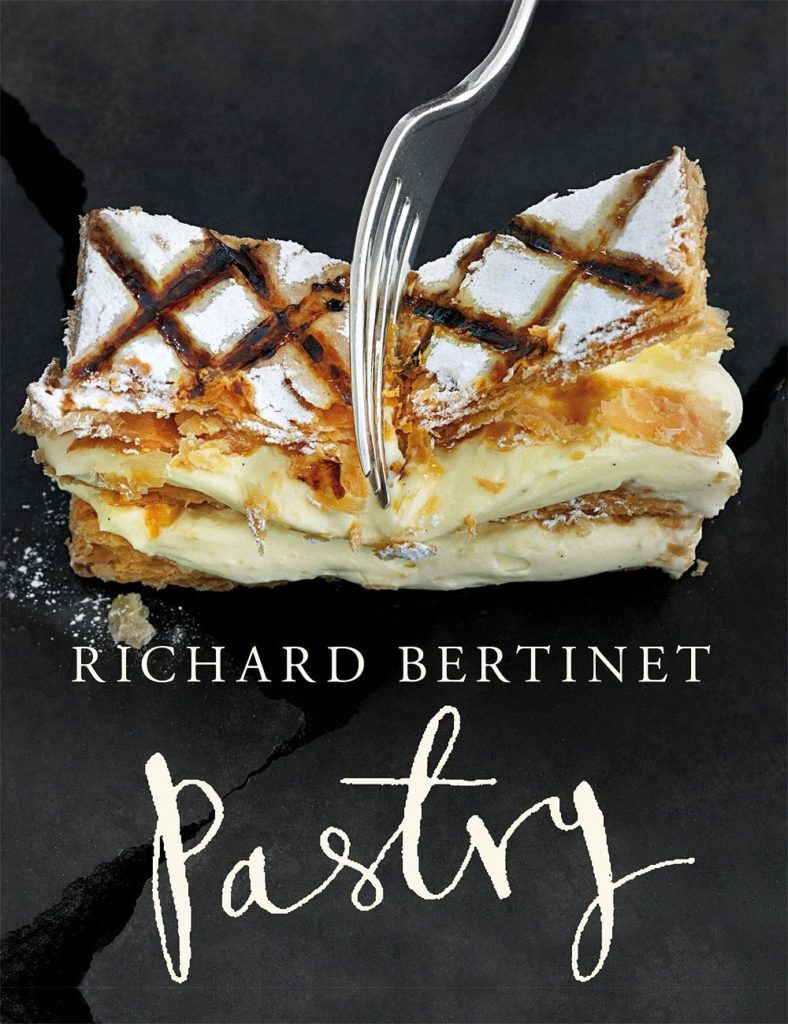
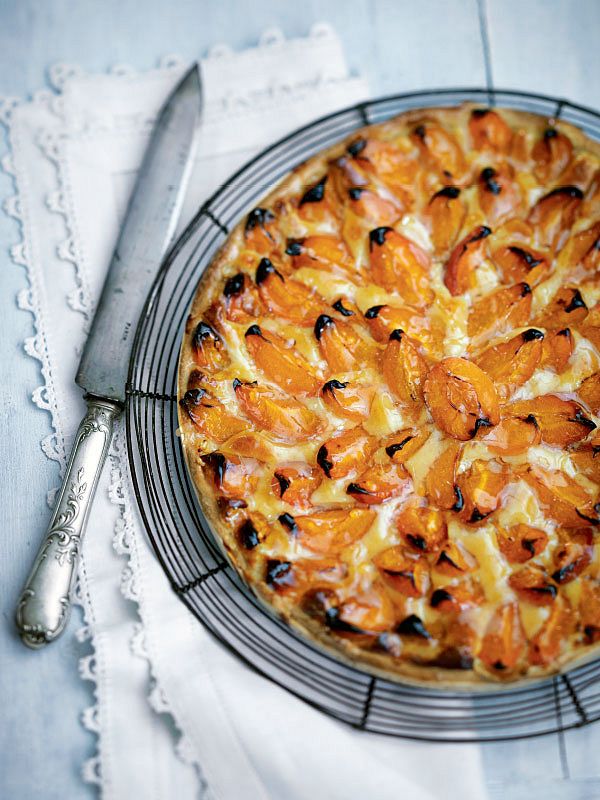
Learn how to make the perfect Sweet Pastry from scratch with this step-by-step guide from French chef and baker Richard Bertinet. Once you’ve cracked the recipe you can create perfect fruit tarts time and time again. The recipe and ideas for different tarts you can create, can be found in Richard’s book Pastry.
From the book
Buy From
Introduction
French chef and baker Richard Bertinet shares his tips and tricks for making the perfect sweet pastry. This pastry can be used for individual tarts or one large one, and tastes fantastic when cooked with a cream filling and slices of your favourite seasonal fruit. You won't have to worry about soggy bottoms or cracked pastry ever again.
Ingredients
| 350g | flour |
| 125g | butter |
| 125g | sugar |
| 2 | eggs, plus one yolk |
| pinch of salt |
Essential kit
You will need a tart tin or individual tins.
Method
Measure out all your ingredients before you start, and break your 2 eggs into a small bowl– there is no need to beat them. Separate the remaining egg. Put the flour and salt into a mixing bowl.
Now for the cold butter. What I do is take it straight from the fridge and put it between two pieces of greaseproof paper or butter wrappers (I always keep butter wrappers to use for this, as well as for greasing tins and rings), then bash it firmly with a rolling pin.
The idea is to soften it while still keeping it cold. I end up with a thin, cold slab about a centimetre thick that bends like plasticine. Put the whole slab into the bowl of flour – there is no need to chop it up.
Cover the butter well with flour and tear it into large pieces.
Now it’s time to flake the flour and butter together – this is where you want a really light touch. With both hands, scoop up the flour-covered butter and flick your thumbs over the surface, pushing away from you, as if you are dealing a pack of cards.
You need just a soft, skimming motion – no pressing or squeezing – and the butter will quickly start to break into smaller pieces. Keep plunging your hands into the bowl, and continue with the light flicking action, making sure all the pieces of butter remain coated with flour so they don’t become sticky.
The important thing now is to stop mixing when the shards of butter are the size of your little fingernail. There is an idea that you have to keep rubbing in the butter until the mixture looks like breadcrumbs, but you don’t need to take it that far. When people come to my classes, I find they can’t resist putting their hands back into the bowl to rub it just a little bit more, but if you want a light pastry, it is really important not to overwork it. If the mixture starts to get sticky now, imagine how much worse it will be when you start to add the liquid at the next stage. Add the sugar at this point, mixing it in evenly.
Tip the eggs, and the extra yolk, into the flour mixture and mix everything together.
You can mix with a spoon, but I prefer to use one of the little plastic scrapers that I use for bread-making. Because it is bendy, it’s very easy to scrape around the sides of the bowl and pull the mixture into the centre until it forms a very rough dough that shouldn’t be at all sticky.
While it is still in the bowl, press down on the dough with both thumbs, then turn the dough clockwise a few degrees and press down and turn again. Repeat this a few times.
With the help of your spoon or scraper, turn the pastry onto a work surface.
Work the dough as you did when it was in the bowl: holding the dough with both hands, press down gently with your thumbs, then turn the dough clockwise a few degrees, press down with your thumbs again and turn. Repeat this about four or five times in all.
Now fold the pastry over itself and press down with your fingertips. Provided the dough isn’t sticky, you shouldn’t need to flour the surface, but if you do, make sure you give it only a really light dusting, not handfuls, as this extra flour will all go into your pastry and make it heavier.
When you flour your work surface, you need to do this as if you are skimming a stone over water, just paying out a light spray of flour. (Funny as it seems, people in my classes actually practise this, like a new sport.) You need just enough to create a filmy barrier so that you can glide the pastry around the work surface without it sticking.
Repeat the folding and pressing down with your fingertips a couple of times until the dough is like plasticine, and looks homogeneous.
Your pastry is now ready to roll out and bake.
Lightly grease your tart tin or individual tins.
Skim a fine film of flour over your work surface, roll out the pastry 5 mm thick, lifting and rotating it after every two rolls. Holding the rolling pin at each end, drape the pastry over your tin or rings and let the pastry fall inside. Ease it gently and carefully down into the base and sides with your fingers, without pulling and stretching.
Prick the base of the pastry all over with a fork. This stops it from rising up when in the oven. Place a large sheet of baking paper over the top of the pastry case, then tip in baking beans and spread them out so that they completely cover the base. Place the lined tin in the fridge for about 30mins to rest and relax. This will stop the pastry from cracking.
Preheat the oven to 180ºC/Gas 4. Bake small tart cases for15 minutes, and a large tart case for 20 minutes but keep checking after every 5 minutes to ensure the pastry does not burn. Once the pastry has dried out and has coloured slightly, remove it from the oven and lift out the baking beans. Brush over beaten egg, mixed with a little bit of salt, to create a waterproof sealent for the tart. You are now ready to add your filling.
Reviews
Have you tried this recipe? Let us know how it went by leaving a comment below.
In the case of any queries, our team will aim to respond as soon as possible.
Please note: Moderation is enabled and may delay your comment being posted. There is no need to resubmit your comment. By posting a comment you are agreeing to the website Terms of Use.
