Chocolate Orange Knot Buns
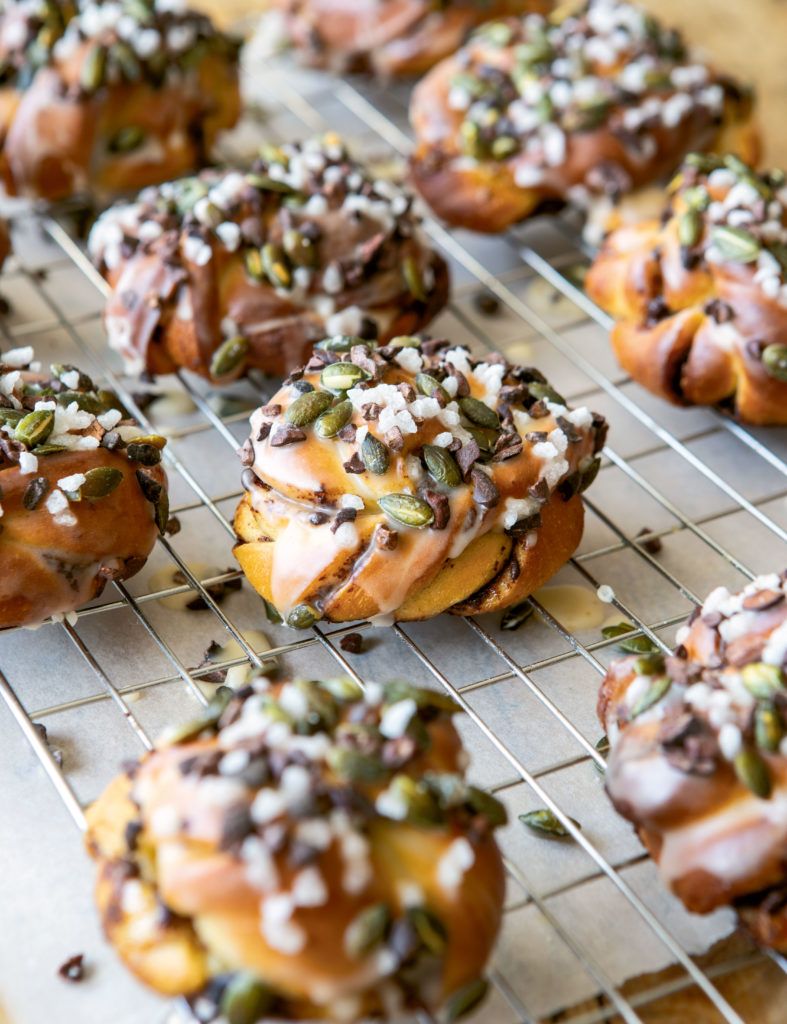
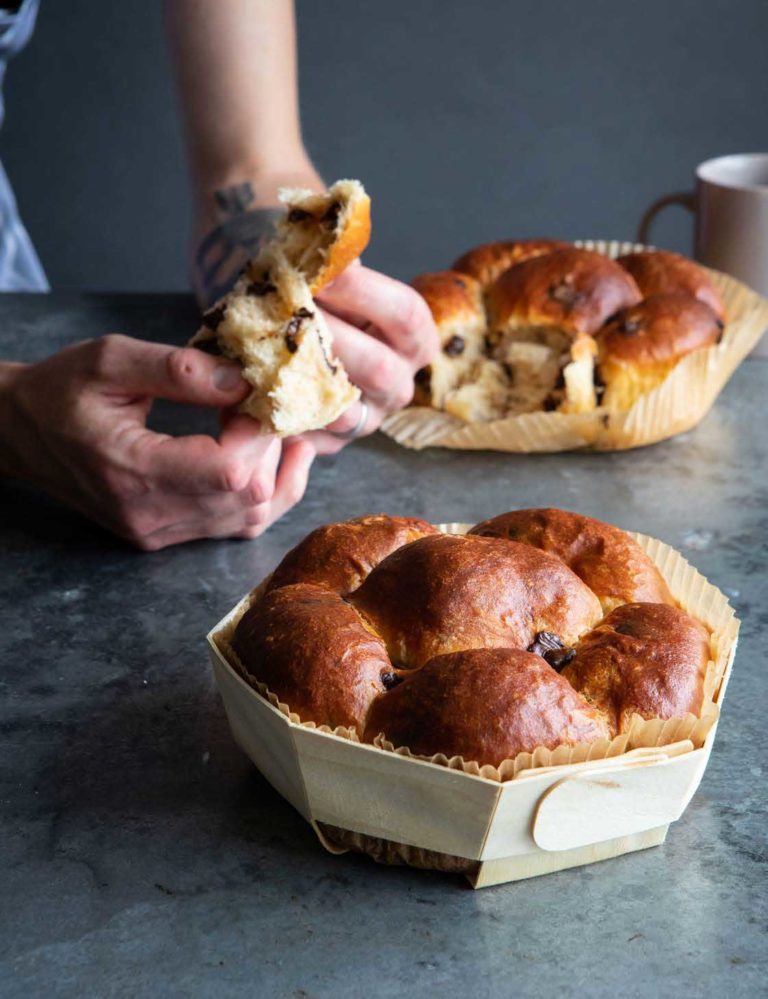
Orange and chocolate is always a winning combination in our books. Batch make these festive knot buns and share their buttery, zesty, chocolatey goodness with the whole family.
From the book
Buy From
Introduction
All recipes are refined with practise, and this one is a prime example, as it has featured heavily on the food festival circuit. Making a recipe work at a specific time of day for a demonstration in a tent outside whatever the weather is not the ideal scenario, but it’s a great way to learn and improve on over time! Delicious with a proper cup of tea, these buns are layered with a butter PACKED with orange zest and dark chocolate. A crunchy, nutty, salty, iced topping complements their soft sweetness, which is not only wicked tasty but also serves a purpose. Made out of the juice and pulp of the orange (double orange whammy!), the icing provides an additional orangey hit AND acts as a kind of ‘airtight’ seal to help the buns stay soft and moist inside. If you can resist eating all of these on day one, they’ll stay soft for a further day or two. Make a batch, eat them and share with friends and family when they are at their best.
Ingredients
| 100g (3½oz) | warm milk, 25–30°C |
| 1 medium (50g/1½oz without the shell) | egg |
| 20g (¾oz) OR 10g (½oz) | fresh yeast, crumbled OR fast-action dried yeast |
| 250g (9oz) | strong white bread flour, plus extra for dusting |
| 35g (1¼oz) | golden caster (superfine) sugar |
| 1 tsp (4g) | salt |
| 35g (1¼oz) | room-temperature unsalted butter, broken up into pieces |
| For the filling: | |
|---|---|
| 50g (1¾oz) | room-temperature unsalted butter |
| 40g (1½oz) | golden caster (superfine) sugar |
| finely grated zest of 2 | oranges |
| 50g (1¾oz) | dark chocolate, chopped |
| For the icing: | |
| juice and pulp of 1 | zested orange (used earlier) – scrape out the pulp from the squeezed-out halves |
| about 300g (10½oz) | icing (confectioners’) sugar |
| For the topping: | |
| 50g (1¾oz) | pumpkin seeds |
| pinch of | salt |
| 50g (1¾oz) | cacao nibs |
| 50g (1¾oz) | pearl sugar nibs |
Essential kit
You will need: a silicone spatula for creaming the frosting (or use a handheld electric mixer or stand mixer, but it’s such a small amount)
Method
Making the dough: 15-20 minutes
In a large mixing bowl, whisk together the milk, egg and yeast with a balloon whisk until the yeast has softened.
Add the flour, sugar and salt, then mix with a dough scraper until the mixture starts to come together into a rough dough. Add the butter and dimple it into the dough with your fingertips.
Turn your dough out onto a clean work surface and knead your dough without any additional flour for 10 minutes. It will get sticky, but be patient, using your scraper to tidy up every once in a while, and the dough will come together.
Resting and preparing the filing: 1½–2 hours
Shape the dough into a ball and place it back in the bowl. Sprinkle the top with a little flour, cover with an upturned bowl and rest at room temperature for 1½–2 hours.
Meanwhile, in a mixing bowl, beat together the butter, sugar and orange zest with the silicone spatula (or handheld or stand mixer) until aerated and super-soft so that it’s easy to spread. Set aside
Filling and shaping: 10–15 minutes
Line 2 large baking trays with baking parchment.
Dust the work surface well with flour and use your dough scraper to turn the dough out upside down onto it, sticky side up.
Dust the top of the dough and press it flat with your fingertips, then roll it out with a rolling pin into a 35cm square.
Use your dough scraper to spread the filling evenly all over the dough, right to the edges. Sprinkle the chocolate all over the filling as evenly as you can, then press down with your palms to stick it to the filling. Fold the dough in half from the top edge and press gently with your palms just enough to flatten slightly, neaten it up and stick the halves together.
Use a knife or dough scraper to cut the dough vertically into 4 wide strips. Then cut each strip into 3 more strips, one per bun.
Working with one at a time, hold a strip of dough at each end and carefully stretch it lengthways and twist it. Wrap one end round the other in a circle twice, then pass the end of the strip underneath and finally wrap it once more over the top. Tuck the end underneath. It’s not essential that you do your knots exactly like mine, so feel free to have a play, but you’ll find that doing them the same as each other makes a big difference to the overall look of your rolls.
Place the buns on your lined trays with plenty of room inbetween them to expand.
Resting: 1–1½ hours
Cover your buns loosely with cling film dusted with flour and rest for 1–2 hours until risen and lighter, softer and much more delicate to the touch.
Towards the end of resting, preheat your oven to 180°C fan/400°F/Gas Mark 6 with 2 shelves in the middle and a deep roasting tray on the oven floor. Half fill a kettle.
Baking: 10–15 minutes
Boil the kettle.
Place your baking trays on the oven shelves and carefully pour the hot water into the tray below. Bake your knot buns for 10–15 minutes until golden. Slide a knife underneath and lift a bun, and if the underside is golden, then it’s ready, but if it’s still a little pale, return it to the oven for 2 minutes at a time until they are done.
Let the buns cool on a wire rack.
Preparing the icing and topping: 15–20 minutes
Weigh the orange juice and pulp, then multiply that number by 4 for your quantity of icing sugar. Mix together in a bowl until thoroughly combined.
Toast your pumpkin seeds in a small, dry frying pan (skillet) over a medium heat until they start popping. Keep toasting for 30 seconds or so and add the salt, then sprinkle with just enough water to sizzle and dissolve the salt so that it will stick to the seeds – too much water and your seeds will boil and become chewy. Cook away the water and dry out the seeds, then continue to toast until golden. Tip out onto a plate to cool.
Mix your toasted seeds with the cacao nibs and pearl sugar in a bowl.
Working with one at a time, first dunk a bun upside down into the icing, lift it out and allow any excess to drip back into the bowl before dipping it into your topping mixture. Place it upright back on the wire rack and rest until the icing dries and goes crunchy.
Reviews
Have you tried this recipe? Let us know how it went by leaving a comment below.
In the case of any queries, our team will aim to respond as soon as possible.
Please note: Moderation is enabled and may delay your comment being posted. There is no need to resubmit your comment. By posting a comment you are agreeing to the website Terms of Use.
